Tag Archives: starting

Tumbling into A New Year – 2022 Wrap Up


Happy New Year!


The last few weeks of any year for me are typically about reflecting, month by month on the year that just finished. I snatch any quiet moment I can during the holiday rush to write down my thoughts on what went well and what didn’t professionally and personally.


Then the first few weeks of the year are a mirror of those last two weeks, and I take time to think about what I want my year to look like. I ask myself questions like: How can I participate in successful, fulfilling activities that re-energize or inspire me? What are some activities that drain me?

What elements of my life need to be edited out? I make a deliberate effort to imagine where I want to be at the end of the year, to imagine what success feels like, and then I write it down. This is how I set my intentions for the year. 


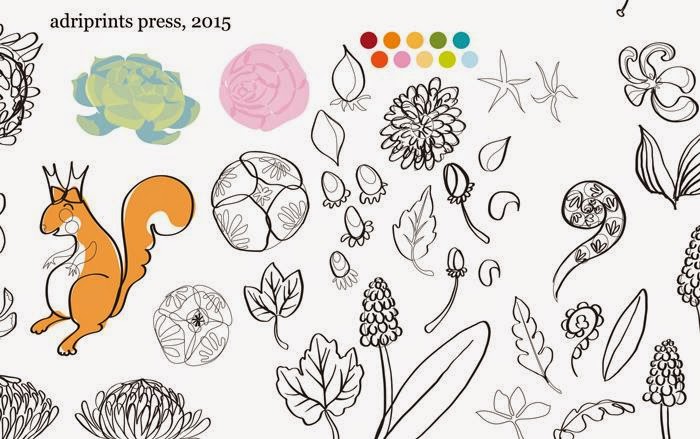
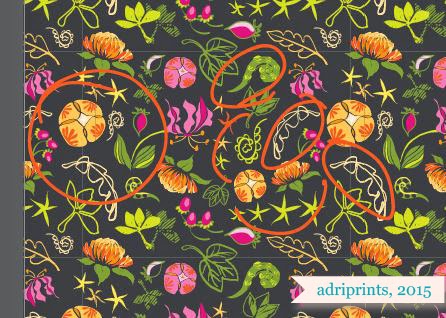
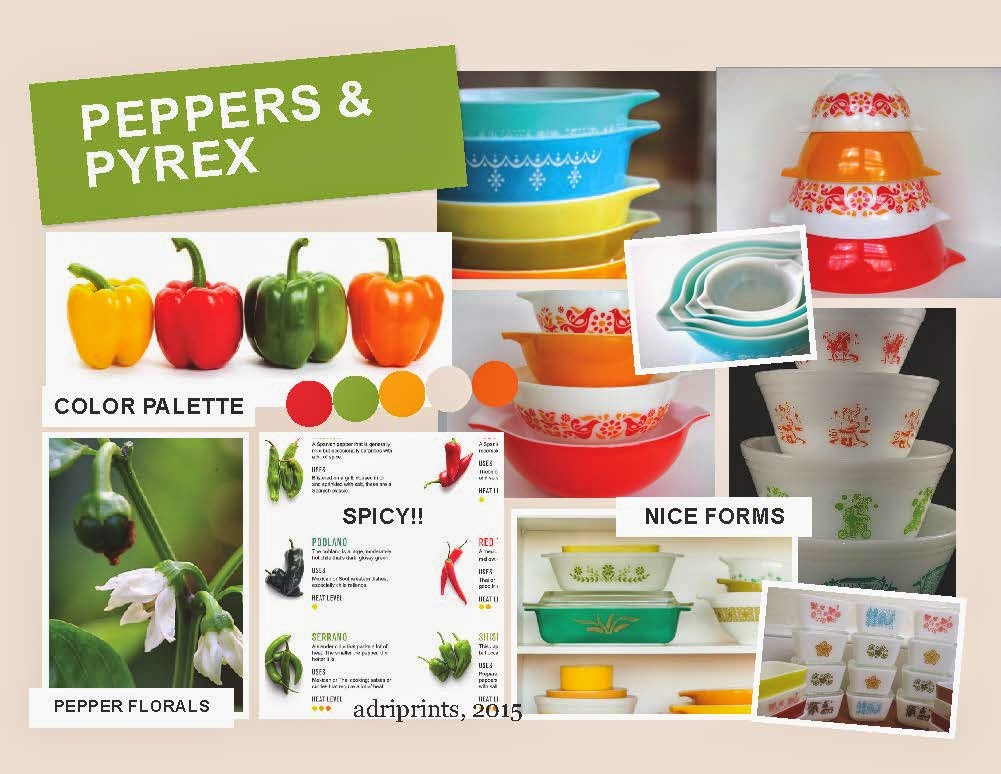
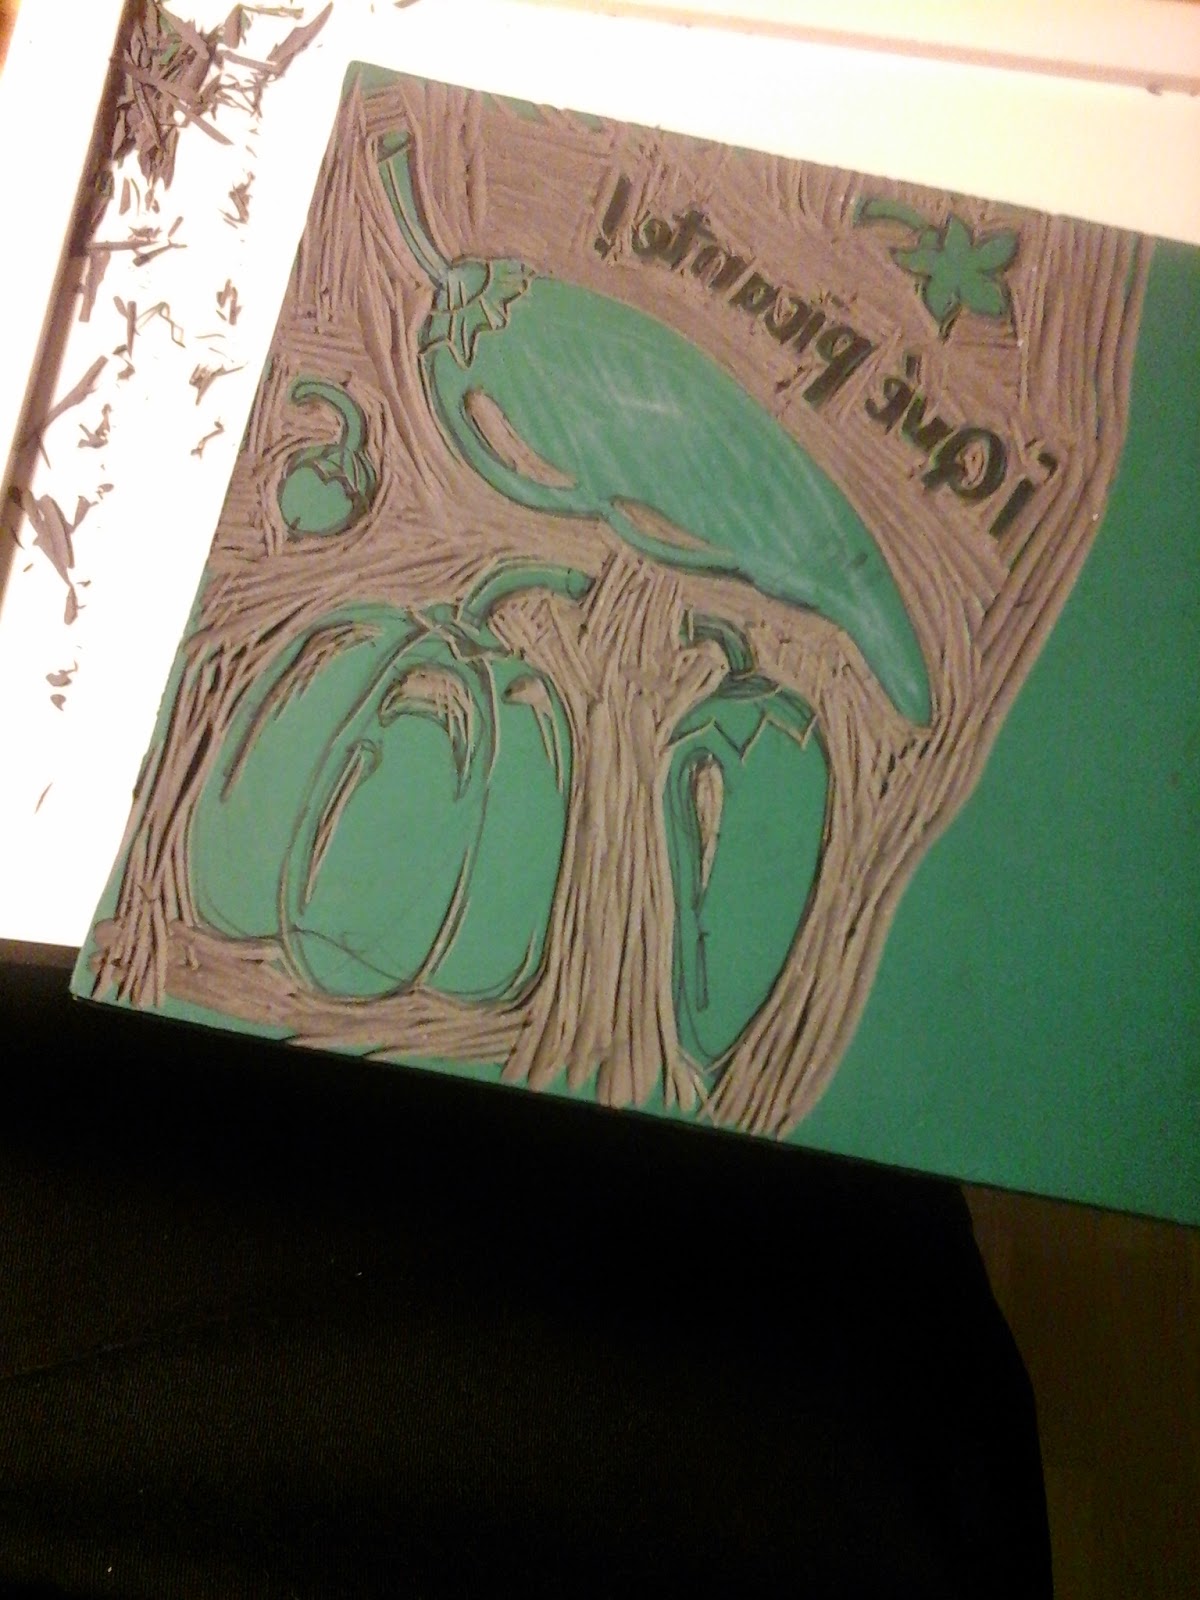
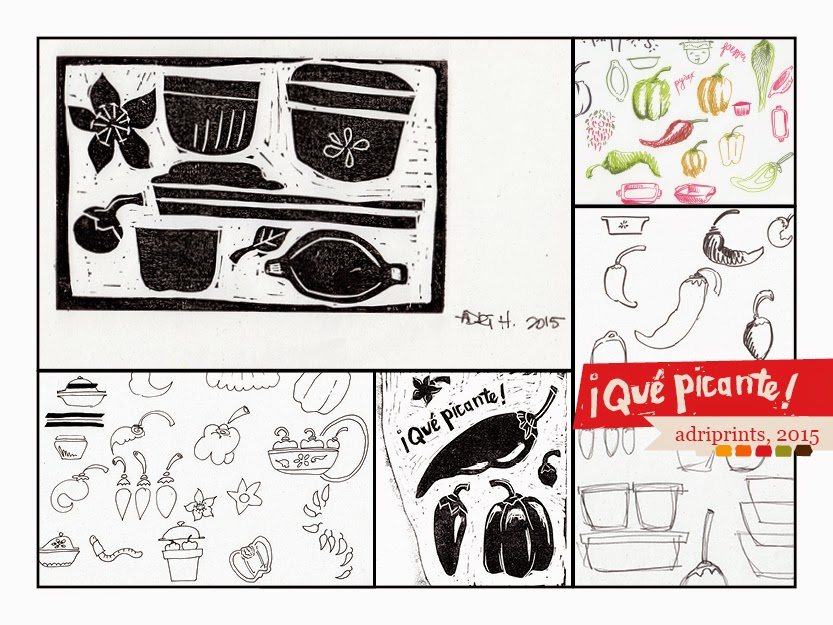
So it’s gone for six years now. 2022 brought to fruition a lot of seeds planted years ago doing these kinds of reflection and intention exercises. The path of my life has finally brought me here, to reflect upon the publishing of my first book as an author and illustrator.


This is no accident! It’s the course I set for myself, and worked toward year after year. It’s the learning and revising, and reflection all adding up. You too can set the course of your creative year, and I encourage you to take the time to reflect and set intentions for 2023.


Wishing you a super 2023!


-Adriana


Some favorite success-building creative activities:

  • Reflection journaling or sketching like The Year Compass (https://yearcompass.com/en/ - it's a free journaling tool).

  • Setting intentions and creating a plan for success

  • Choosing a word of the year for motivation or focus

  • Idea generation community activities like Tara Lazar’s Storystorm (https://taralazar.com/)

  • Editing workshops or critique group meet-ups
  • Accountability communities like 12x12 or Storyteller Academy or your local SCBWI conferences

Floridiana: Behind the Scenes Part 1

I first signed up for Bonnie Christine's Surface Pattern Design 2.0: Start a Career Skillshare Class in April, but I kept a diary of my process, and thought it would be nice to share with you all, my readers.  This is Part 1 of 2 explaining my process behind the Floridiana surface patterns.

April 10, 2015
My hometown is a place full of contradictions.  I grew up in South Florida mostly in Miami, and being far away from it gives me some perspective on what a beautiful place it can be.  Lush, tropical plants grow everywhere: palms, hibiscuses, bougainvilleas, banyan trees, vines, orchids, and old oaks with Spanish moss hanging from them.  Wild parrots, ibises, and all kinds of birds made it their home along with the tiny, adorable key deer. It's not completely unheard of to find a gator in your yard, and/or see celebrities with their tiny dogs in their handbags.  Summer in Miami usually meant a long stay at the beach with your family... sardines on crackers, collecting seashells, water out of the cooler, running to the shade to avoid burning your feet, and do NOT feed the seagulls...
I'll see what kind of journey this reminiscing takes me...

April 15, 2015
First, a snapshot of our family.


All of these photos are from my family's albums.  Unfortunately, my grandma is not in any of these since she was usually behind the camera.   See what I mean about the palm trees?  Our backyard faced a canal that frequently had gators floating by.  We always had family over the house, and there was never a dull moment growing up.
If anyone else is working with family photos, isn't it hard to stop looking through all the photos?  I had to stop myself before I got too emotional.  I just wanna reminisce!  I miss my grandparents very much (they've all passed).   But, after mulling it over, I think I know what I'm going to draw now.

But first, an exploration in color.  My 2 (preliminary) palettes with colors directly from my family photos...
I've divided my colors between past and present which, in turn, created a warm and cool palette.  Handy!


Next, it's sketch time!

April 25, 2015
So I've been researching local Florida wildlife, flora, and fauna and started to sketch!  


I think I'm going to need to make a moodboard to help guide the style before I go digital.


April 29, 2015
I most definitely needed a style guide!  So I made one using my favorite print heroes.


April 30, 2015
And then I digitized and refined a lot of icons including lettering...


May 1, 2015
Working on the "hero" or main pattern, I chose to work with the ibis (instead of the key deer).  I may still do a repeat with the deer, though, since it's so cute.  But, here's what I did so far with the main one.  It really helped to have my style guides to help me figure out how I should lay out the ibis.


Surface Design, Botanical #1


After taking some general online courses on Surface Design, I came upon this one by Bonnie Christine on Skillshare.  I started this project in late February, and kept a lot of detailed notes on my progress.  Can I tell you how much I've learned in the videos from Bonnie Christine's class?  It's crazy!  I have been using Adobe Illustrator for over 10 years, and I thought I knew my way around, but I learned so many new tricks in this class that I hadn't ever even thought to try!

I was humbled by the class and how much I have left to learn about design and my favorite software.

Also, as you know, I've spent all of March working on MATS projects.  So, in between my projects and the fast-pace of each week, I've been tweaking and applying my new skills to this pattern repeat.

Here's what I did for the class:


And here's the diary of my entire process...
February 23, 2015
Choose a word, short phrase... Bloom?  Blossom?  Botanical?  Not sure yet, but I think I'll go with one of those.
Favorite things in nature... red squirrels, muscari azureum (grape hyacinths, and also bluebonnets and bluebells), new leaves, buds of flowers, dogwood blossoms, peonies and round blossoms, cacti, lithops & succulents, daffodils and narcissus, orchids, etc.  Bright saturated colors.

1 colorful photograph (for palette) & 3-5 photographs (thematically related, to draw from) -- See mood board labeled "Botanical #1".  I love this bouquet I found on Pinterest.  And, I found other beautiful photographs on several photography sites.  I'm personally not that great of a photographer and so I looked on Pinterest, Flickr, and used keywords of my favorite things to find inspirational photographs.  

Mood-board Photo Origins: I searched for the origins of the peonies bouquet, but to no avail.  The leaves, curled seed pod are from photographer Alan MacKenzie a very talented wildlife photographer.  The daffodils and muscari azureum on the top right of the moodboard are from Better Homes and Gardens magazine.  And the red squirrel is from Birds in Berlin blog.


February 24, 2015: Choose 10 - 15 simple/med complex sketches  I'm thinking the squirrel, hyacinths, and the succulents will be my complex elements and perhaps I'll simplify everything else into 1 or 2 colors.  Maybe I'll use just the filled-in outline for some, and/or the line-art.  Time to play!

February 25, 2015: Digitizing the sketches
This was somewhat tedious, but in a zen-like way.  It's digital tracing using a bunch of different techniques.  Some I used my own custom brushes in Illustrator, then expanded the stroke.  Others I used the blob brush as instructed in the videos.  Then Others I used a black marker and filled in areas using my tracing table, and then scanned, and did "live trace".
March 1, 2015: Simple Repeat
Alright.  I have to say it.  This class is ROCKING my world!  I just tested my simple pattern repeat, and using my palette, I "recolored" the artwork.  To my amazement and wonder, I now have 3 colorways that I absolutely love.
What do you think?

March 4: Complex Repeat WIP  
Here's where I am with the motif for the complex repeat.  I've struggled a bit to get it where I want because one of my goals was to add texture to my work.  So, I made some textures, scanned them, etc. and got them to be vector-friendly.  Then, I learned that you can't make a pattern repeat from something with a pattern in it... so be sure to expand all your elements before trying to make a pattern from it!  I learned that after a while of trying to drag it into the swatches panel with no success.  Oops!  Lesson learned!
March 18, 2015: Complex Repeat WIP The past few weeks I've learned a few things about repeats.  I bought and read several of the books that Bonnie recommended (mastering the art of fabric printing and design & the field guide to...).  I also learned some new work-flow for Photoshop and back to Illustrator in order to add texture and correct alleys and holes  and too easily recognizable repeated motifs.

Also, I went back and re-inked some of the original motifs that felt a bit lacking, and here are the newly inked icons.

March 30, 2015 And, if you look at the version I submitted, you'll see the versions above were the ones I used.  

The next steps for this project:  
  • add more geometric/abstract patterns
  • refine the color palette
  • find a fabric manufacturer who would like to work with me to print the collection!


MATS A, Week 1: Bolt Fabric

The first week of MATS (Make Art That Sells) Part A went really, really well.  I was so anxious and scared to begin with, but I felt right at home illustrating the mini, and then later the actual assignment.  My fellow classmates were super supportive, and their work is really great!  It's awesome to see what others are doing and it helps me to figure out what to tweak next.  I see how they handle certain elements within a design and it sparks a solution in me.  Lots of zeitgeist, enthusiasm, feedback, and visual inspiration!

I also like that the turnaround times are short in order to force me not to spin my wheels.  I have the tendency to overthink things if given too much time.  The deadlines of the course plus the unpredictability of the baby's toddler's schedule make for a nice sense of urgency that makes me productive!  This past Thursday night I turned in my final, and here's what it looks like...


This was the layout that I turned in, and I'd like to change certain elements moving forward, but I'm happy with the overall direction I chose.  Our mini theme was "pretty peppers and pyrex" and then the big assignment was "vintage kitchen" as the target niche.  I kind of tweaked the theme to "I love Tex Mex please join me in celebrating my love for enchiladas through the lens of 1972."

As many of you who know me already know, I lived in Texas for a few years and my husband is Texan.  His family live in the southwest and we visit nearly every year.  Here in Germany, Tex-Mex can be found, but it's not the same.  When I visit TX and NM, the food is something I enjoy very, very much (I nearly went with vintage + BBQ!).

Interestingly enough, living in Germany for so long seems to have rubbed off on me.  One of the coordinates ended up looking like one of my favorite traditional dirndl fabrics (the green/white one on the lower right).  I think it would be really cool to have a dirndl with chiles on the bodice or apron!!

Process
Mini: peppers n' pyrex
Original Mood-board


Roughs
first linocut in over 10 years!


To give you a breakdown of what I was working with, I scanned in my images and isolated roughly 80 to 90 individual icons. Once the additional category of "vintage kitchen" was given, I shopped among them for the most appropriate ones.  I had already digitized them, but not yet colored them.  Next, I added textures, finessed the little details... but there's always more to do.  If anything, I've already learned that.  The details make or break the illustration.

Thoughts on Week 1 Course Materials
I found the break-down of the assignment to be very helpful.  I love the act of chunking the work into tasty morsels, and so the structure of the class suits me well.  Most days we had a post to read, an interview to watch, skills to learn and/or industry tips and tricks to absorb.

The information given in the class materials is really specific and valuable.  This past week there were even additional workshop materials from the Art & Business of Surface Pattern Design course that I considered taking.  I think I'm in the right place because I already have a pretty good understanding of the technical aspects of making a repeat through my background experience with Illustrator and the Creative Live, Skillshare classes from Bonnie Christine and Elizabeth Olwen, and the books I read on pattern design.

But, the interview with an industry professional was invaluable.  So was the style analysis worksheet and Lilla's advice.  In short, I'm so glad to be taking this course.  It's exactly what I needed!

A Change of Pace

I'm writing from Texas today.  We're on the second leg of a pretty long tour of the U.S. while we introduce our baby boy to the extended family.  This long trip is forcing me to explore other facets of my work, and I think it's to my benefit.  Since my sewing and knitting machines stayed in Germany, I've focused more on knitting, illustration, and fonts...

In the knitting world, I'm working on a fairisle design for babies.  Here's my swatch:


If you're in Munich in February, I'll be teaching a class on fairisle knitting at the local yarn shop (contact me for details if you're interested!).

I've also been taking online classes on surface pattern design.  My most recent class was through CreativeLive and was the Pattern Design: From Hand to Screen to Surface with Molly Hatch. It was a refresher course for me since I remember learning one of these techniques when I did ceramics at University of Miami.  We learned some of these techniques when we were making tiles... like physical tiles from clay!  It's great to know that these age-old techniques can be translated to digital form.

Here's the rough from the class...

And a more refined version I worked on via Photoshop:

And, in the fonts world, I've been learning more about kerning.  It's a weakness of mine.  When I first ventured into typography and designing fonts, I didn't know much about kerning and it shows in my early fonts.  So, my goal whilst traveling is to re-kern my old fonts.  Wish me luck!  It's quite a tedious task to say the least.

Week 1 Round-up, MMM14

Here's the weekly round up of me-mades worn this past week!


If you'd like to make any of the above items that have a pattern, here are the links:
May 1- Mitered Detail Cardigan can be found here on Ravelry.
May 2- Mod Podge can be found here on Twist Collective's site or here on Ravelry.
May 3- Colette Pattern's Sorbetto can be found here and my modifications can be found here.
May 4- Iris Pullover from Schnittchen can be found here.
May 5- Blank Canvas Tee can be found here and my modifications here.

WIP: What’s in progress?

What's in progress?  Let me show you!  Here's what I've been working on...

In Hand Knits:
On my double pointed needles, there's currently a second mitten!


This is the second mitten of red/white pair using my Rosita Mittens pattern from Knitscene Accessories, 2013.  I think I managed to make a larger size by mistake.  Oh well.

In Machine Knits:
I'm working on a cardigan design I'm temporarily calling "Mitered Detail Cardigan".  I was doing all the calculations using the old-school methods you see below (tape measure, calculator, and pencil).


Here's the first mitered square done on the machine.  It took a LOT of hand manipulation using a garter bar to move each row of stitches toward the center to create the centered double decrease, but it looks good.


Here's the completed back piece of the cardigan.

In Sewing:
I made my first overlocked zip-pouch.  This is one of three that's in progress.  It's my test piece, and it will likely be the subject of a giveaway very soon.  Who knew that boxed corners had to be so accurate?!


I used the Liberty Lifestyle fabric I wrote about earlier along with some other quilting cottons, fusible fleece, and a zipper from my zippers-on-a-roll.  Can't wait to master the boxing of corners.  What are you working on?

Knitting Machine: Fairisle Experiments

I am a huge fan of fairisle knitting by hand.  I teach a course every once in a while to people who want to learn the technique, and I enjoy spreading the love of fairisle wherever I go.  It's one of those techniques that looks way harder than it actually is.  And, very recently (last week), I started to experiment with the technique on my knitting machine using the punchcards.  At first, I was stymied by some technical issues with the patterning.

See what I mean?

Weird!  Why is it only knitting in pattern every other row?!

It was time for some detective work, and I consulted the amazingly generous and talented members of Ravelry's Machine Knitting Group.  Seriously, they are so knowledgeable.  First, I checked the lever settings as was recommended.  No luck. Then, someone chimed in with a similar knitting machine, and said it could be an un-sprung spring in the undercarriage of the knitting machine.

If you notice, every knitting machine has a carriage that slides across the bed of the machine and it's got tons of tiny cams, gears, levers, springs, etc. underneath that carriage.  I turned mine over and started by looking to see if changing the different modes (tuck stitch, stockinette, fairisle, etc.) made any of those levers move.  They usually move symmetrically, but low and behold, mine did not!


Instead, I found wads of cat hair, fluffy junk, and some sticky, gummy springs.  But, luckily, I didn't have to reattach a spring.  Those springs are tiny. They were all intact, just gummy.  So out came the latex gloves, rags, and machine oil... Fast forward fifty cotton swabs, tweezers, and a dirty rag later...


BAM!  ZIP!


Success!

Thanks for your help, Ravelry Machine Knitting Mods!!   The Empisal Knitmaster 324's knitting smoother than ever.

I still prefer hand-knit fairisle for more complex patterning, and I especially dislike long floats like in that center pattern.  Yuck!  But now I know how use the punchcards on my knitting machine, and that's a start!

Full Disclosure, Life WIP

My latest stash acquisitions are actually a gift from one of my friends.  She thought of me and brought me fabric from Japan!  And you're probably wondering why she's given me a bunch of baby-boy themed fabric... Well...

Time for a confession.  It's been a bit quiet around here on the blog, but in real life, it's been a lot more chaotic.  See, I've been holding something back from you all.  If you know me in person, then you can see what's going on, but I didn't want my life's issues to spill over into the blog.  I try to keep the blog focused on my work: knitting, illustrating, sewing, quilting, etc.  But, I'm about to shift gears, and I wanted you to know ahead of time.  As I look around the blogosphere, I've noticed that I'm at that age... that age where bloggers  who are in my age group are starting families.  What I'm trying to say is that I'm pregnant.  I'm very pregnant.


And, that's why I haven't really been sewing for myself.  It's been crazy.  This will be our first child, and we are over the moon to be almost at the third trimester.  As a nice science project-type thing, I started taking my measurements on a weekly basis starting from the early weeks of pregnancy... Let's just say we (baby + me) are growing at a quite rapid pace.  So quickly that if I started a dress today and it took me a week to finish, I may not fit into it.  We're talking about an inch (2.5cm) to two inches of bust difference in just a week some weeks.  So, I'm taking a break from sewing for myself.

Instead, I've been illustrating and finishing up loose ends.  I'm done with the blankets for the twins and will have photos to share soon.  I also would love to get some baby sewing done!  I hope I get time to do it.  I was hospitalized for a whole week last week fighting a serious infection, and I'm truly hoping that everything goes smoothly from here on out.  The baby is okay, but that was quite a scare.  So, I'm going to try and check in as often as possible with the latest projects, but just know I'm not as nimble as I was, and life... well, life has a way of letting you know when to slow down.  Point taken!

xoxo