Tag Archives: quilt

Quilting in Progress! (sort of)

My quilting time is definitely limited these days, but I persevere. The quilt sandwich is complete, and I rushed a bit... this was my mistake. I did go through and pin baste. But, I tried skipping my usual stitch in the ditch then free-motion quilt process and have paid for it dearly!

My toddler is now totally intrigued by the sewing machine, and every time I was manipulating the quilt doing free-motion quilting, he kept running at me and the machine to slap and try to stop the fly wheel, which is a most obvious no-no! So, I'd stop sewing, and he'd run away cackling. In the meantime, I wasn't smoothing the fabric and I ended up sewing several pinches of fabric on the back side of the quilt!

((big sigh))


Ah well. One of my online artist friends said to keep it as a reminder of the the moment. It's an idea. I don't know if I can though, as the fabric just gets worse and worse pinched as it gets further away. I may leave one in, and un-sew and re-sew the worst ones.


The DIY Mojo is Back!


Watch out! I'm getting that itch to make clothes again! Bought a sewing pattern after receiving some lovely new fabric from a friend. Bought yarn for the first time in over a year, and am now putting together some new DIY projects. 

Knitting:
Sadly our local LYS, the Loop & Leaf is closing, and Celeste the lovely owner of the shop had to sell all her yarn stock to prepare for the sale of the building. This meant steep cuts in price to the yarn and so I bought two small lots of yarn: 5 skeins of Juniper Moon Farm's Zooey and 7 skeins of Berroco Maya. We didn't have any stockists in Germany who carried Juniper Moon Farm or Berroco yarn so I was happy to finally get to try some of the more American brand yarns in warm-weather varieties. The Zooey is a cotton/linen blend and the Maya is a cotton/alpaca blend (chain structure).  I don't have too many warm weather yarns so it was perfect.

My first swatch in over a year! (Juniper Moon Farms Zooey)

Berroco's Maya yarn

Sewing:
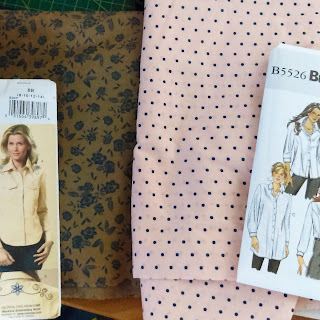
We took a short trip to Germany, and I was able to catch up with friends. One of my friends is going super-minimal-no-waste in her household so she foisted some beautiful fabric on me (see the first pic). It didn't take much to convince me to take it! I want to make a blouse and a skirt for work.

Quilting:
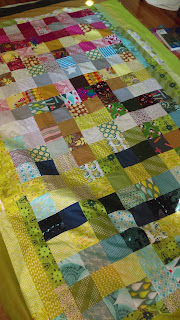
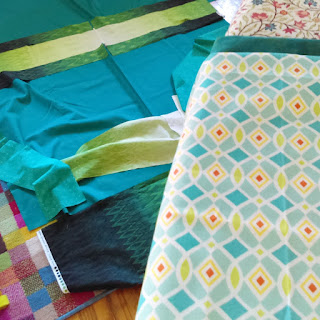
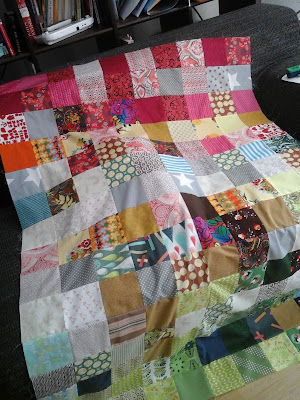
Finally, I finished both sides of the fun "blue-green" patchwork quilt I started last year. So now all that's left is the actual quilting!


And that's what's happening in my craft-room (which is also the living room and art studio and general multi-purpose room)!

Super Simple Patchwork Quilt WIP

How do I deal with the stress of moving internationally?  I multitask like crazy, make lists, post stuff for sale... and do a simple patchwork quilt to deal with the need to do machine-like sewing and stash-busting.

Saturday...

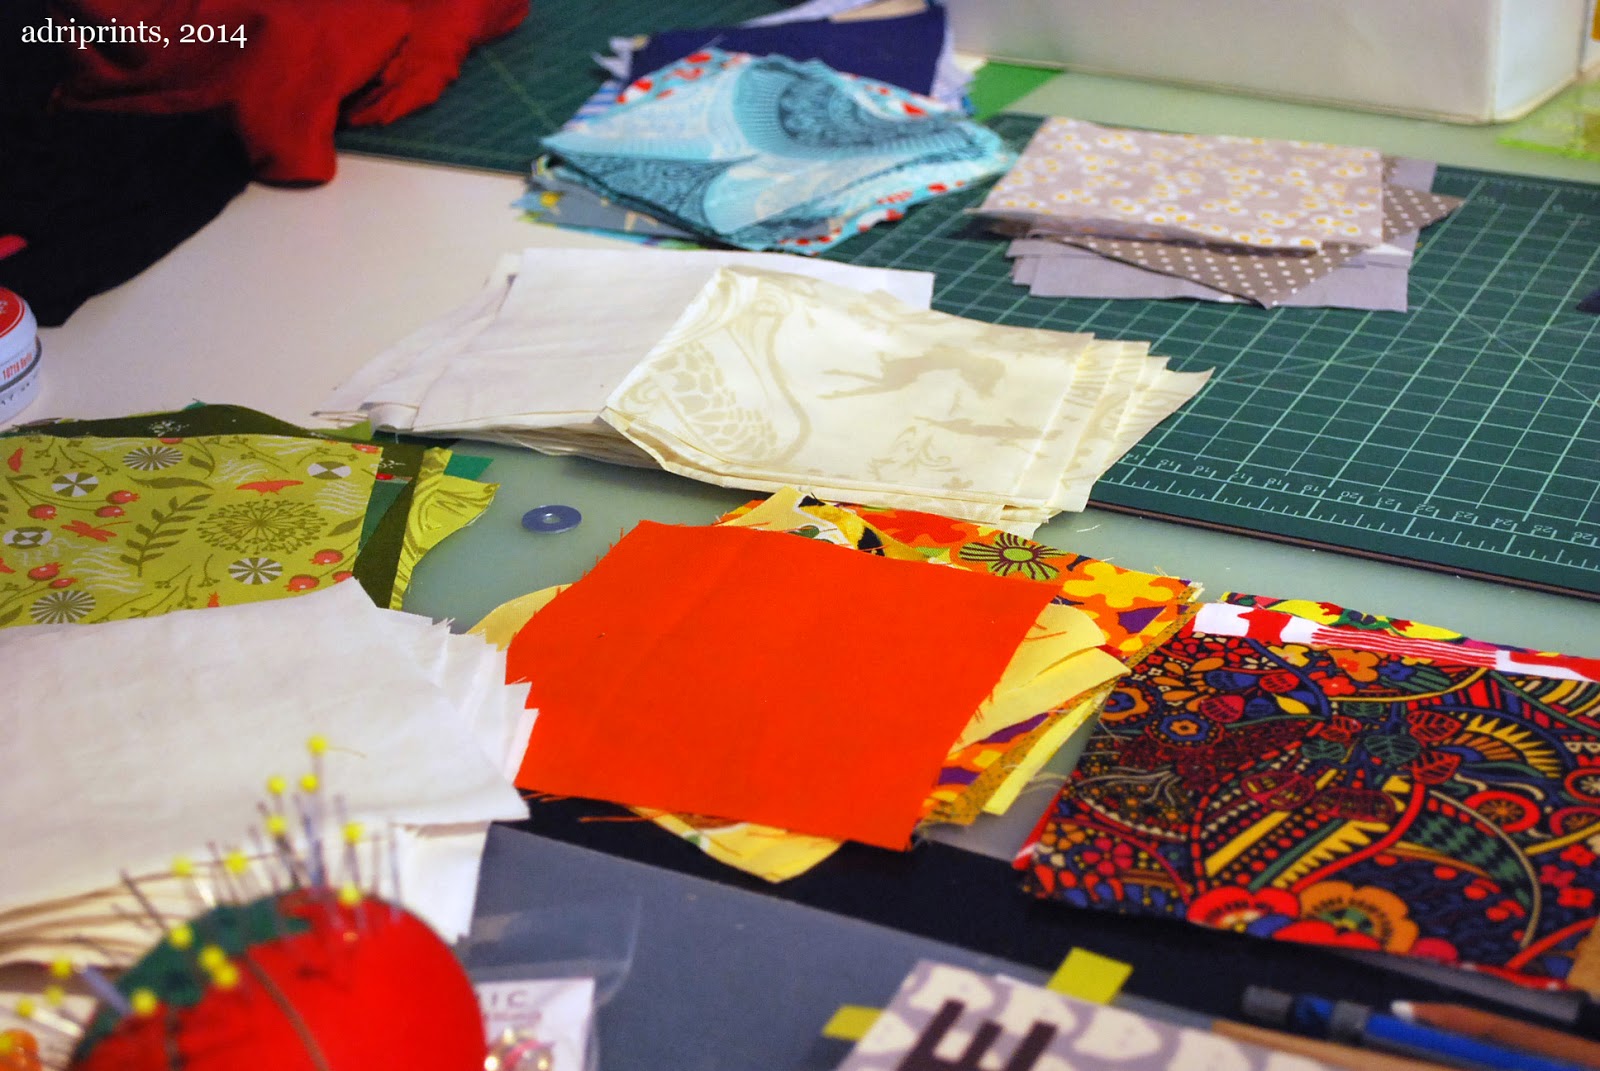
4.5" scrap squares that have been hanging around for a while

later that day...

sewn into strips

and today!
nearly done with the quilted top

I still have five more rows to add, then sashing, then quilting!
Lots of progress!  Hurrah for the feeling of pseudo-accomplishment!

On the Sewing Table and Post-Pregnancy Body Reckoning

Do not fear, my fellow sewing enthusiasts, my sewing table has not gone unemployed these last few months; not entirely unemployed at least.  I signed up for Kid's Clothing Week which was two weeks ago and also Me-Made May as inspiration to get my sewing-mojo back and... wait, let me backtrack here... What happened to my sewing mojo? SEWING mojo, where are you?!  I don't yet have an answer for that.

I have been tracing patterns and cutting fabric, but haven't really finished anything!  I start a project, and then migrate back into illustration and leave these projects all folded in their little plastic tubs for days, and then weeks, and now months.  (sigh)

I have taken the first step, though, toward welcoming new projects and completing them.  I went through my closet and started the daunting, and somewhat sad task of separating clothes that will never fit me ever again. And, this (really sadly) included a lot of my homemade clothing.  It was pretty depressing to see the Bombshell Dress in the pile of clothes going to charity alongside all of my homemade jeans and trousers, and several dresses.  You see, my 3 main measurements (bust, waist, hips) are no longer the same as before pregnancy (no surprise to many of you), but I was totally in denial.  I thought that things would at least get pretty close to what they were, but there's no way that my waist or hips are gonna shrink in that way ever again, and it's been almost a year since the little guy was born.  So, it's time.

Oh, I want to tell you it's been so positive for me, and that I can easily see the silver lining -- that it's a way to start fresh and make space for projects and clothes I love -- but it's been hard.  It's been really hard actually, and if you follow my blog, you know that I'm a pretty positive person.  And well, my self-esteem has taken a pretty big hit.  I finally broke down this past week and bought new bras.  Not a single one of my old bras fit anymore, and it was a big first step toward acceptance of the new me.  Okay, I do have a silver lining, and it's that I'm now a pretty standard bra size which means I can find them in my size in pretty much any brand!  Yippee!

And, here's where I end my own pity party... right here! Done!

So, what am I working on?


Pattern: Streaky Legs, Ottobre 1/2015
Fabric: in sweatshirt, single jersey, and microfleece


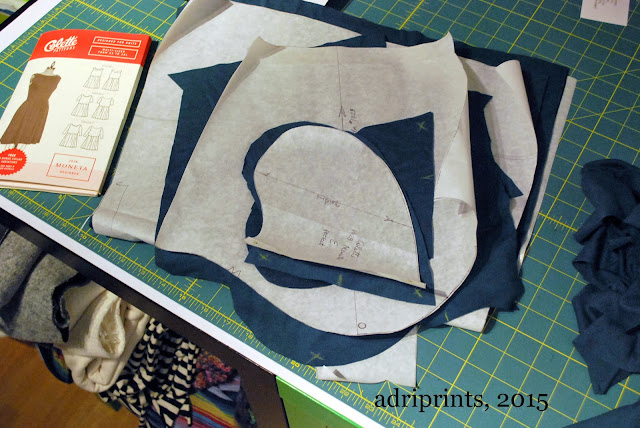
Pattern: Moneta, Colette Pattern 1028
Fabric: Dark Turquoise knit


Pattern: ??
Fabric: all kinds of quilting cotton already cut into squares

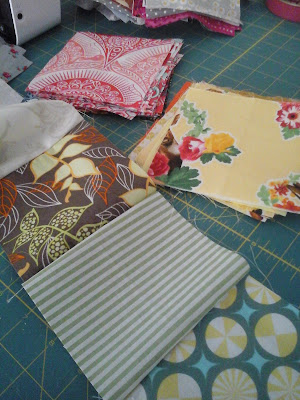
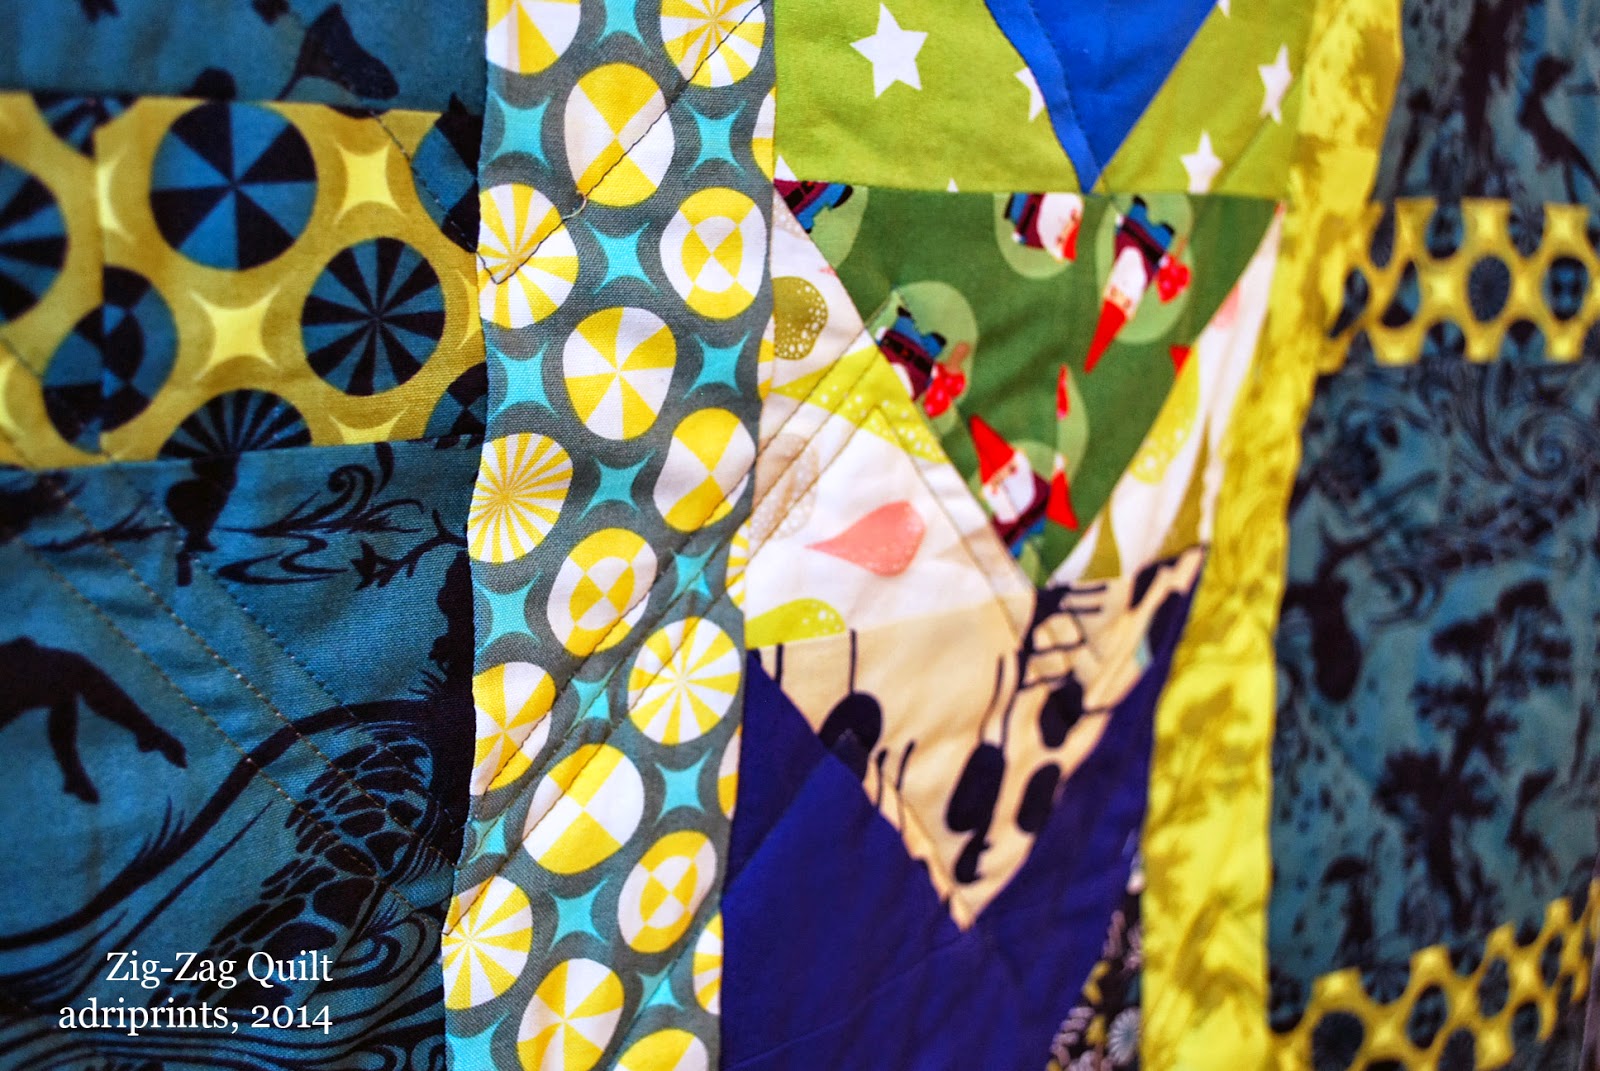
Remember these?  These were the remnants of the zig-zag quilt I made almost exactly a year ago!  I cut waaay too many squares thinking I was doing a rainbow HST quilt, but instead went with a zig-zag.  I have no idea what to do with them.  I've got colors ranging from brown/tan to bright yellow-green.  Do you have any favorite quilt patterns to suggest?  Let me know. :)

Tutorial: Zig-Zag Quilt

You can make your own Zig-Zag Quilt top from stash scraps, and it's not too difficult!

Main requirement for piecing this quilt top:
72 white pieces of fabric, 4.5" square
72 print pieces of fabric, 4.5" square

You'll also need:
- additional yardage for sashing, backing, and binding
- batting for the center of the quilt sandwich

Side Note: Someone asked me how I get the fabric for my stash and how I chose the colors for this quilt.  My stash was built up from fat-quarters and yardage for garment sewing.  I am a bit compulsive after sewing projects.  I can't remember where I got the idea to save scraps larger than 2" square after sewing projects.  But, that's what I do. After a project, I cut down the smaller bits of fabric into two categories: strips or squares.  I trim the squares to be 4.5" because that's the size of my plastic template.  And the smaller stuff gets turned into strips or dresden plates.  Then, I have little clear plastic bags where these scraps are organized by color.  Obsessive yes, but hey, it made this project a real snap!


First, the basis of this quilt is the half-square triangle.  It's known in the quilting world as the HST.  After you've mastered that, you're pretty much set to go.  Here's how I did the HSTs for this quilt...


As described above, I started with two fabric squares in contrasting colors of identical size.  In the case of the Zig-Zag Quilt, I started with squares that measured 4.5".  As long as all your squares are consistently cut and pieced, it's all good.  Each pairing makes 2 HSTs.  You lay one white, one color square with right sides together.  Mark the diagonal, and stitch 1/4" above and below the mark.  Then, cut across the diagonal mark, open, and press the two squares you just made.  I do loads of squares at a time by chain piecing and then press them all at once... I learned this from Craftsy's 2012 Block of the Month with Amy Gibson - the February video here is all about the HST.

Once you've made a bunch of these HSTs, they can be combined in so many different ways!


In the case of the Zig-Zag Quilt, here's how I pieced the top:


Each row of zig-zags used 24 HSTs.
The final quilt had 6 lines of zig-zags, which equals 144 HSTs.
This also means that I started with a total of 144 squares of fabric: 72 color and 72 white squares.

In any case, once I had the long pieced rows of zig-zags, I carefully joined them across these rows, making sure to use pins to line up all the seams.  I tend to press my seams open, and this was no exception.


Next, I added sashing to the outer edge of the top (that white outer frame).  My sashing had extra width to it.  If I remember correctly, the sashing was 6" wide so I could trim it down if I had to square up the quilt after free-motion quilting.  I didn't end up FMQing, but it's always good to have a bit of wiggle room for squaring up.

You cut your batting (the fluffy middle) about 4" longer and wider than your top so you have 2" of adjustment... just in case!

For me, the trickiest part of this quilt was the backing.  If you have a really vertical/horizontal element on the back like in my version of the quilt, you want to be sure to hand-baste a few cross-hairs across the quilt so it's accurately aligned to the front.  I ran a line of basting down the center of the big vertical element, and across both the horizontal elements.  This help me to be sure it was oriented correctly to the quilt top. If you want to avoid this extra step, just use a non-directional print, and a whole cloth style for the back.


My first quilts lacked this kind of precision (and were really wonky) because I didn't understand how important basting was.  Once you learn to hand-baste quickly, there's no excuse! It takes a few minutes for a quilt of this size.  I did both pin and hand-basting for this quilt.

Lastly, is the actual quilting.  First, I stitched in the ditch (along the main zig-zags).  Then, I echo-quilted which means I ran a line of stitching about 3/8" away from the zig-zags.  I just used my presser foot's width as a guide.  Then, I quilted the sashing, added the binding (that final outer edge) using this tutorial from Sew Mama Sew and Mary on Lake Pulaski.

And, that was it!

The final quilt including the sashing and binding is 51" x 51".
The main print for the backing is Tula Pink's "Turtle Bay" print from her 2011 collection "Prince Charming" in Indigo.  Everything else was scraps and leftovers from my stash.

I hope this tutorial helps clarify the process of quilting something like this improvised quilt.  Have you ever quilted before?  What were your first quilts like?

Zig Zag Quilt Finished!

Happy Easter!  And, happy finished Zig-Zag Quilt!

The FMQ foot for my new machine is still on back-order so I decided I should just stop waiting and finish the quilt.  So... I did!


 I used a couple of tools to help me finish the quilt which I can recommend...


Firstly, I used the Robert Kaufmann Android phone app to help me calculate how much fabric I needed for binding and sashing.  You can find that here.  For i-phones you can find it on i-tunes.

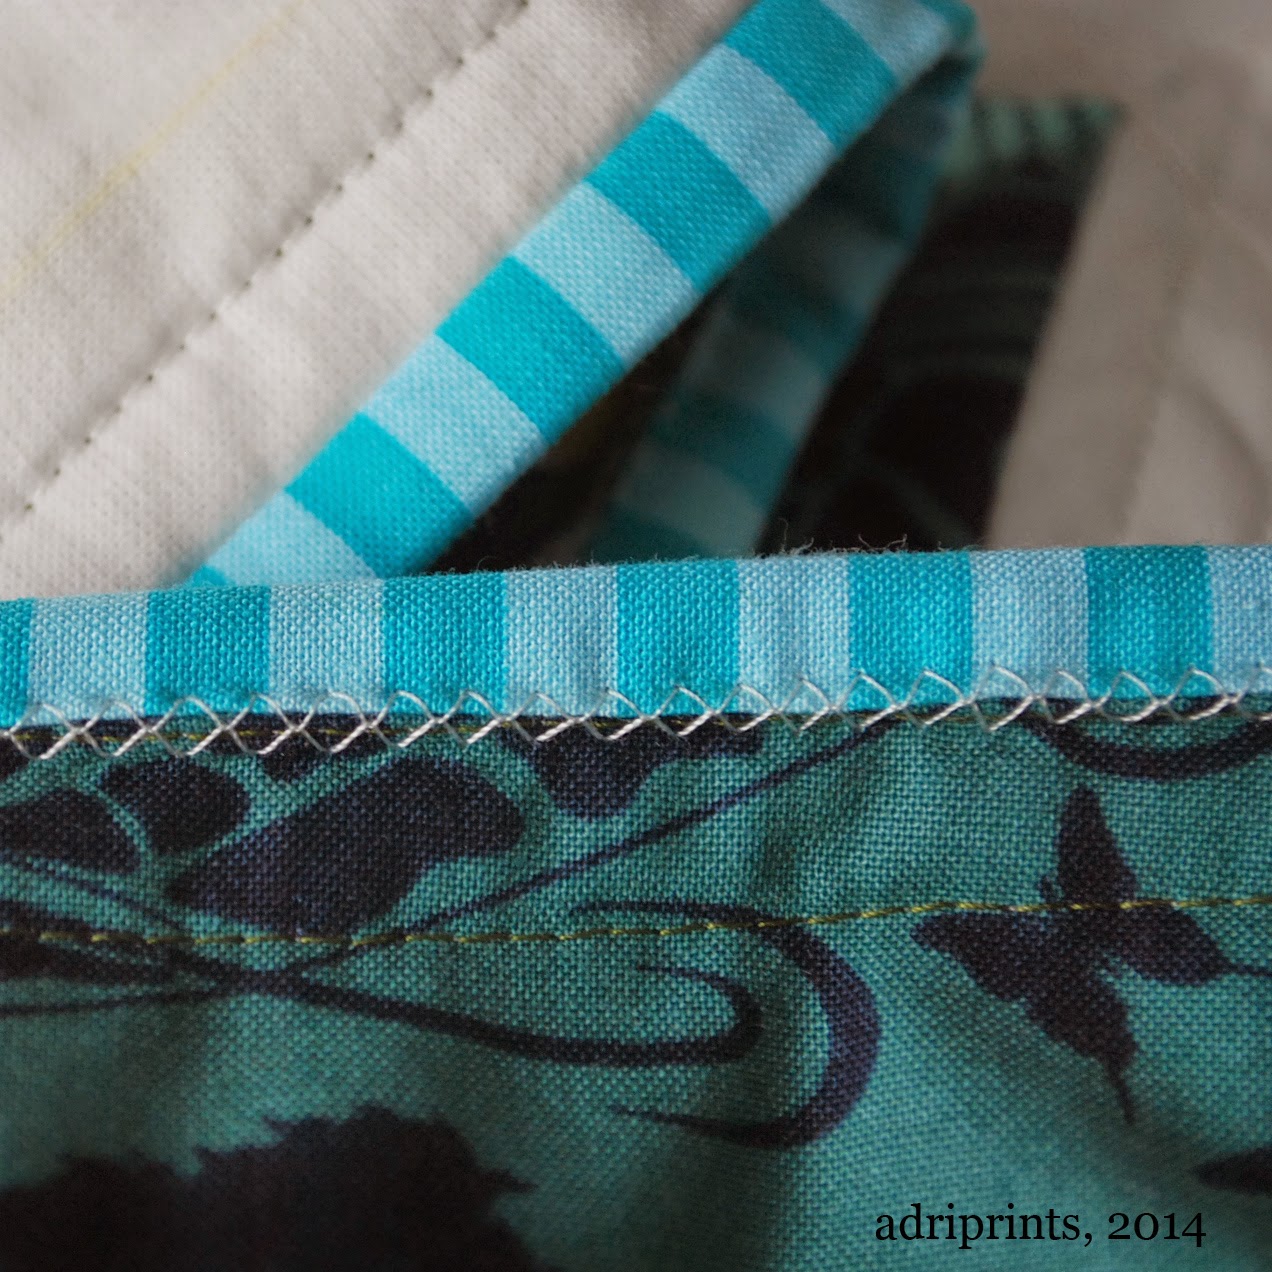
Secondly, I used this tutorial to get a kind of hand cross-stitch look with a plain old zig-zag stitch on my sewing machine using this tutorial here.

It looks like this when finished...


On the front, the finish is invisible, but the back has a pseudo-cross-stitch look which I really like!

And, that's about it.  I cut the striped binding fabric across the stripes so it would make a checkered border, and echo quilted the zig-zags to add some interest and structure.  I'm really pleased with how it came out, and hopefully the baby will enjoy crawling on it and being cozy in it!  I'll post a tutorial in case you all want to make your own zig-zag quilt.  It's fairly straightforward.

WIP: Zig Zag Quilt & Mitered Cardi

This past weekend, I made so much progress, but alas, I did not finish the quilt.

I do have the quilt sandwich ready to go, and am strongly considering a straightforward quilt-job instead of FMQ'ing.  See, the sewing machine shop sold me a FMQ'ing foot for my new machine (more on that later), but I could not for the life of me figure out how to install it.  I don't think it actually fits my machine.  So, I'll go check on that sometime this week.  In the meantime, here's my progress!

I finished piecing the top...


Added a border and pin-basted it to the batting and back...


All I need to do now is quilt!

As for the second Mitered Detail Cardi, here's where I'm at...


I've got to sew the side seams, knit one more sleeve, and add the edging!  So close!

P.S. If you haven't already entered, there's a giveaway in the previous post!  Feel free to enter and win a quilted fabric pouch.

Giveaway: Fabric Pouch

This week, I've got a giveaway for you all!


Already three months of this year have gone by, and I'd like to thank you for sticking around and reading my blog!  If you'd like to win this fabric pouch which makes a lovely eyeglass case or hard-drive cover, it's quilted in pinks and ready to go!

I was working on this little pouch a few weeks ago when I was doing the boxed corners projects...


To win it... just follow the Rafflecopter instructions below.

a Rafflecopter giveaway

WIP: Zig Zag Quilt

I'm making progress!


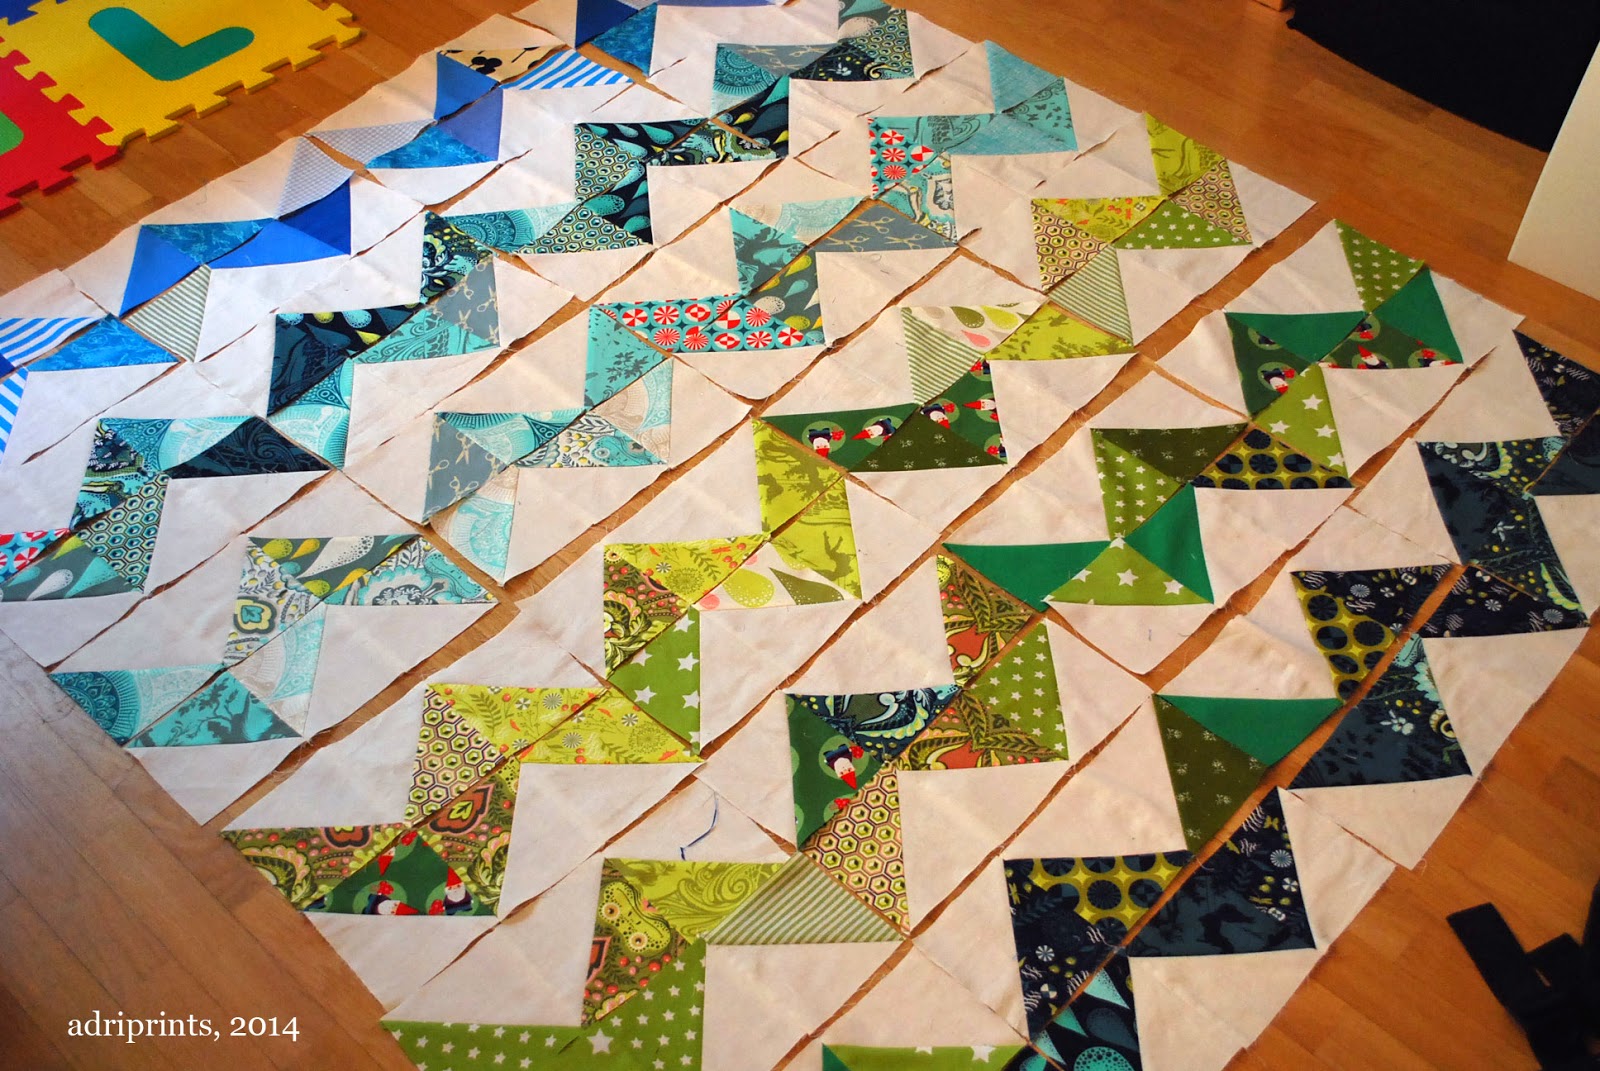
Earlier this week, I pieced together the HSTs (half-square triangles) into groups of 3, then I pieced the groups of 3 into zigzags!


Hopefully, by the weekend, I can get the top done and go buy some batting!  I'm going to do the back and binding in fabric from my stash.  I wonder if I have enough binding from the Blue Sampler Quilt to bind this one, too?  Hmm...

WIP: Zig-Zag Quilt

At first, I had looked at the Rainbow Stash-Busting quilt from A Quilt Story from the book Modern Quilts from the Blogging Universe, inspired, I jumped into my stash and came up with handfuls of lovely fabric.  I used many of my Tula Pink "Prince Charming" fat quarters and finally used up lots of my rainbow color scraps.  But I cut too many HSTs (half-square triangles) with white and then decided to rearrange them into zig-zags (chevrons).  And, I think it'll work!


I have no idea what the final size will be, but with all the HSTs already cut, I may have enough to do two baby quilts, so I'm having fun!  The first little quilt  is going to focus on blues and greens (above pic), and hopefully I can finish it before baby arrives.  I'm running out of time!