Tag Archives: free

Giveaway Day: Green Zip Pouch


Sew Mama Sew is hosting that lovely May Giveaway Day, and I've got a zipper pouch for you all!  If you'd like to enter and win this hand-made, fully lined zipper pouch, follow the instructions in the Rafflecopter widget below!  Shipping internationally, too.

+1 for simply stopping by
+2 for commenting on this post
+2 for "liking" my facebook page (if you've already liked my facebook page then it's an easy +2)


Thanks for stopping by, and take a look around if you'd like.  I'm an illustrator who likes to design for hand and machine knitting, and I also love to sew and quilt.  If you think you'd like to read more about my work, feel free to follow me on Bloglovin' here...
Follow on Bloglovin

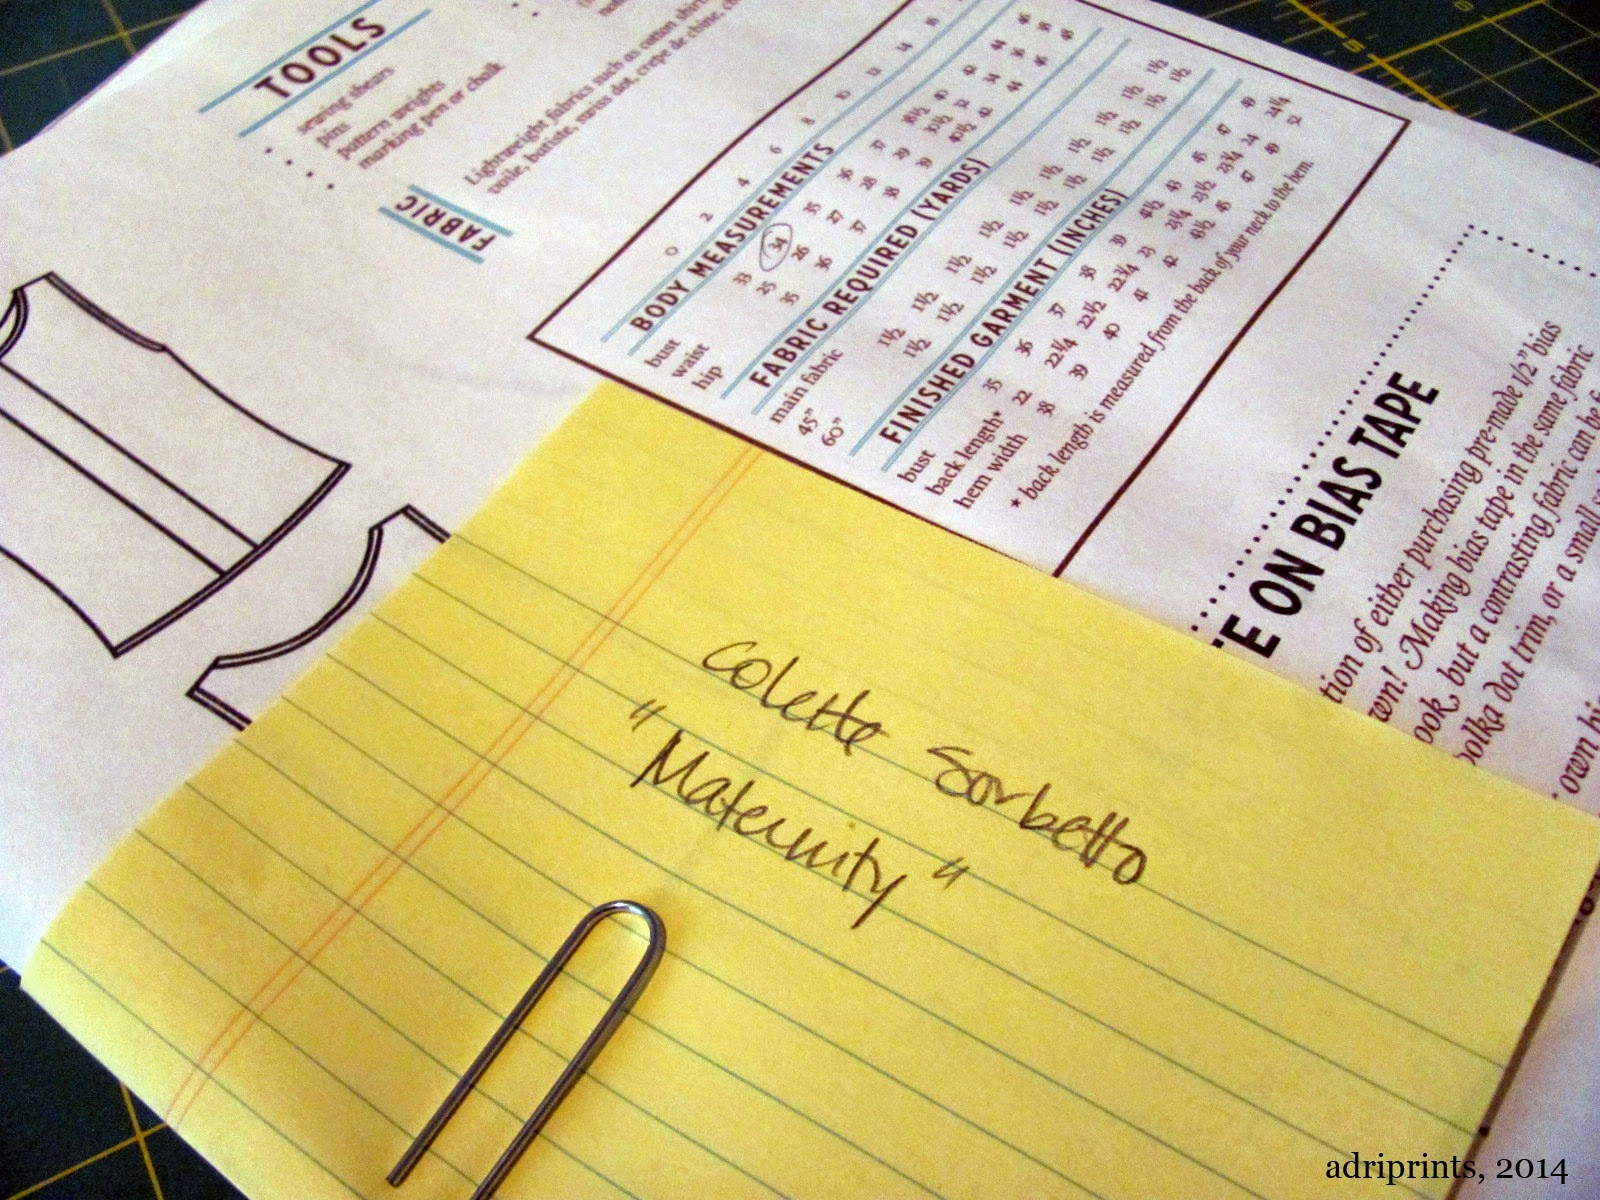
Colette Sorbetto: Maternity Hack

During Me-Made-May 2014 I'd like to share some of the me-mades I've made recently.  For week #1 of MMM14, I've been wearing this particular garment almost daily ((or rather, nightly))!  It's a maternity pajama based on Colette's free pattern, Sorbetto...


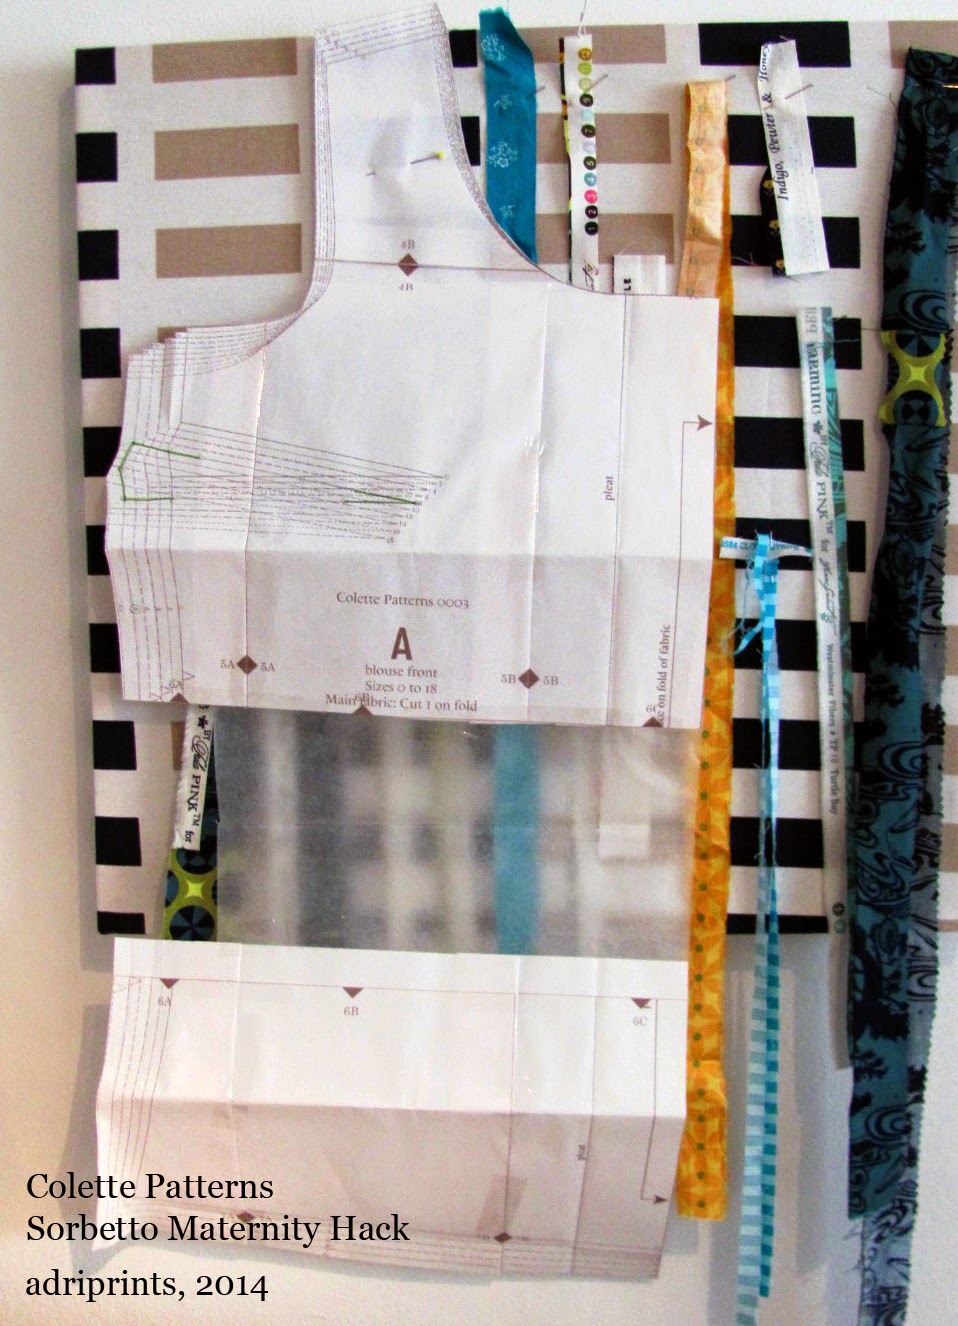
During this pregnancy, I've inherited so many things from friends.  One of my favorite items was a Sorbetto top I helped a friend make for her first pregnancy.  I took her measurements and devised a way to use the pattern to make her a top.  We learned that by leaving the bottom part of the pleat open, you get a lot of room for a belly.  We also added 5" of length at the waist for extra coverage.


One of the drawbacks of the first prototype, though, was that it was made out of plain cotton and so it did not allow for freedom of movement or stretch should you want to sleep in it.

So, when it was my turn, I thought about improvements that could be made to last year's prototype.  Firstly, I made the decision to try a single knit jersey.  I had a big chunk of single jersey fabric from my attempt at this "wrap dress pattern" from Burda... There was no way that dress was going to work for me, and so I was happy to chop it up for this Sorbetto Maternity PJ top.

Yes, that's my dressform with a bag of fabric scraps stuffed into a belly band
to simulate my enormous pregnant belly.  It's a little lumpy, but you get where I'm going.
I had to patch 2 pieces together for the front piece since I didn't have any pieces wide enough to trace the pleat at the front.  I once again added the 5" at the waist, and I only sewed the top 5" of the pleat down the front.

Secondly, all the edges were finished with self-fabric so they're stretchy.  This was done by cutting 1.5" strips and folding them in half, then using the serger to attach them to the edges before the shoulder and side seams were sewn.


So, if you're attempting this at home... 

Colette Patterns Sorbetto is your base pattern.
Drafting: Add 5" length to the waist of front and back piece (or more if desired).
Cut 4 strips of 1.25" self fabric or knit rib with max stretch going with the long edge: 1x strip @ 2" longer than the front neck circumference,  1x strip @ 2" longer than back neck, 2x @ 2" longer than the total armhole circumference.
  1. Make bust darts as written
  2. Sew only top 5" of pleat, stay stitch pleat at neck edge
  3. Attach edging to front and back neck edges (fold edging strip in half, 3 raw edges together, serge)
  4. Sew shoulders
  5. Attach edging to armholes
  6. Sew side seams
  7. Turn up hem, press
  8. Twin needle finish for neck edge and hem, single needle top stitch for armholes 

And that's pretty much it!  You can stabilize the shoulders if you want, but mine is a pajama so I don't really care, and it hasn't rippled even after washing.  The front neck edge could be tighter if I had used ribbed knit fabric.  And, that's it for now!

Tutorial: Zig-Zag Quilt

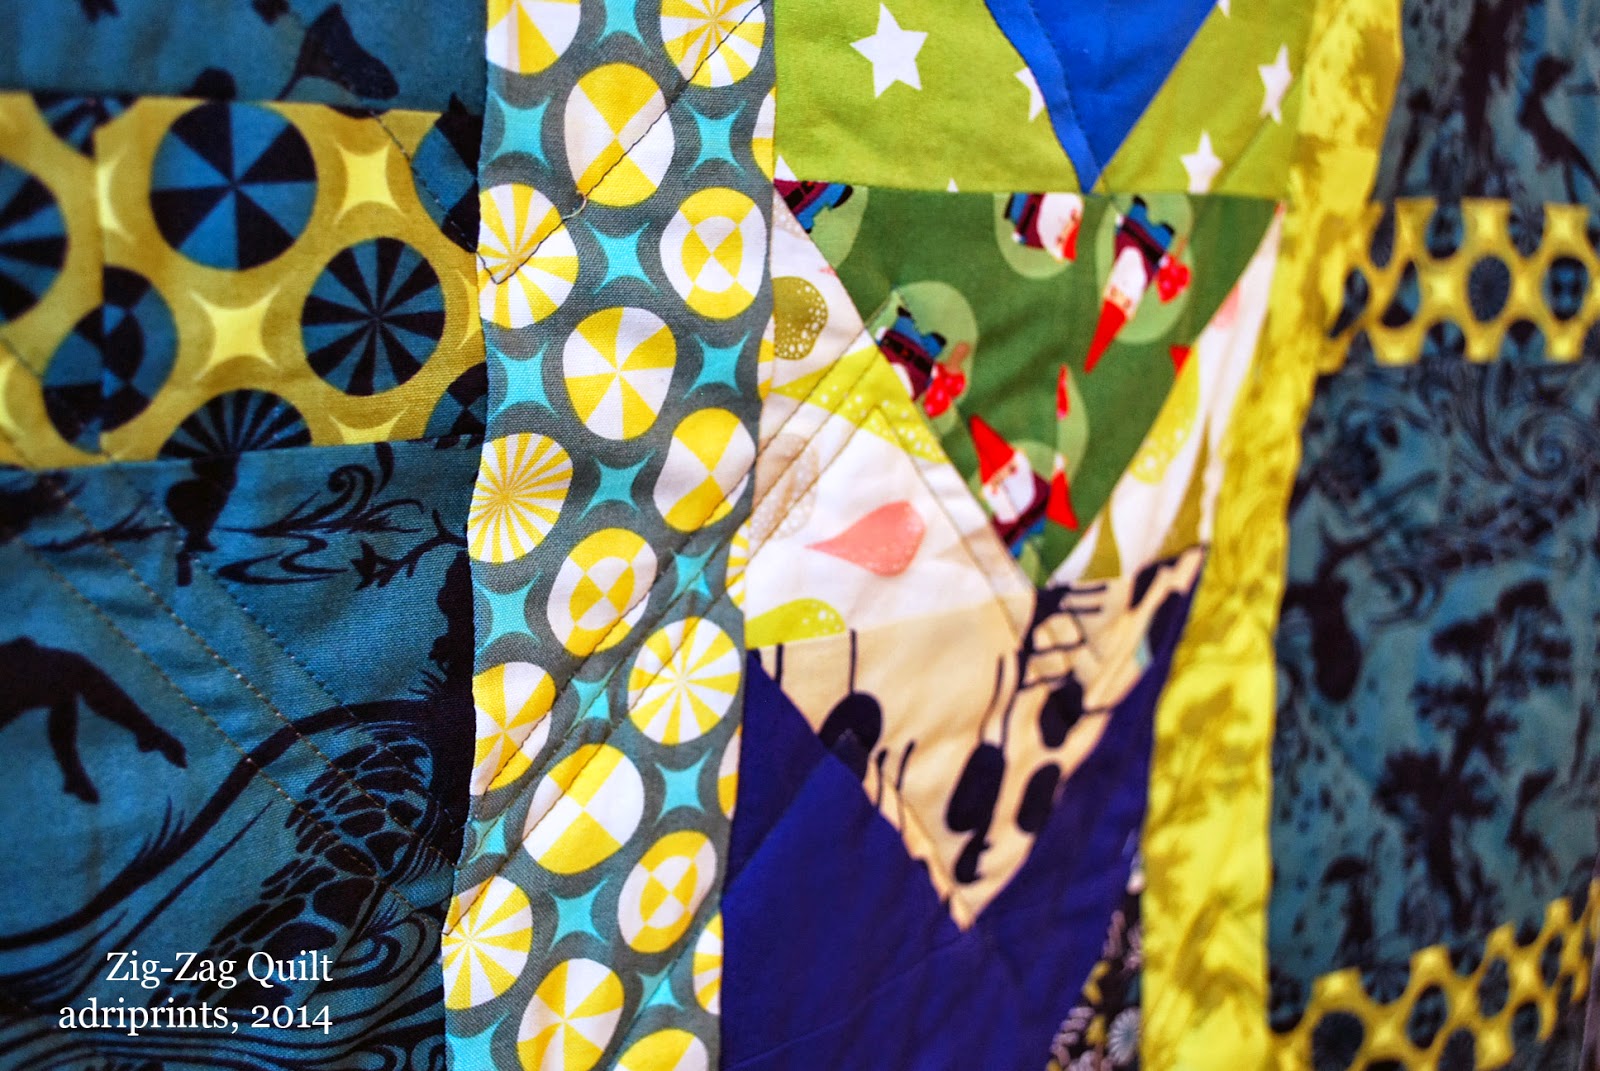
You can make your own Zig-Zag Quilt top from stash scraps, and it's not too difficult!

Main requirement for piecing this quilt top:
72 white pieces of fabric, 4.5" square
72 print pieces of fabric, 4.5" square

You'll also need:
- additional yardage for sashing, backing, and binding
- batting for the center of the quilt sandwich

Side Note: Someone asked me how I get the fabric for my stash and how I chose the colors for this quilt.  My stash was built up from fat-quarters and yardage for garment sewing.  I am a bit compulsive after sewing projects.  I can't remember where I got the idea to save scraps larger than 2" square after sewing projects.  But, that's what I do. After a project, I cut down the smaller bits of fabric into two categories: strips or squares.  I trim the squares to be 4.5" because that's the size of my plastic template.  And the smaller stuff gets turned into strips or dresden plates.  Then, I have little clear plastic bags where these scraps are organized by color.  Obsessive yes, but hey, it made this project a real snap!


First, the basis of this quilt is the half-square triangle.  It's known in the quilting world as the HST.  After you've mastered that, you're pretty much set to go.  Here's how I did the HSTs for this quilt...


As described above, I started with two fabric squares in contrasting colors of identical size.  In the case of the Zig-Zag Quilt, I started with squares that measured 4.5".  As long as all your squares are consistently cut and pieced, it's all good.  Each pairing makes 2 HSTs.  You lay one white, one color square with right sides together.  Mark the diagonal, and stitch 1/4" above and below the mark.  Then, cut across the diagonal mark, open, and press the two squares you just made.  I do loads of squares at a time by chain piecing and then press them all at once... I learned this from Craftsy's 2012 Block of the Month with Amy Gibson - the February video here is all about the HST.

Once you've made a bunch of these HSTs, they can be combined in so many different ways!


In the case of the Zig-Zag Quilt, here's how I pieced the top:


Each row of zig-zags used 24 HSTs.
The final quilt had 6 lines of zig-zags, which equals 144 HSTs.
This also means that I started with a total of 144 squares of fabric: 72 color and 72 white squares.

In any case, once I had the long pieced rows of zig-zags, I carefully joined them across these rows, making sure to use pins to line up all the seams.  I tend to press my seams open, and this was no exception.


Next, I added sashing to the outer edge of the top (that white outer frame).  My sashing had extra width to it.  If I remember correctly, the sashing was 6" wide so I could trim it down if I had to square up the quilt after free-motion quilting.  I didn't end up FMQing, but it's always good to have a bit of wiggle room for squaring up.

You cut your batting (the fluffy middle) about 4" longer and wider than your top so you have 2" of adjustment... just in case!

For me, the trickiest part of this quilt was the backing.  If you have a really vertical/horizontal element on the back like in my version of the quilt, you want to be sure to hand-baste a few cross-hairs across the quilt so it's accurately aligned to the front.  I ran a line of basting down the center of the big vertical element, and across both the horizontal elements.  This help me to be sure it was oriented correctly to the quilt top. If you want to avoid this extra step, just use a non-directional print, and a whole cloth style for the back.


My first quilts lacked this kind of precision (and were really wonky) because I didn't understand how important basting was.  Once you learn to hand-baste quickly, there's no excuse! It takes a few minutes for a quilt of this size.  I did both pin and hand-basting for this quilt.

Lastly, is the actual quilting.  First, I stitched in the ditch (along the main zig-zags).  Then, I echo-quilted which means I ran a line of stitching about 3/8" away from the zig-zags.  I just used my presser foot's width as a guide.  Then, I quilted the sashing, added the binding (that final outer edge) using this tutorial from Sew Mama Sew and Mary on Lake Pulaski.

And, that was it!

The final quilt including the sashing and binding is 51" x 51".
The main print for the backing is Tula Pink's "Turtle Bay" print from her 2011 collection "Prince Charming" in Indigo.  Everything else was scraps and leftovers from my stash.

I hope this tutorial helps clarify the process of quilting something like this improvised quilt.  Have you ever quilted before?  What were your first quilts like?

Zig Zag Quilt Finished!

Happy Easter!  And, happy finished Zig-Zag Quilt!

The FMQ foot for my new machine is still on back-order so I decided I should just stop waiting and finish the quilt.  So... I did!


 I used a couple of tools to help me finish the quilt which I can recommend...


Firstly, I used the Robert Kaufmann Android phone app to help me calculate how much fabric I needed for binding and sashing.  You can find that here.  For i-phones you can find it on i-tunes.

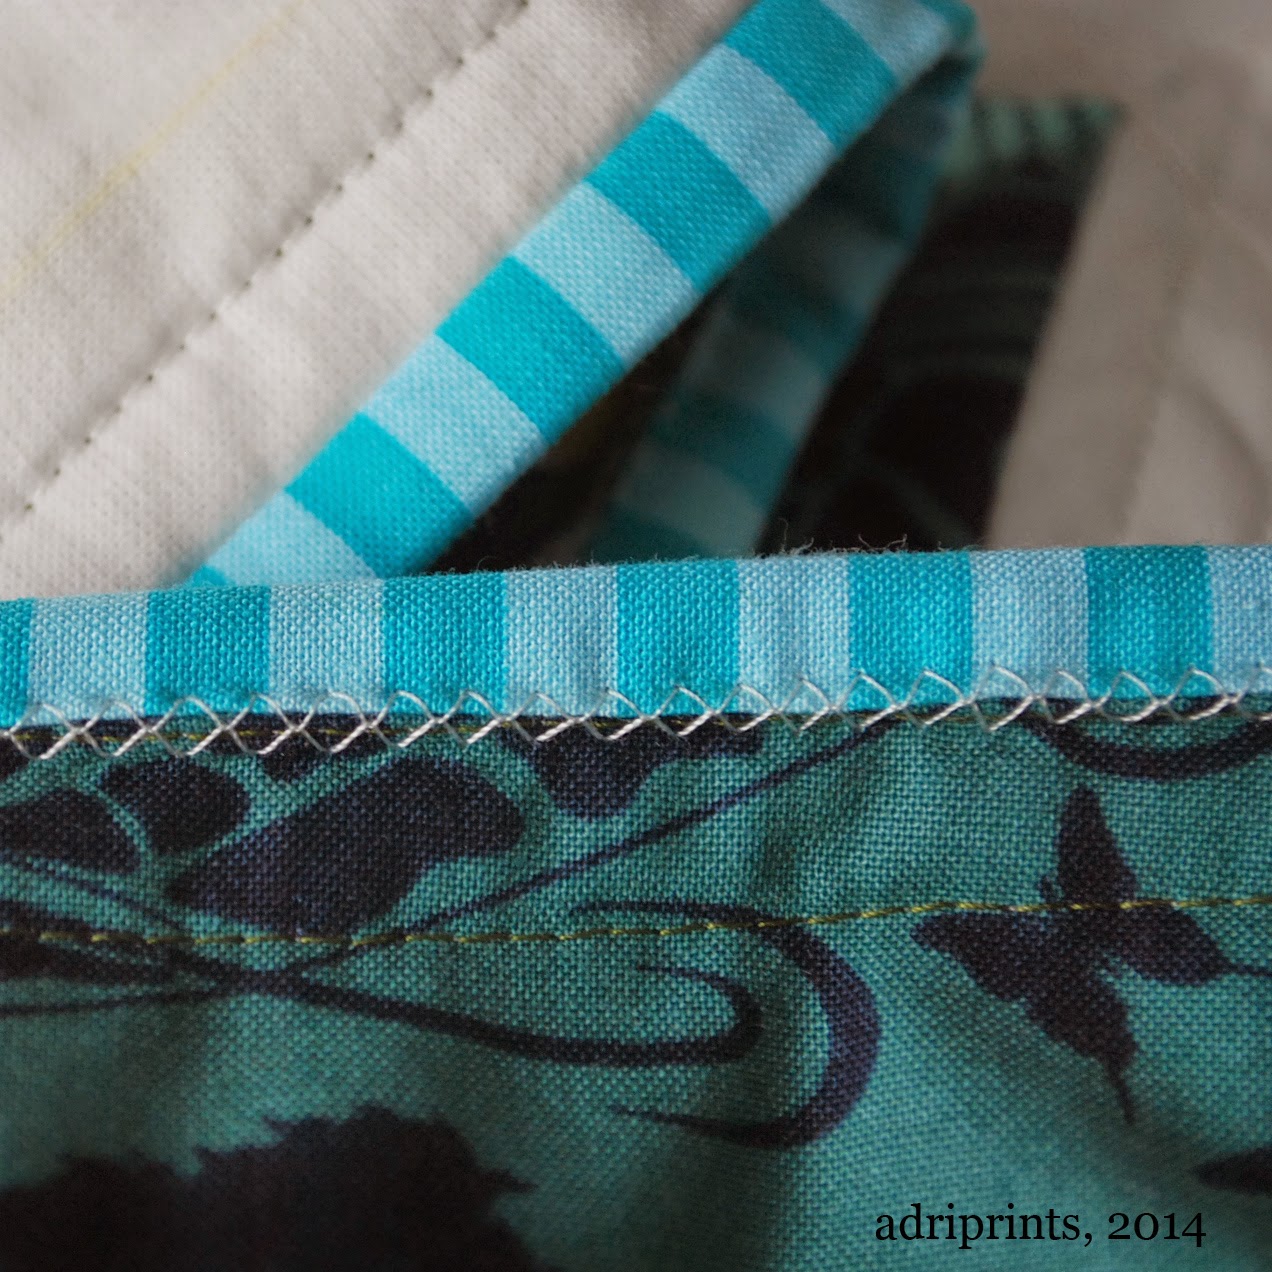
Secondly, I used this tutorial to get a kind of hand cross-stitch look with a plain old zig-zag stitch on my sewing machine using this tutorial here.

It looks like this when finished...


On the front, the finish is invisible, but the back has a pseudo-cross-stitch look which I really like!

And, that's about it.  I cut the striped binding fabric across the stripes so it would make a checkered border, and echo quilted the zig-zags to add some interest and structure.  I'm really pleased with how it came out, and hopefully the baby will enjoy crawling on it and being cozy in it!  I'll post a tutorial in case you all want to make your own zig-zag quilt.  It's fairly straightforward.

Giveaway: Fabric Pouch

This week, I've got a giveaway for you all!


Already three months of this year have gone by, and I'd like to thank you for sticking around and reading my blog!  If you'd like to win this fabric pouch which makes a lovely eyeglass case or hard-drive cover, it's quilted in pinks and ready to go!

I was working on this little pouch a few weeks ago when I was doing the boxed corners projects...


To win it... just follow the Rafflecopter instructions below.

a Rafflecopter giveaway

A Simple Sock and a Side of Crepes

Compared to last week, these are some underwhelming makes I present to you, but nevertheless they are worthy things (to me at least).


Firstly, a sock.  Yes, a single sock.  Every year I make my husband a single sock, and I use the chance to try out different techniques.  None of the handmade socks I make him match, but he wears them just the same.  This one's a tad bit late, but it was worth it.  He actually said this was his favorite sock ever.  It's a completely bespoke sock!  He actually said, "any new socks you make for me, make them like this one."  This is a first for him, and for me.  Alrighty!  Will do!  He's never actually expressed any opinion about the socks I've made him previously, but he's always worn them.  It's nice to know he liked this one!


So, how did I make this sock?  It started out easily enough by using a figure 8 toe-up cast-on such as the one in this video here.

Then, after increasing to 64 sts, I knit even in stockinette for several inches.  Next, I increased for the gusset at the instep of the foot (where the arch is), and this is where it got a bit goofy.  I ran out of yarn.  I finished the increases with just enough of the grey-brown yarn, and then picked up where I left off with a dark purple-brown yarn.


And here it gets even goofier.  I tried out about four different kinds of heels.  Somewhere in the six months I used to complete this project - dropping it for the big projects you saw last week - I made a nubbin at the back heel. This nubbin looks like a nipple, and I still don't know how I did it.  Despite the request for future socks to be identical to this one, I think I will omit it from future versions of the sock.  The last note I made about the heel was that I would next try a short-row heel.  I worked every stitch of the heel in wrap/turn short rows and then picked up all the wraps and decreased all the sole sts.  Then I knit in stockinette followed by a 2x2 rib.  Simple as that!

I will share a refined recipe for the sock if only to clean up my notes and have an exact pattern for me to follow for this year's sock.  You interested?

And now for something completely different...

A Side of Crepes Recipe:

1 cup of flour
pinch of salt
pinch of sugar
1/2 cup of water
1/2 cup of milk
2 eggs

You know the rest (mix dry ingredients, add wet ingredients, etc. etc.)
Spread batter thinly on a hot buttered skillet.  Brown. Flip once. Light brown.
I topped these with bananas and nutella, apples and nutella, crushed nuts and apples and bananas and nutella... photos next time I make them.  These were snatched up right quick.

Free Pattern: The Caroline Scarf

carolinescarfedge

For her birthday, my sister, Caroline, asked that I knit her a scarf. She wasn’t specific about how it should be, except maybe purple. So I made up a design to knit for her and the color may be purple, so I feel like it fits the bill. Never you mind that it’s nearly May and her birthday was in March.

carolinescarf

This is a chunky lace scarf meant to be wide and warm, but distinctly spring-like. Knit out of merino yarn, it is soft and cozy and perfect for those nippy spring days-or you’re having a spring like we are this year, it will keep you warm while you are still waiting for spring to officially arrive.

carolinescarf

Materials
About 200 grams or 400 yards worsted yarn
Gauge
2 Lace Repeats is 4 inches, blocked
Needles
US size 10/6mm straight needles
Tools
Darning needle
Stitch Markers (optional)

Pattern Key
BO– bind off
CO– cast on
K– knit
K2tog– knit 2 stitches together
(a decrease)
P- purl
SSK- slip two stitches knitwise then knit together through back loop (a decrease)
SL1 K2tog PSSO slip one stitch, knit two together, pass slipped stitch over (a double decrease)
YO– Yarn Over —wrap yarn once around needle in the opposite direction as normal to create an increase.

Pattern
CO 52 stitches
Set Up Row 1: Knit
Set Up Row 2 : Purl

Lace Repeat:
Row 1: k1, p1, *ssk, yo, k3, yo, k2tog, p1,* repeat between * until last two stitches, k2
Row 2: p2, *k1, p7,* repeat between * until last two stitches, k1, p1
Row 3: k1, p1, *k3, yo, sl k2to psso, yo, k2, p1,* repeat between * until last two stitches, k2
Row 4: p2, *k1, p7,* repeat between last two stitches, k1, p1

Repeat these four rows until scarf reach 50 inches long or desired Length

Edging:
Edging Row 1: knit
Edging Row 2: purl
BO

Block, pulling scarf long to add length but not so long that you lose width. Finished measurements on mine are 15 inches wide by 62 inches long.

Weave in ends and wear.

Block of the Month: October

Tutorial: DIY Pompom

Her Pretty Ways Cropped Hoodie