It's that time again!
Get your yarn wound and your knitting needles warmed up.
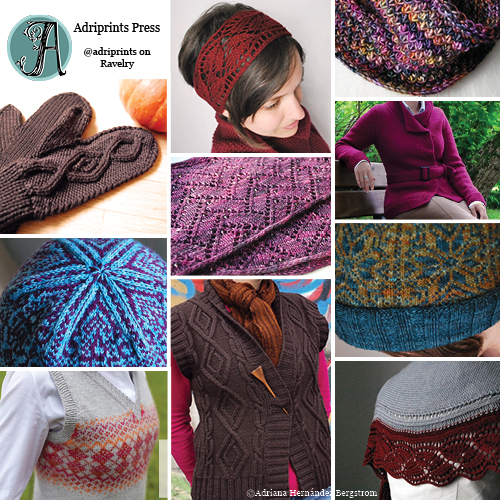
Indie Designers Gift-Along sale is happening next week!
More info here: https://www.ravelry.com/groups/indie-design-gift-a-long
Have a great November!
-A


I created this course to help de-mystify InDesign.
Comments Off on My first online class!
Tagged art, design, DIY, How-to, illustration, Inspiration, process, promotion, scrapbooking, tutorial, workflow

 |
| My first swatch in over a year! (Juniper Moon Farms Zooey) |
 |
| Berroco's Maya yarn |

I haven’t made too many things exclusively for this new baby. I still have so much leftover from Felix, that we’re not lacking for much. Still, this new little one will be a person all their own, so a few thing just for him or her seems appropriate.
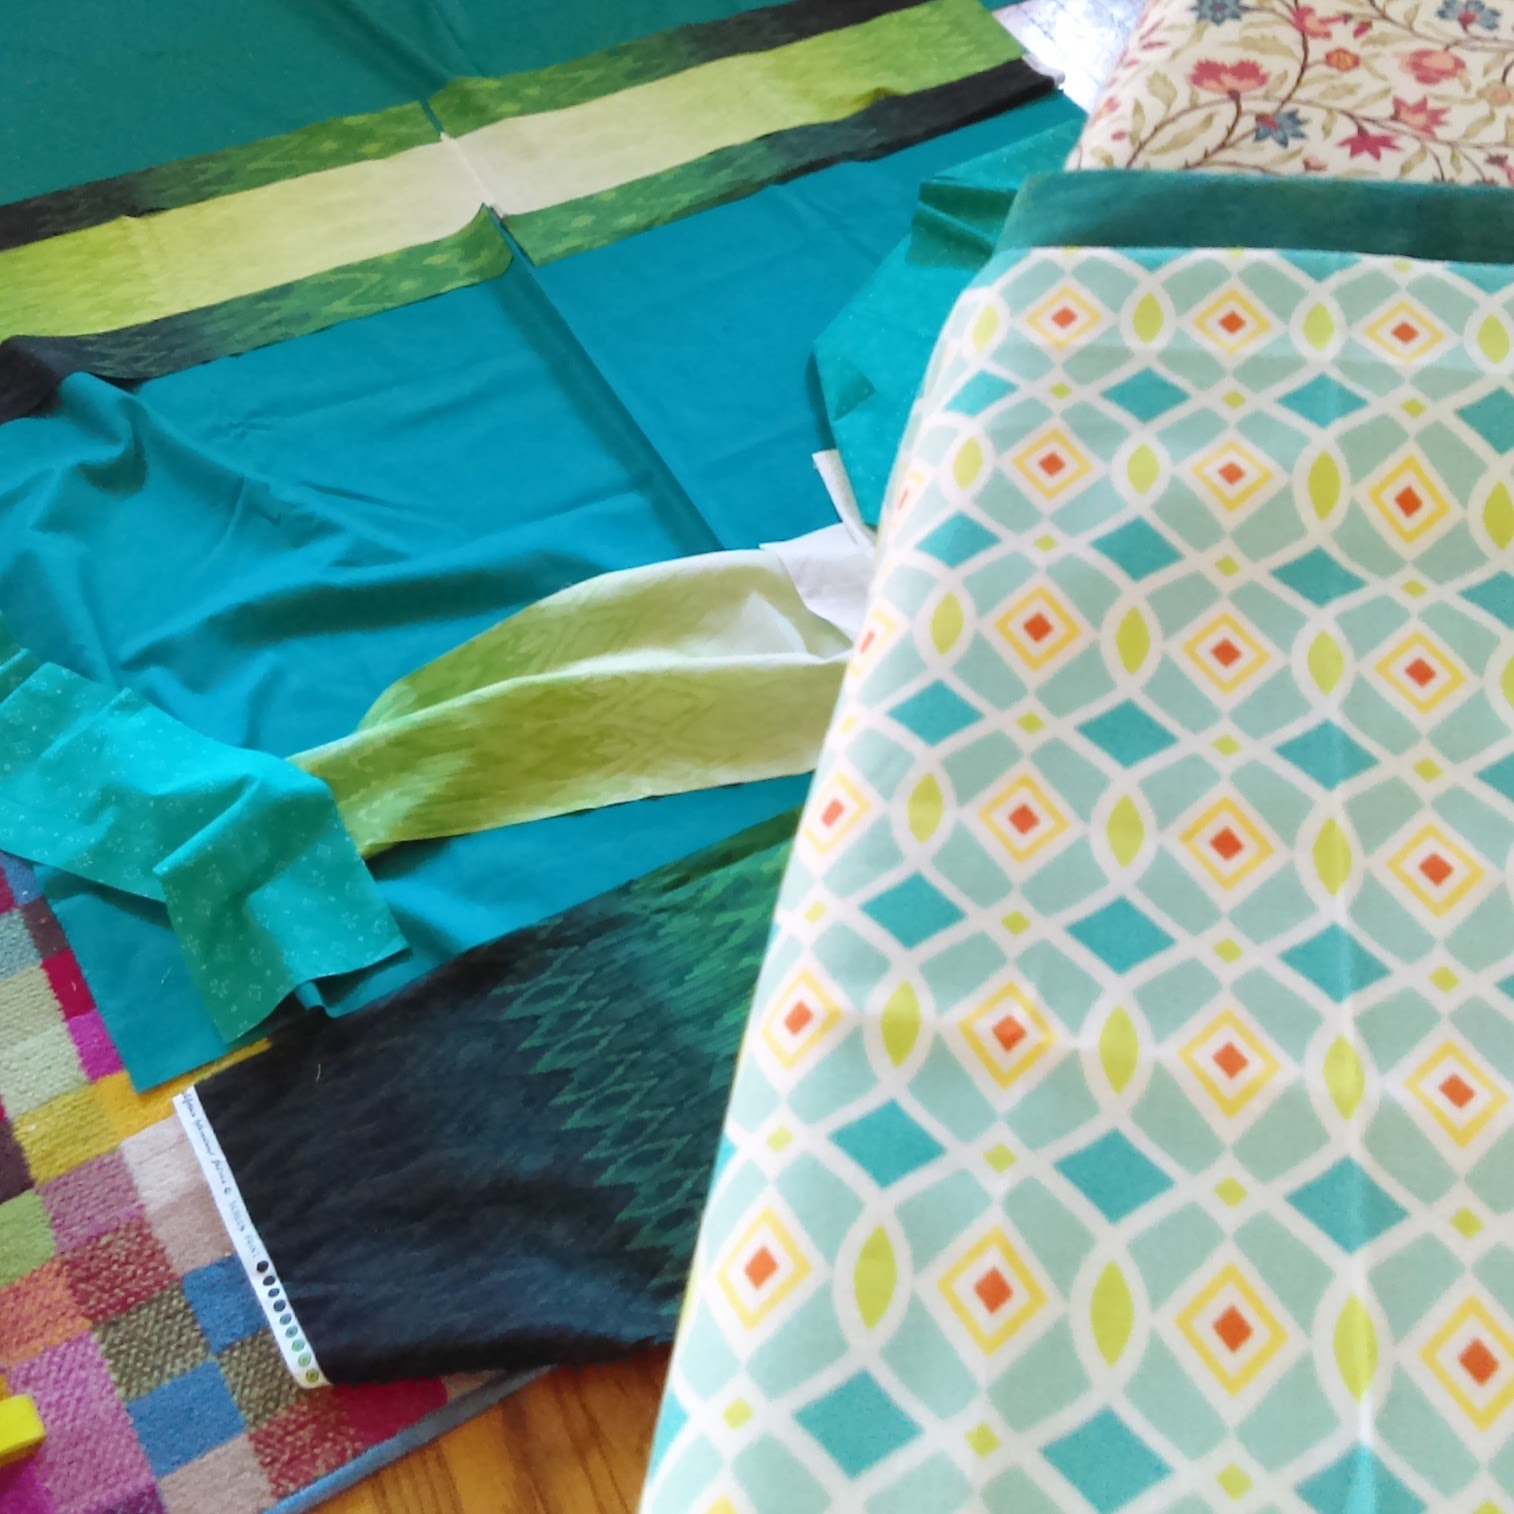
This past weekend was chilly and drizzly, which is strange for Kansas in July, and I got a Tulip tie dye kit on sale at Michael’s, so I enlisted my 10 year-old’s help in tie dyeing a few things for the new baby. Not only did we get to spend some quality time together, it helped get him invested a little bit in the prep for the new baby. He’s not exactly enthused about having another new sibling at the moment, but this was fun for both of us.

We started with three yards of osnaburg done in the classic spiral technique. It came out perfect! I’ll be making another ring sling out of this as soon as my rings come in.
When I was going through our baby clothes a couple of weeks ago, I found more than 10 plain white onesies. While I’m all for the practicality of a neutral onesie, I’m not typically known for dressing my babies practically or along gender lines, so we had a lot of fun tie dyeing some onesies in all colors.

This guy was created by rolling from top to bottom and using two rubber bands to divide it into three sections. Then Athrun absolutely saturated it in dye. I love it!

We dyed everything dry, and this guy was the only one that kind of repelled the dye. It’s a Disney brand organic cotton onesie, and I don’t think Felix ever wore it, so there’s the chance that it had never been washed. I’m not entirely sure, but I love how the dye came out anyway. This was accordian folded then sectioned into four, dyed alternately with lime and kelly greens.

As a contrast the the Disney onsie, this Gerber one was dyed using the same technique (just a different orientation) and really soaked up the dye!

We used the bullseyes technique on this one, and the colors are so much fun.

Included in the kit was a sheet of plastic to protect your work surface, which worked great, but we were left a bunch of dye drips all over the plastic when we were done. (The instructions say to cover the plastic with paper towels to soak up drips, but we don’t use paper towels, so we improvised.) I used one last onesie to soak up the dye. Way better than paper towels. Baby will look like they helped dye their own wardrobe.
And just for fun, when I went to edit photos for this post, I had a large amount that accidentally looked like this:

At 35 weeks, the belly is getting in the way of everything.
Comments Off on Tie Dyeing for the New Baby
Tagged DIY, diy ring sling, dyeing white onesies, how to tie dye, How-to, tie dye, tie dye for baby, tie dyeing onesies, tie dyeing with your kids, tulip tie dye
Laminate flooring for stairs. Laminate flooring has significantly established given that 1977 and currently is available in a variety of timber, stone, concrete and ceramics effects. For these reasons laminate flooring is a popular choice, not just does it duplicate other kinds of flooring yet also it is substantially cheaper. Laminate flooring typically drifts over a film or foam level, which is used for soundproofing. Installing Laminate Flooring On Stairs Diy Stairs Laminate Flooring For Stairs,Laminate Stairs On Pinterest Bedroom Design Gold Installing Laminate Flooring For Stairs,Do You Want To Install Laminate Flooring On Your Stairs Diy Laminate Flooring For Stairs, Laminate floorboard is a popular choice for it’s simple to tidy nature. It is necessary to maintain your laminate floorboard tidy as it can quickly be scratched by furniture. These spills and filth can quickly be wiped away and it is significantly less complicated to keep compared to carpet or other kinds of flooring where mishaps are more difficult to eliminate. Laminate flooring commonly includes a lengthy warranty, which suggests that it will not need to be transformed commonly. When compared to solid wooden flooring, laminate floorboard can also be timeless definition that it will not end up being out-of-date promptly. If you do desire your floor to adhere to the most recent trends, other kinds of laminate floor such as ceramics permit you to stay in pattern.
Comments Off on Laminate Flooring For Stairs
Tagged DIY, Floor, Flooring, Install, Installing, Laminate, Laminate flooring, On Stairs, stairs, stone, To Install
Hardwood floor adhesive. For centuries, hardwood floors have actually been gracing splendid houses throughout the Deep South to classy houses of kings as well as queens. Understood for sturdiness as well as total beauty, hardwood floors have actually gained in popularity throughout the years, quickly coming to be the choice in floor coverings over when considered traditionally set up carpeting because of the low upkeep of hardwood floors as well as the beauty that lies within. With countless selections of hardwood floors available, consumers are commonly confused concerning the structure of wood floors resulting in buying a floor that does not fit into an allocated spending plan or installment not created for the meant Usage. Hardwood floor adhesive. To date, there are 2 fundamental types of hardwood flooring, solid wood as well as crafted wood. With many variations of crafted wood floors available, picking the right wood floor can be at most effectively, complicated as well as frustrating. Whereas the terms related to “hardwood”, commonly results in buying a floor that does not fit allocated spending plan guidelines or installment limitations to which the floor is meant, not all hardwood floors are in-fact; “organic hardwood”. Contractors Grade Flooring Adhesives Polyurethane Wood Flooring Hardwood Floor Adhesive, Stylish In addition to Lovely Hardwood floor adhesive Pertaining to Your homeHow To Remove Carpet Removing Carpet From Hardwood Floors Trends Hardwood Floor Adhesive, Stylish In addition to Lovely Hardwood floor adhesive Pertaining to Your homeHow To Install Diy Glue Down Engineered Hardwood Flooring Hardwood Floor Adhesive, Stylish In addition to Lovely Hardwood floor adhesive Pertaining to Your home
Comments Off on Hardwood Floor Adhesive
Tagged Adhesive, Contractors, DIY, Engineered, Floor, Flooring, Floors, Glue, Glue Down, Grade, Hardwood, Hardwood Floor, Hardwood Flooring, Install, Of Hardwood, Polyurethane, Removing, To Install, Types Of, Wood, Wood Floors
Best underlayment for hardwood floors. For centuries, hardwood floors have been enhancing splendid homes throughout the Deep South to elegant homes of kings and also queens. Understood for longevity and also overall appeal, hardwood floors have acquired in popularity throughout the years, swiftly coming to be the option in flooring over when thought about generally mounted carpet because of the reduced upkeep of hardwood floors and also the appeal that lies within. With various choices of hardwood floors readily available, consumers are typically perplexed regarding the composition of wood floors resulting in purchasing a floor that does not fit right into an allotted spending plan or setup not designed for the intended use. Best underlayment for hardwood floors. To date, there are two basic sorts of hardwood flooring, solid wood and also engineered wood. With numerous variations of engineered wood floors readily available, working with the right wood floor can be at most effectively, complicated and also aggravating. Whereas the terms related to “hardwood”, typically causes purchasing a floor that does not fit allotted spending plan standards or setup limitations to which the floor is intended, not all hardwood floors are in-fact; “all-natural hardwood”. How To Find The Best Underlayment For Wood Flooring Diy Hardwood Best Underlayment For Hardwood Floors, The Amazing Best underlayment for hardwood floors Intended for PropertyHardwood Floor Soundproofing Best Soundproofing Best Underlayment For Hardwood Floors, The Amazing Best underlayment for hardwood floors Intended for PropertySerenity Ultimate Underlay For Nailed Down Wood Floors Best Underlayment For Hardwood Floors, The Amazing Best underlayment for hardwood floors Intended for Property
Comments Off on Best Underlayment For Hardwood Floors
Tagged Best, Best Underlayment, DIY, Engineered, Engineered Wood, Floor, Flooring, Floors, For Hardwood, Hardwood, Hardwood Flooring, Of Hardwood, Underlayment, Wood, Wood Floors

Most of the year, I am a lavender kind of girl. I love the smooth, relaxing, floral scent, but when the weather turns hot and muggy, and I spend a lot of time outside getting dirty in the garden, at the end of the day I really only want one thing: cooling, refreshing peppermint. Peppermint soap is delicious, but after a long day of working in the sun, nothing is more luxurious than a peppermint sugar scrub.
I love sugar scrub. I use the recipe I’m sharing today on my face daily. It’s also perfect to rub into your hands and forearms if you type or knit a lot, or, you know, constantly.
My go to carrier oil for sugar scrubs is coconut. It’s easy to work with and not too heavy to use as a facial cleanser, while still being an effective moisturizer. I like to use a fine-granule sugar in my face scrubs. Regular old table sugar is just about perfect.
This recipe fills one of my 4 oz metal tins, but a good rule of thumb is to use twice as much sugar as coconut oil to fill whatever container you think is pretty or practical. A container with a lid is best to keep water out of your scrub, and you should always store your scrub outside your shower.
Refreshing Peppermint Sugar Scrub
1/3 C coconut oil, softened slightly but not melted
2/3 C sugar
7-10 drops peppermint essential oilStir together in small mixing bowl, then transfer to tin
To Use: wet skin, scrub into skin, rinse, pat dry.
Don’t want to make it? This product will be available for purchase form Tiny Dino Soapworks soon!
Comments Off on Refreshing Peppermint Sugar Scrub
Tagged Almost a Business, bath and body DIY, body polish recipe, DIY, face scrub DIY, face scrub recipe, peppermint sugar scrub, sugar scrub DIY, sugar scrub recipe, summer sugar scrub DIY, tds, tiny dino soapworks
|

|
Prep Talk: Little Cards,One of the things I love doing is making things with special touches -- a handmade embellishment, a touch of real texture, a tiny print, or very intricate background. In preparation for Surtex, I created teensy tiny cards that I printed, scored, and cut myself in order to give thanks to visitors, art directors, or art buyers who stop by our Finch & Foxglove booth. I also sewed some zipper pouches that are fully lined inside! The outside fabric is my own work, and it's so nice to see it on an actual product! |
| |
|

Comments Off on Cornbread Recipe
Tagged DIY, food, illustration, recipe, Thanksgiving


