Tag Archives: fair-isle

Fairisle February 2015, Week 2

This week, members of the fairisle course had their first chance to STEEK!  Yes, we did.  We cut through our knitting.  And, we did it with impunity!  Hahah! (snip, snip, snip!)

Here are some photos from class...


I love their color choices!  Check out those beautiful palettes!


I was able to make some fairisle swatches using the knitting machine, and I am fairly certain it's what helped many overcome their fear of cutting through their knitting.  Amanda might recognize this yarn if she looks closely... thanks, Amanda!


Lots of students even decided to go the traditional route instead of doing the crochet support.  I think this group was especially motivated to cut their knitting.


Fairisle February!

Can't believe it's already started, and it's already February.  Yesterday I taught Day 1 of my fairisle course.  I taught (in German!) the the fundamentals of fairisle knitting.  I was so excited!  They got the basics yesterday:

-how to hold the yarn when knitting two colors
-planning colors
-working with colorwork charts

Our table was so messy by the time class was done.  Sadly, I somehow deleted the images from my phone!  GRR!  Oh well.  In the meantime, here's my little guy modeling the sample sweater-vest I made for the course...


Next week I'll back up any photos I take directly.  Speaking of which, next week we'll be facing fears and cutting steeks!


WIP: Prepping for Fairisle February!

This past month, I've been working on a fairisle pattern and accompanying hand-out for a class I'm teaching on traditional fairisle techniques.  I've taught the class twice before, but I was taking over someone else's class after they were too sick to teach.  The orginal instructor had chosen a very thin yarn to do the colorwork, but now that I'm teaching it again I asked to switch to a thicker yarn.  Here is where Rowan Fine Tweed steps in.  It's pre-felted, slubby, thick/thin colorful yarn, and best of all, it's tweedy!!  I love tweedy yarns.

I'm getting back into the knitted swing of things, and warming up by writing a new fairisle pattern replete with oodles of simple motifs and steeks!

So far, here's my progress with this little vest...

First my swatch using the least used colors (two of the contrasting colors)...


Then once I configured my numbers, I designed the schematic for the vest and cast-on.  Since this one is steeked, I cast on in the round with extra steek sts at the center front...


Halfway through, I realized my row gauge had relaxed and I re-configured my numbers to be sure that the lengths would work out.


Then, after washing/blocking, I steeked the center sts! 


 The tweedy felted yarn won't just unravel, so I knew it would be okay to knit from the steeked edges.  I'll post photos when I get the photos onto the computer...

...and if you're in Munich in February, and are interested in learning fairisle techniques, be sure to sign up for my class at die Mercerie!


A Change of Pace

I'm writing from Texas today.  We're on the second leg of a pretty long tour of the U.S. while we introduce our baby boy to the extended family.  This long trip is forcing me to explore other facets of my work, and I think it's to my benefit.  Since my sewing and knitting machines stayed in Germany, I've focused more on knitting, illustration, and fonts...

In the knitting world, I'm working on a fairisle design for babies.  Here's my swatch:


If you're in Munich in February, I'll be teaching a class on fairisle knitting at the local yarn shop (contact me for details if you're interested!).

I've also been taking online classes on surface pattern design.  My most recent class was through CreativeLive and was the Pattern Design: From Hand to Screen to Surface with Molly Hatch. It was a refresher course for me since I remember learning one of these techniques when I did ceramics at University of Miami.  We learned some of these techniques when we were making tiles... like physical tiles from clay!  It's great to know that these age-old techniques can be translated to digital form.

Here's the rough from the class...

And a more refined version I worked on via Photoshop:

And, in the fonts world, I've been learning more about kerning.  It's a weakness of mine.  When I first ventured into typography and designing fonts, I didn't know much about kerning and it shows in my early fonts.  So, my goal whilst traveling is to re-kern my old fonts.  Wish me luck!  It's quite a tedious task to say the least.

Another FO: Red Rosita Mittens

Finally, I finished this long unfinished object!  This red version of the Rosita Mittens, a knitting design pattern originally published in Knitscene Accessories 2013, was a prototype.


I had finished the first mitten in red and white to conserve the yarn that was for the planned colors.  You can see in the magazine photo below that the green and white yarn was planned for the final design.


A bit about knitwear design...
When you receive yarn for a project, you don't know how many prototypes it will take to get the design right, so you conserve yarn as best you can.  In this case, I swatched and conducted all tests with the red and white, then went onto create the deliverables in green and white with red and pink details.

I'm so glad these are finally done!  The design rights to this pattern return to me this summer, but if you'd like to knit them in the meantime, I think the digital download of the magazine is still available here:  http://www.knittingdaily.com/media/p/109384.aspx

WIP: What’s in progress?

What's in progress?  Let me show you!  Here's what I've been working on...

In Hand Knits:
On my double pointed needles, there's currently a second mitten!


This is the second mitten of red/white pair using my Rosita Mittens pattern from Knitscene Accessories, 2013.  I think I managed to make a larger size by mistake.  Oh well.

In Machine Knits:
I'm working on a cardigan design I'm temporarily calling "Mitered Detail Cardigan".  I was doing all the calculations using the old-school methods you see below (tape measure, calculator, and pencil).


Here's the first mitered square done on the machine.  It took a LOT of hand manipulation using a garter bar to move each row of stitches toward the center to create the centered double decrease, but it looks good.


Here's the completed back piece of the cardigan.

In Sewing:
I made my first overlocked zip-pouch.  This is one of three that's in progress.  It's my test piece, and it will likely be the subject of a giveaway very soon.  Who knew that boxed corners had to be so accurate?!


I used the Liberty Lifestyle fabric I wrote about earlier along with some other quilting cottons, fusible fleece, and a zipper from my zippers-on-a-roll.  Can't wait to master the boxing of corners.  What are you working on?

Knitting Machine: Fairisle Experiments

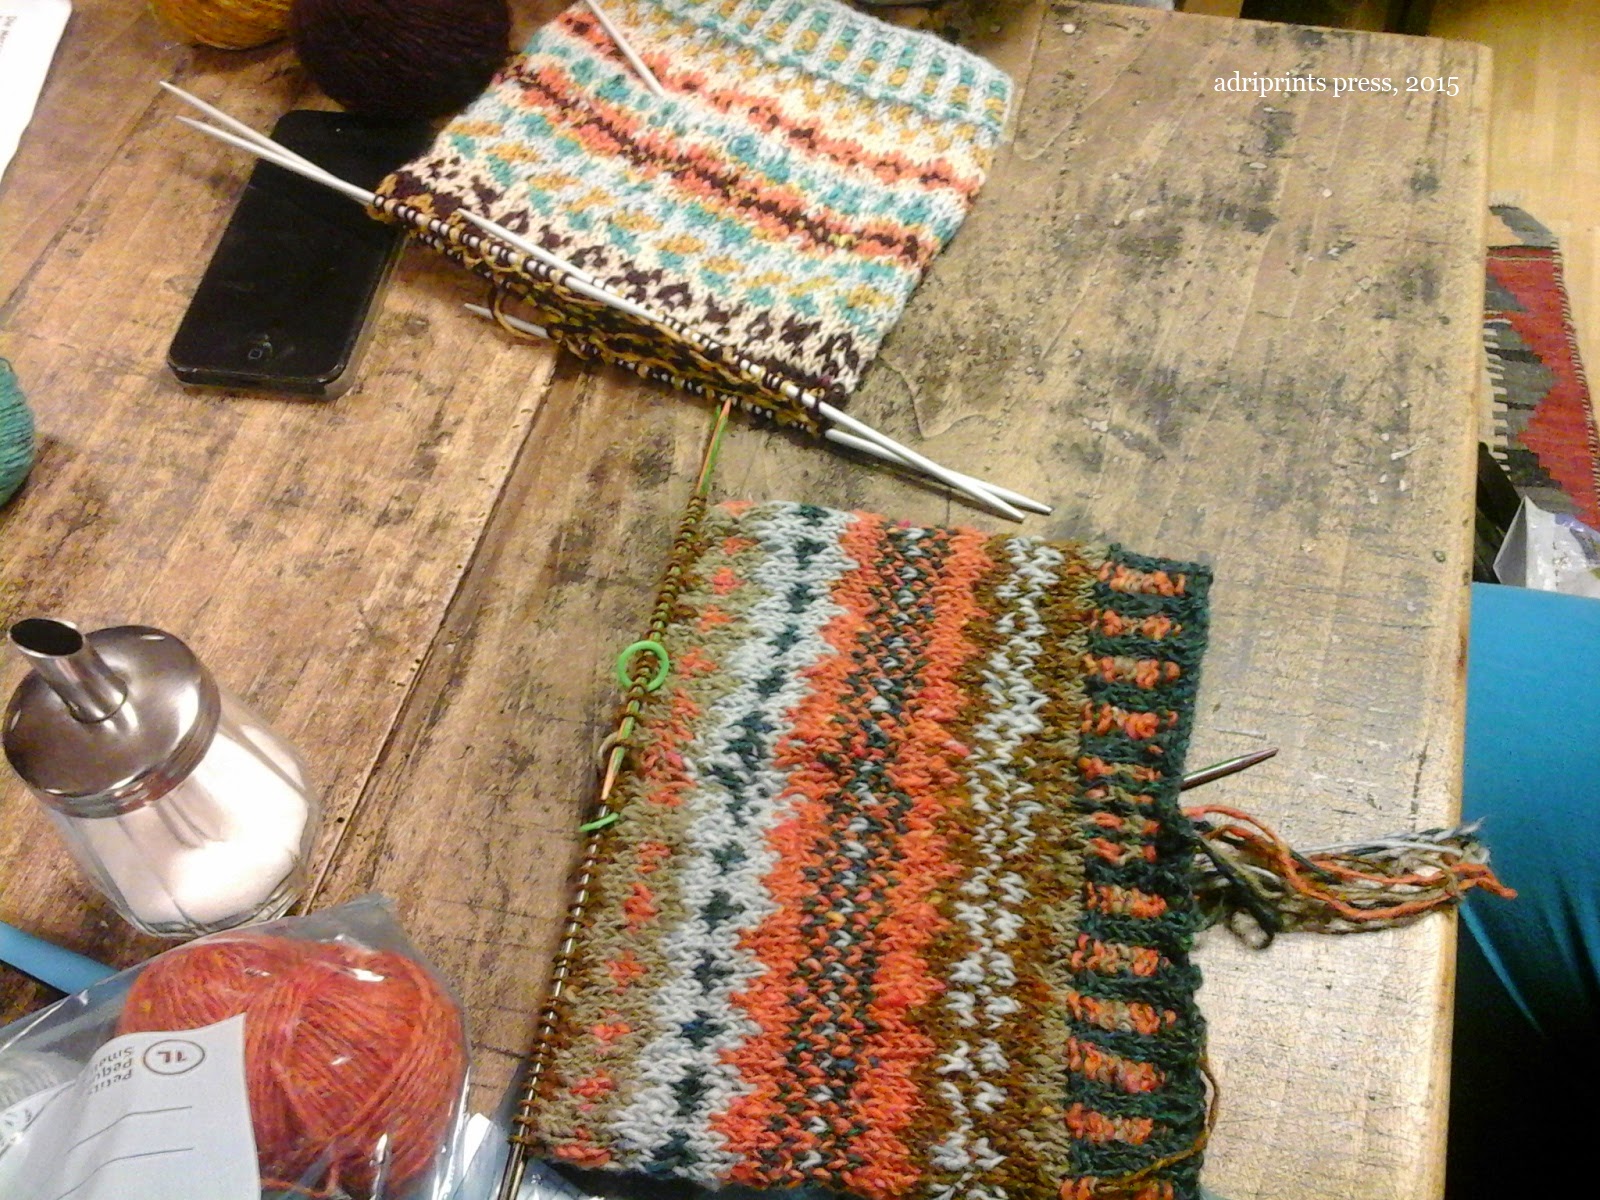
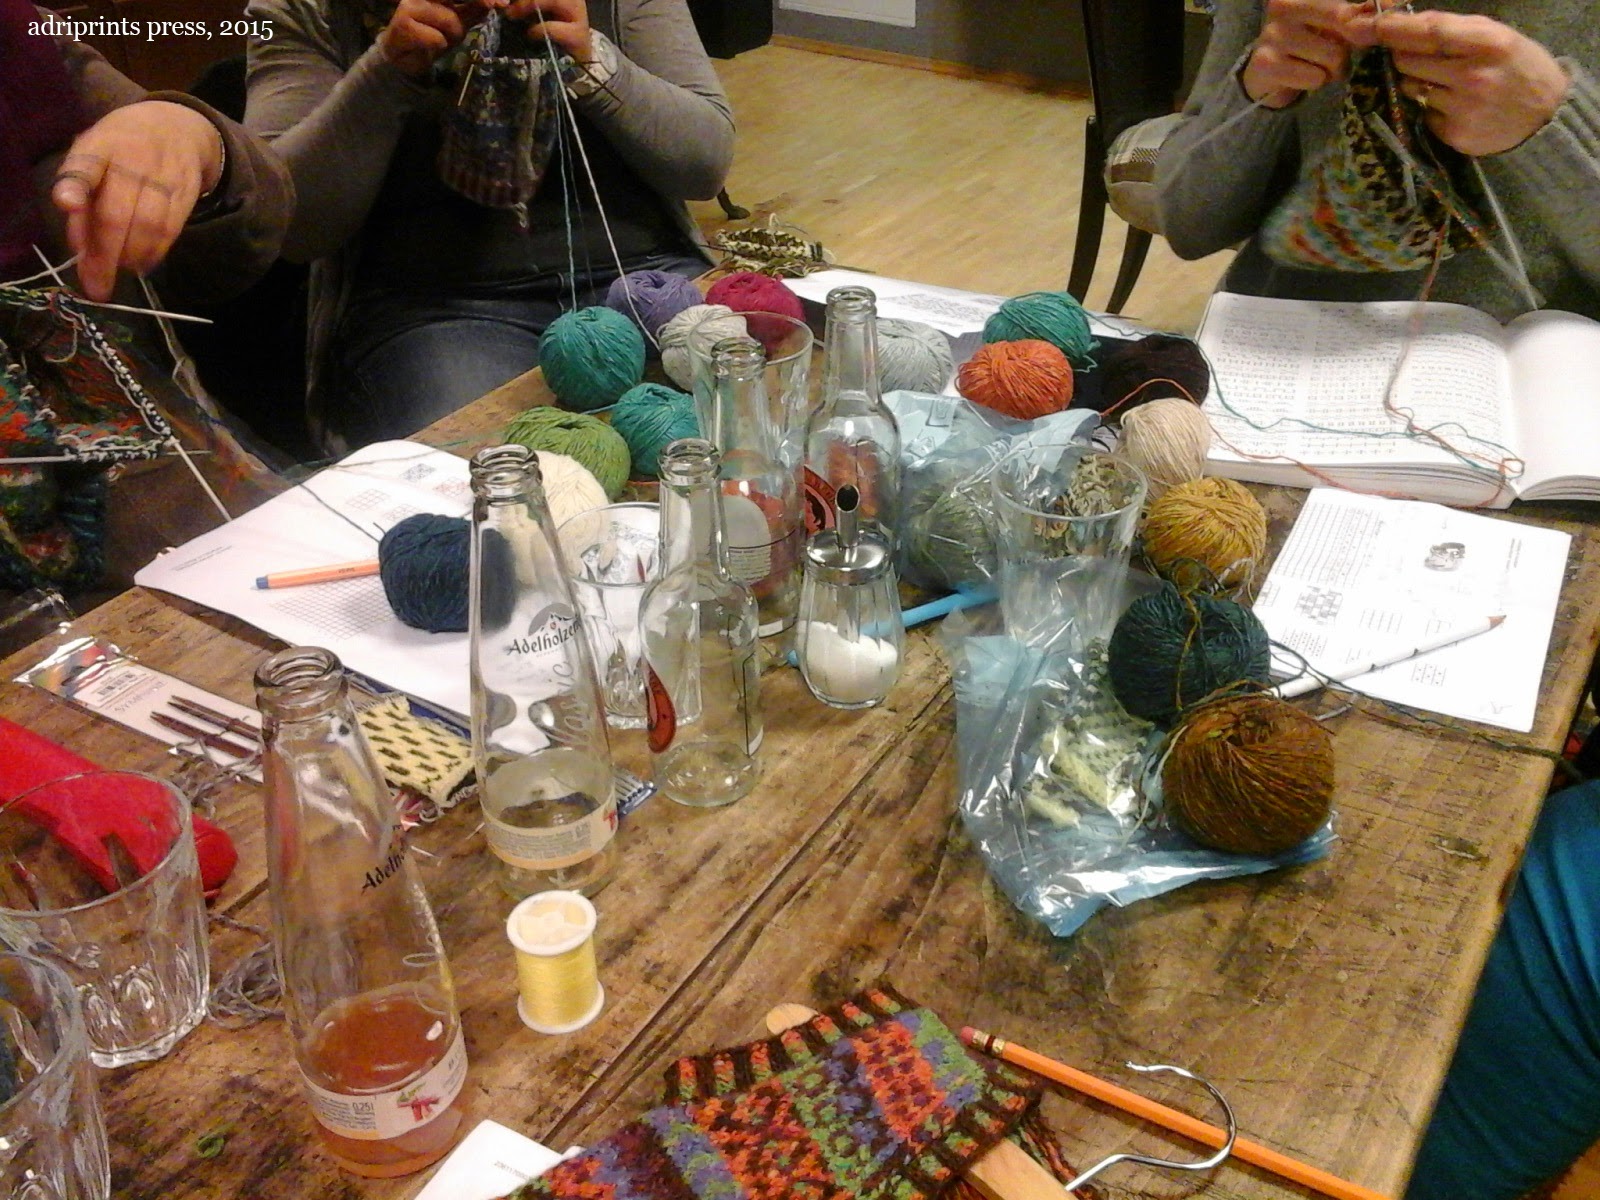
I am a huge fan of fairisle knitting by hand.  I teach a course every once in a while to people who want to learn the technique, and I enjoy spreading the love of fairisle wherever I go.  It's one of those techniques that looks way harder than it actually is.  And, very recently (last week), I started to experiment with the technique on my knitting machine using the punchcards.  At first, I was stymied by some technical issues with the patterning.
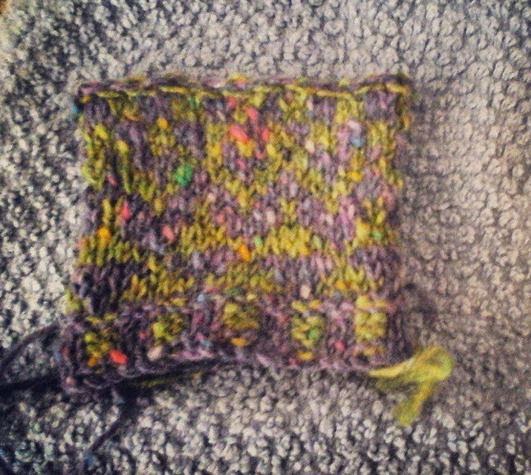
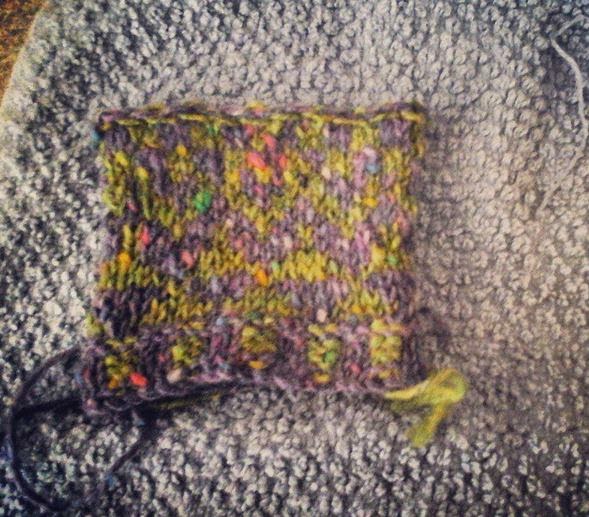
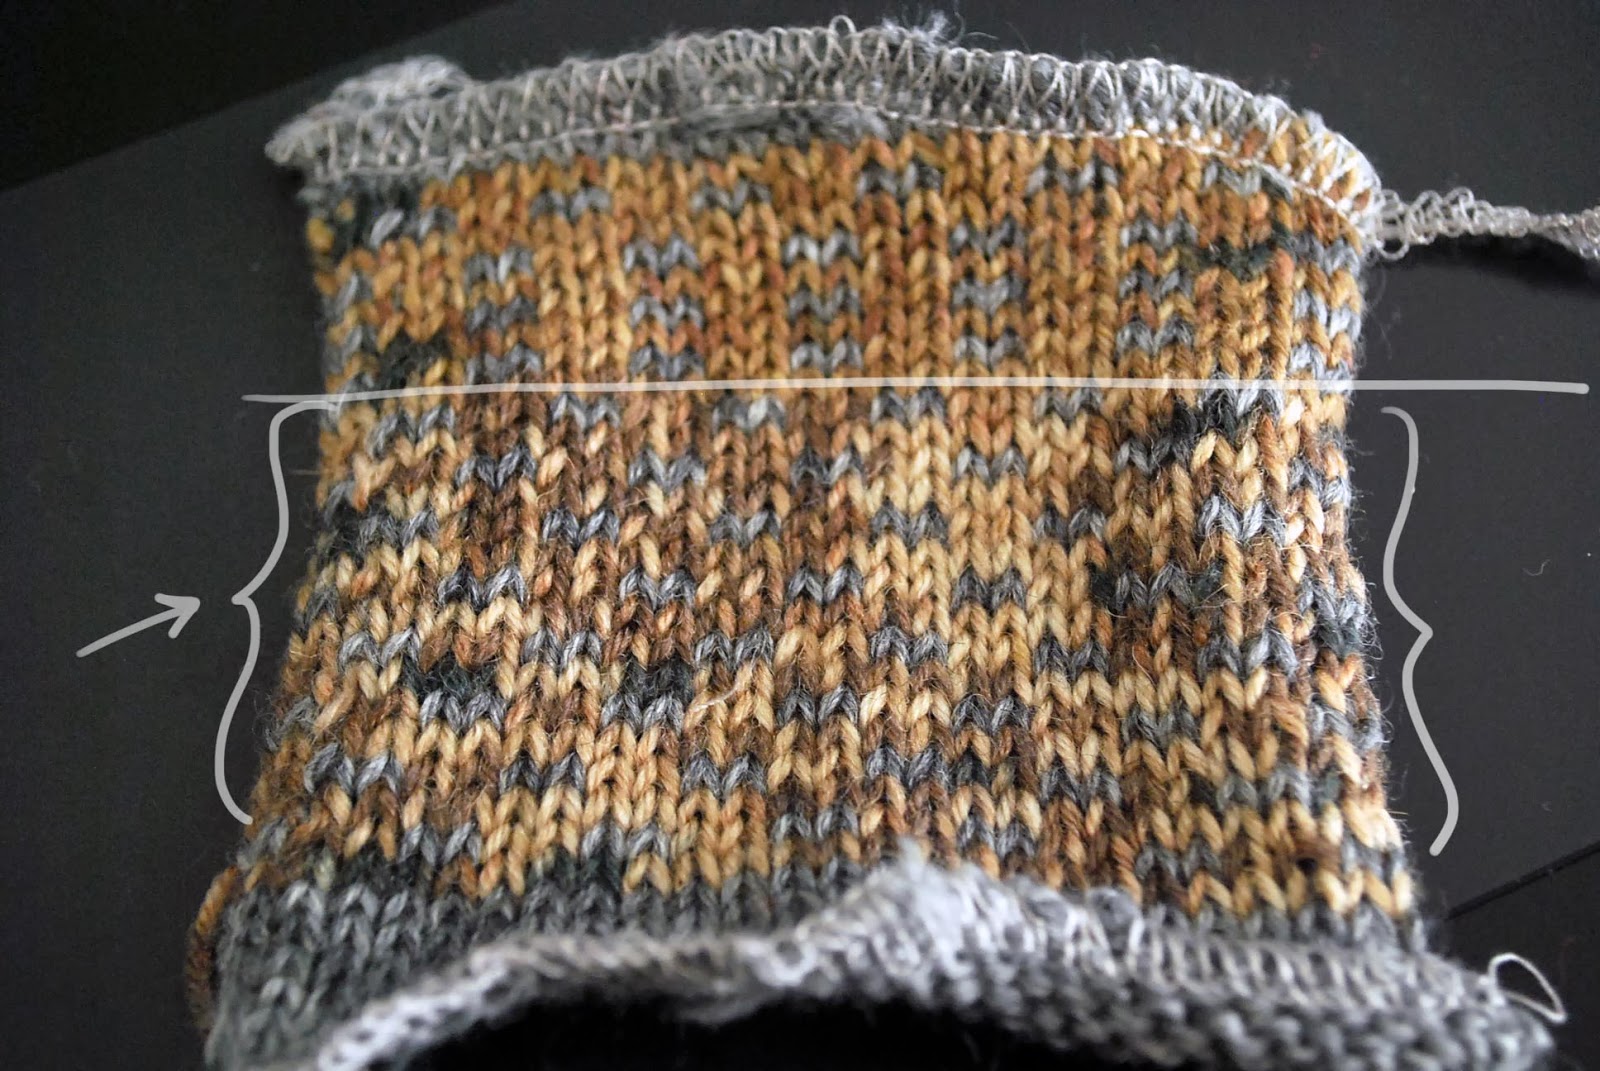
See what I mean?

Weird!  Why is it only knitting in pattern every other row?!

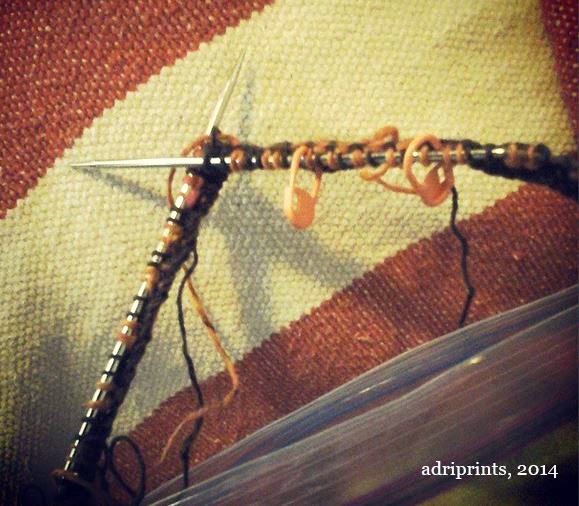
It was time for some detective work, and I consulted the amazingly generous and talented members of Ravelry's Machine Knitting Group.  Seriously, they are so knowledgeable.  First, I checked the lever settings as was recommended.  No luck. Then, someone chimed in with a similar knitting machine, and said it could be an un-sprung spring in the undercarriage of the knitting machine.

If you notice, every knitting machine has a carriage that slides across the bed of the machine and it's got tons of tiny cams, gears, levers, springs, etc. underneath that carriage.  I turned mine over and started by looking to see if changing the different modes (tuck stitch, stockinette, fairisle, etc.) made any of those levers move.  They usually move symmetrically, but low and behold, mine did not!


Instead, I found wads of cat hair, fluffy junk, and some sticky, gummy springs.  But, luckily, I didn't have to reattach a spring.  Those springs are tiny. They were all intact, just gummy.  So out came the latex gloves, rags, and machine oil... Fast forward fifty cotton swabs, tweezers, and a dirty rag later...
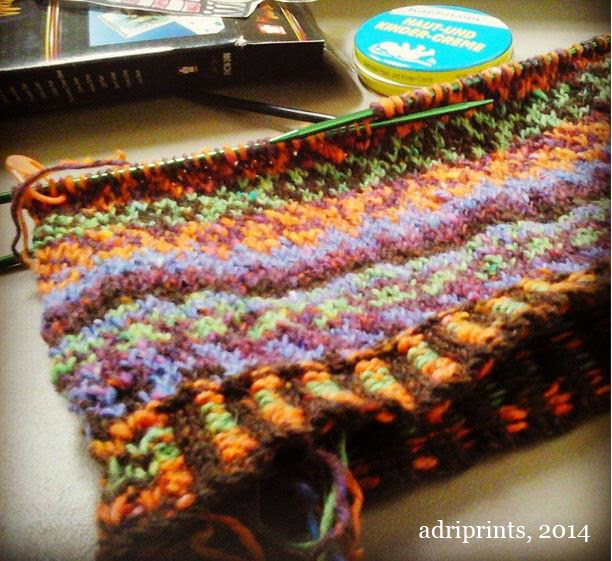
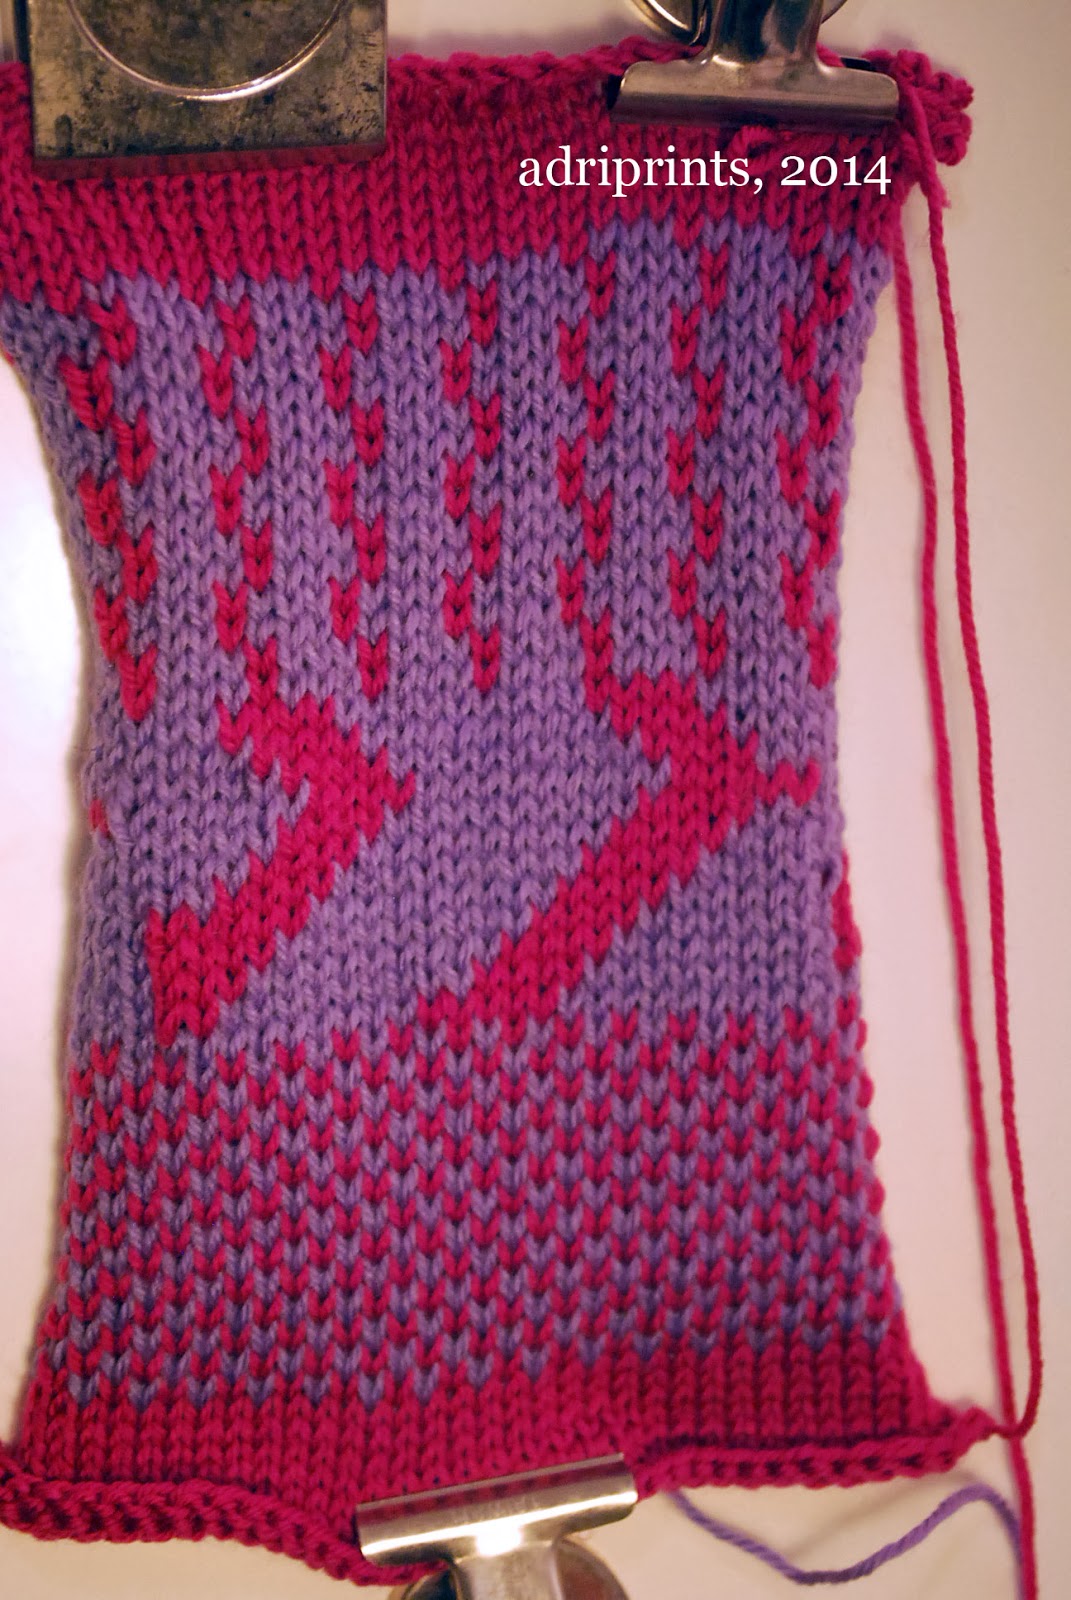

BAM!  ZIP!


Success!

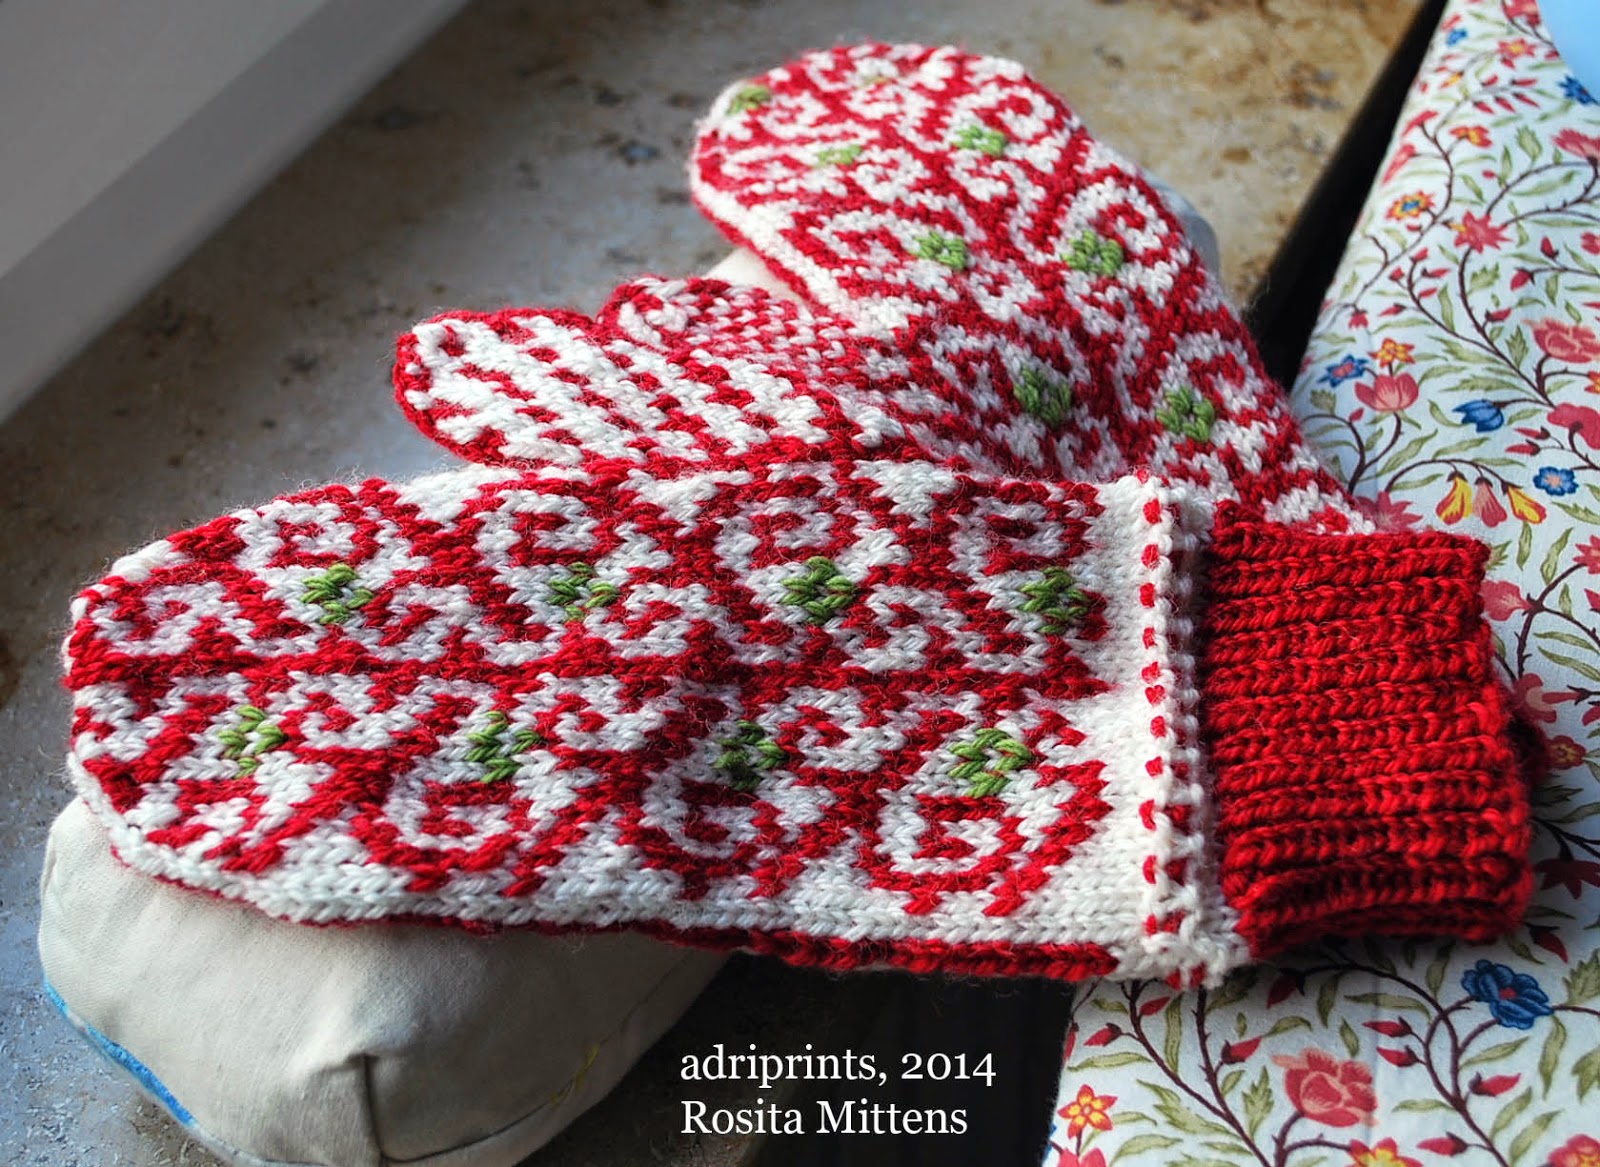
Thanks for your help, Ravelry Machine Knitting Mods!!   The Empisal Knitmaster 324's knitting smoother than ever.

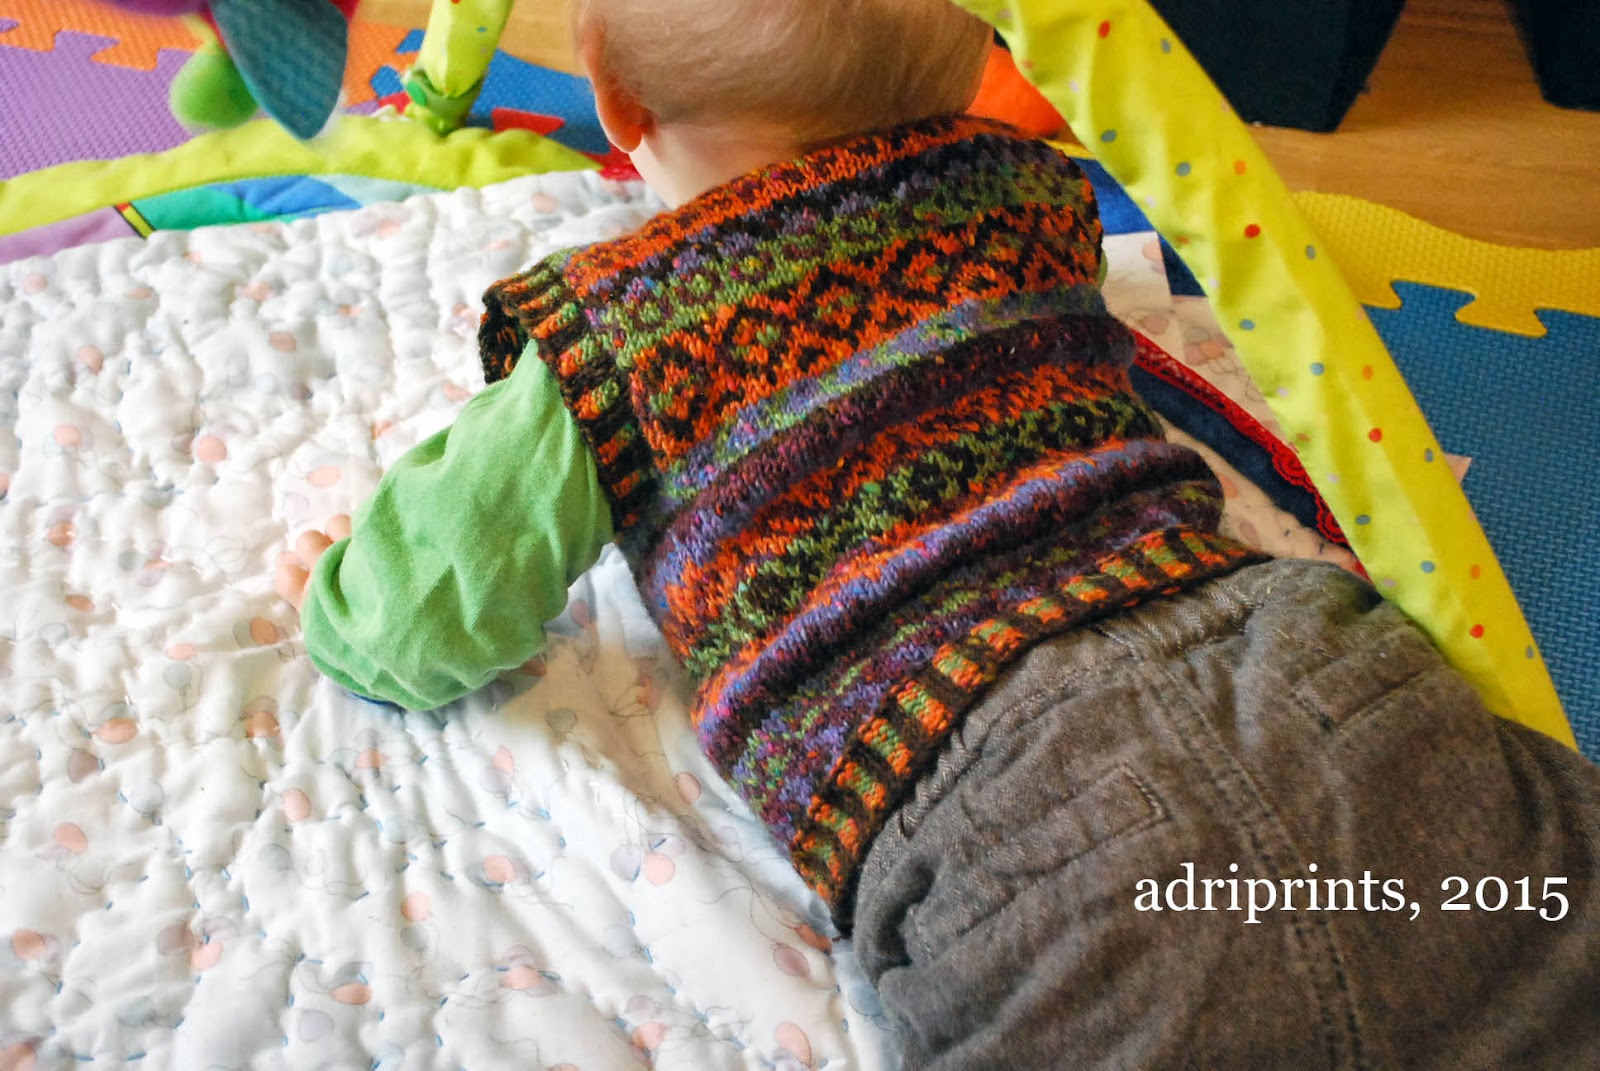
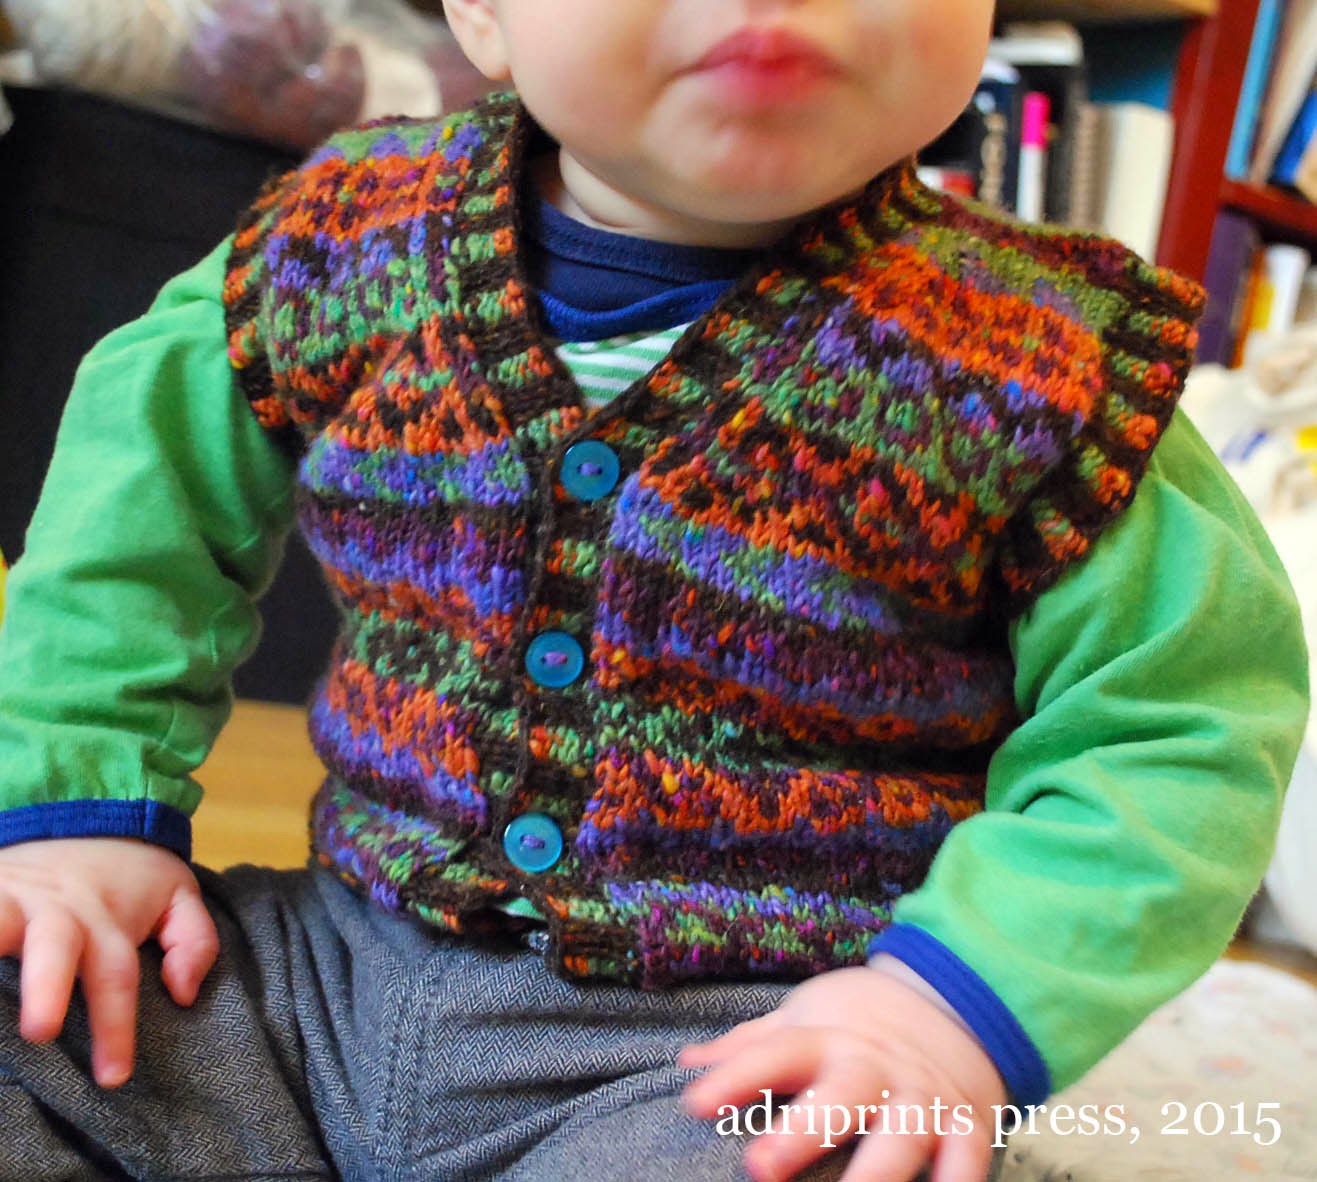
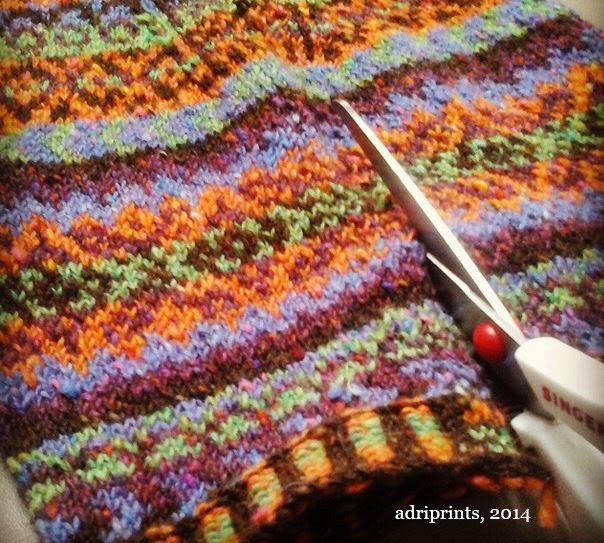
I still prefer hand-knit fairisle for more complex patterning, and I especially dislike long floats like in that center pattern.  Yuck!  But now I know how use the punchcards on my knitting machine, and that's a start!

Knitted: Red Beret, Also, Knitting in Action!

So, cripes, about a month ago I went on a wonderful camping trip with some friends of mine to a place that’s very dear to me– I mean, it’s where I go for nearly every fall break.

Anyway, because one of the ladies I went with is 1) a terrific photographer who 2) planned on shooting a few rolls over the weekend, I made sure to oh so casually wear pretty much exclusively knitwear. I ruined the all-the-wool-all-the-time effect by layering a windbreaker over the whole ensemble, but, hey, it was cold: we walked up along the ridges all weekend, got hella windburn, and woke up with our tent encrusted in ice.

Nic took lots of photos, but I selfishly picked out the ones featuring my knitting, since that’s what this blog is all about. Also, to pre-explain: the Highlands are home to a bunch of sweet lil’ pon’s.

So, um, there’s my hat, doing a great job as a hat.

Guest starring Cormo Rusticus,

and an extra pair of gloves that came in handy,

and my pretty-much-all-time-favorite-knitted-thing, the Peerie Flooers vest.

All photos © Nic Anthony

Oslo Star Hat Pattern

Tutorial: Fair-isle Floats