Tag Archives: Sewing

Sewing Victory!

I decided that since the temperature wasn’t going to get very high and it was going to rain all weekend I could justify dedicating the entire weekend to sewing.

I’m so glad I did – it’s been glorious!

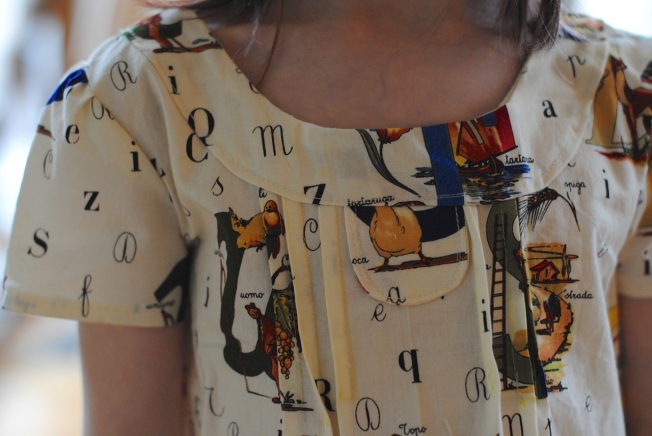
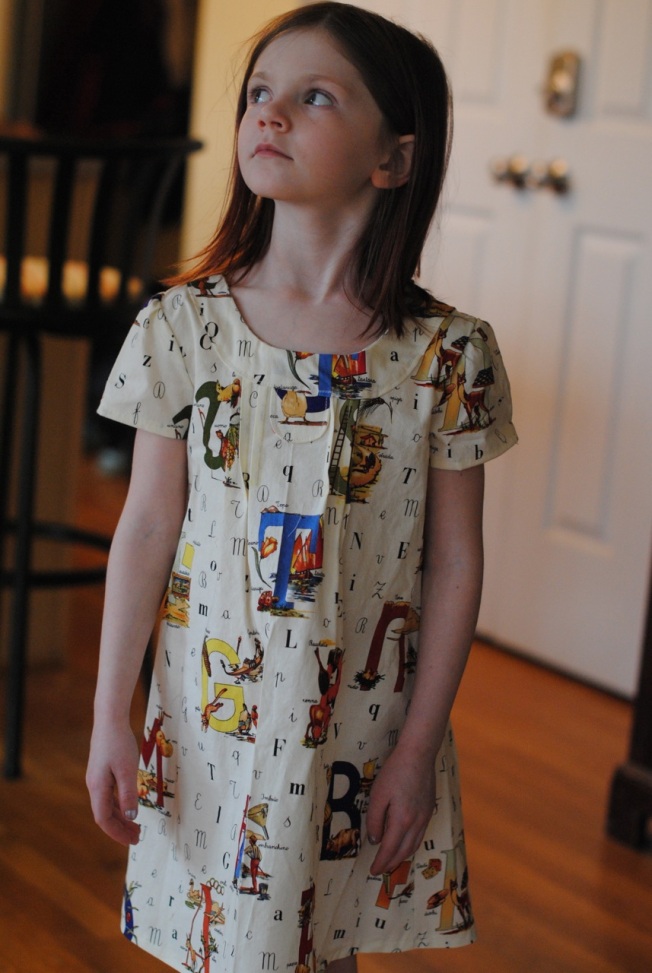
The first project I worked on was a dress I had started last summer for Oona and figured I had better finish before it was too small!

03.30.14a

The pattern is Oliver & S’s “Family Reunion”.

I don’t remember where the fabric is from, unfortunately.  I bought it quite awhile ago.

03.30.14b

The only modifications I made to the pattern are that I did not add little decorative  buttons on the front tab , and I did not topstitch the hem.

03.30.14c

I had to fight my sewing machine to get the automatic buttonhole feature working properly.  It took two needle changes, a cleaning out of the bobbin casing (lots of lint!) and a change of thread.  Sometimes it’s just fussy things like that.

The buttons on this are vintage ones that were my grandmother’s.  They match perfectly, don’t they?

03.30.14d

I just adore this fabric!

03.30.14e

03.30.14f

She wore it all day and wouldn’t even remove it for bedtime.

I’ve moved on to my next projects: The Lady Skater Dress in a red cotton and The Renfrew shirt in a blue Ponte de Roma knit (its a poly/rayon blend I normally wouldn’t go for, but it’s very nice and drapey.

I have plenty of Harney and Sons tea to fortify me (and Neve made chocolate chip cookies), so hopefully I will have progress photos soon!


Tagged: Sewing

WIP: Zig Zag Quilt

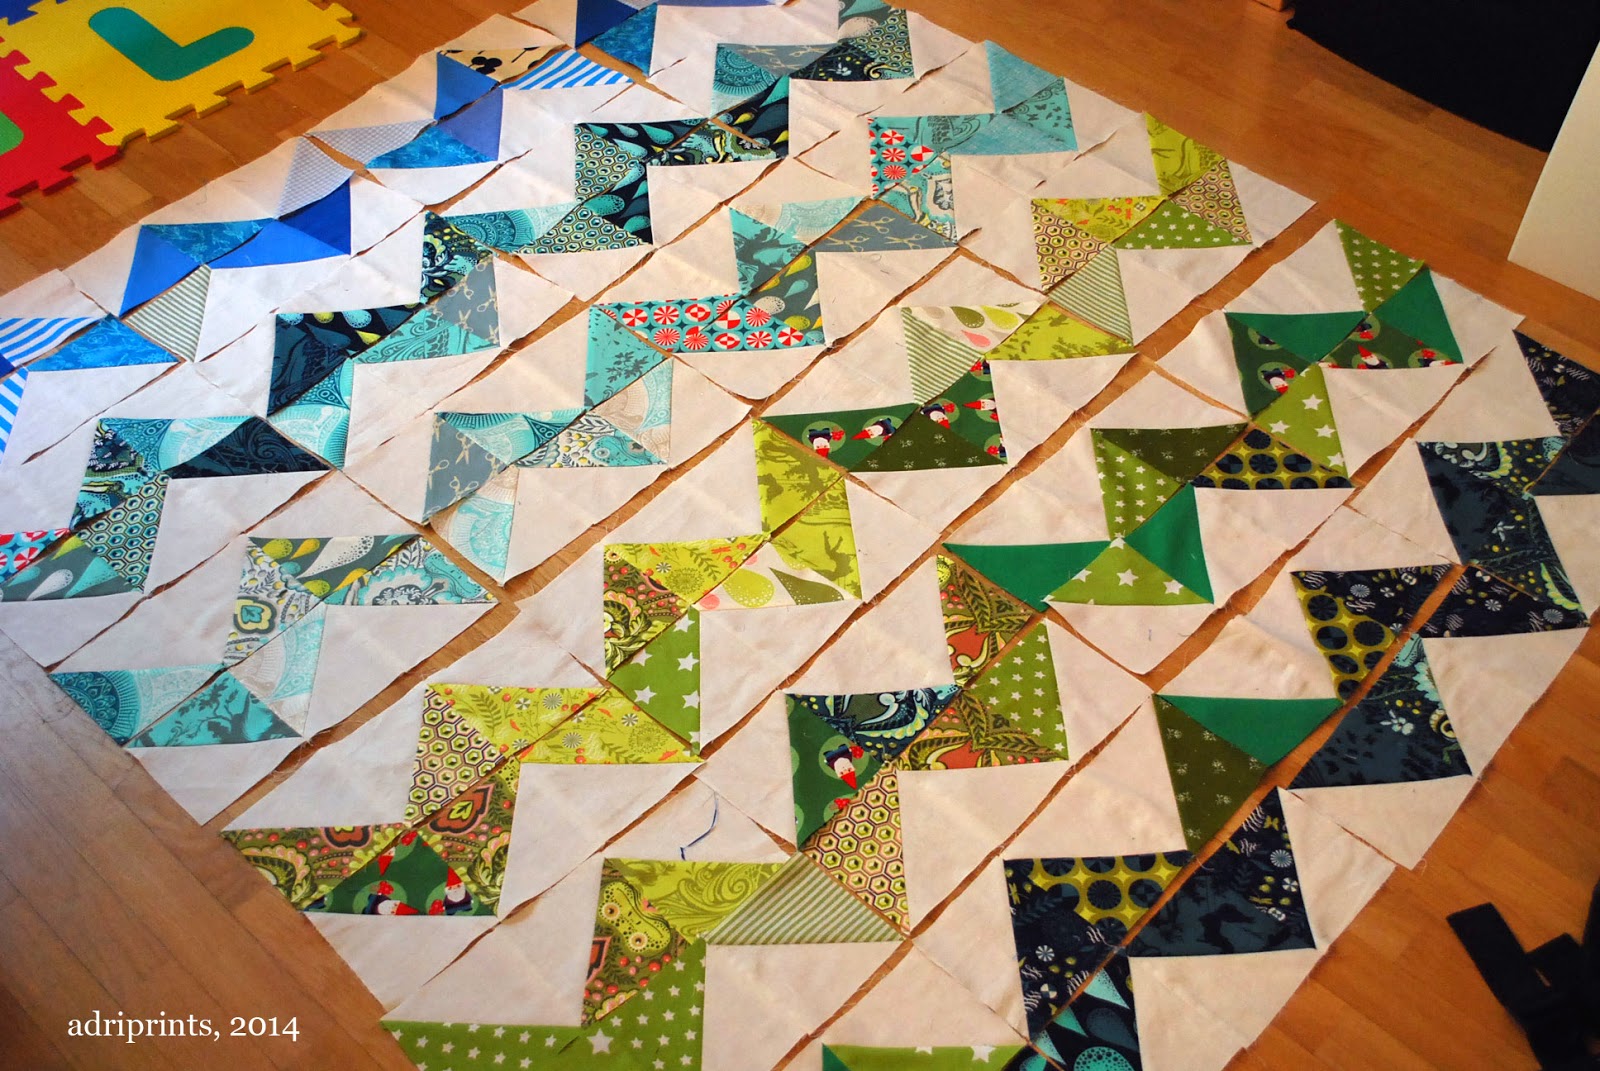
I'm making progress!


Earlier this week, I pieced together the HSTs (half-square triangles) into groups of 3, then I pieced the groups of 3 into zigzags!


Hopefully, by the weekend, I can get the top done and go buy some batting!  I'm going to do the back and binding in fabric from my stash.  I wonder if I have enough binding from the Blue Sampler Quilt to bind this one, too?  Hmm...

Zip Pouches and Boxed Corner Tutorial

Finished up two more zip pouches with the over-locker, and now feel like I've mastered boxed corners.


As you can see, the size of the boxed corner makes a difference in the depth of the box.  When I take out just 1.5" I end up with a shallower (3" high), longer box as you see on the left.  When each corner is 2", the height of the box is 4"; creating a taller, deeper box like the one on the right.

I was learning overlocker techniques from Amy Alan's Beginning Serging class over at Craftsy, and I wasn't finding too much success with the "pinch and sew" method of boxing corners.  I tried it several times, and the result was last week's slightly wonky zip pouch.  This time, I tried another technique - a cut-out method - and found success!

How did I do it, you ask?  I'll show you!

First, I measured and marked a square on each corner of the pre-prepped zip pouch.  The square you mark does not count the previously overlocked seam.  And, the sides of the square = half the eventual height of the zip pouch.


If you look closely at the above photo, I secure the layers of fabric so they don't shift when I cut through all the layers.  I use my tailor's shears to do the cutting since it grips while cutting, and doesn't over-cut at the corner like my roll-cutter sometimes does.


 Mark the edge.


Cut out the corner using your favorite grippy cutting tool.


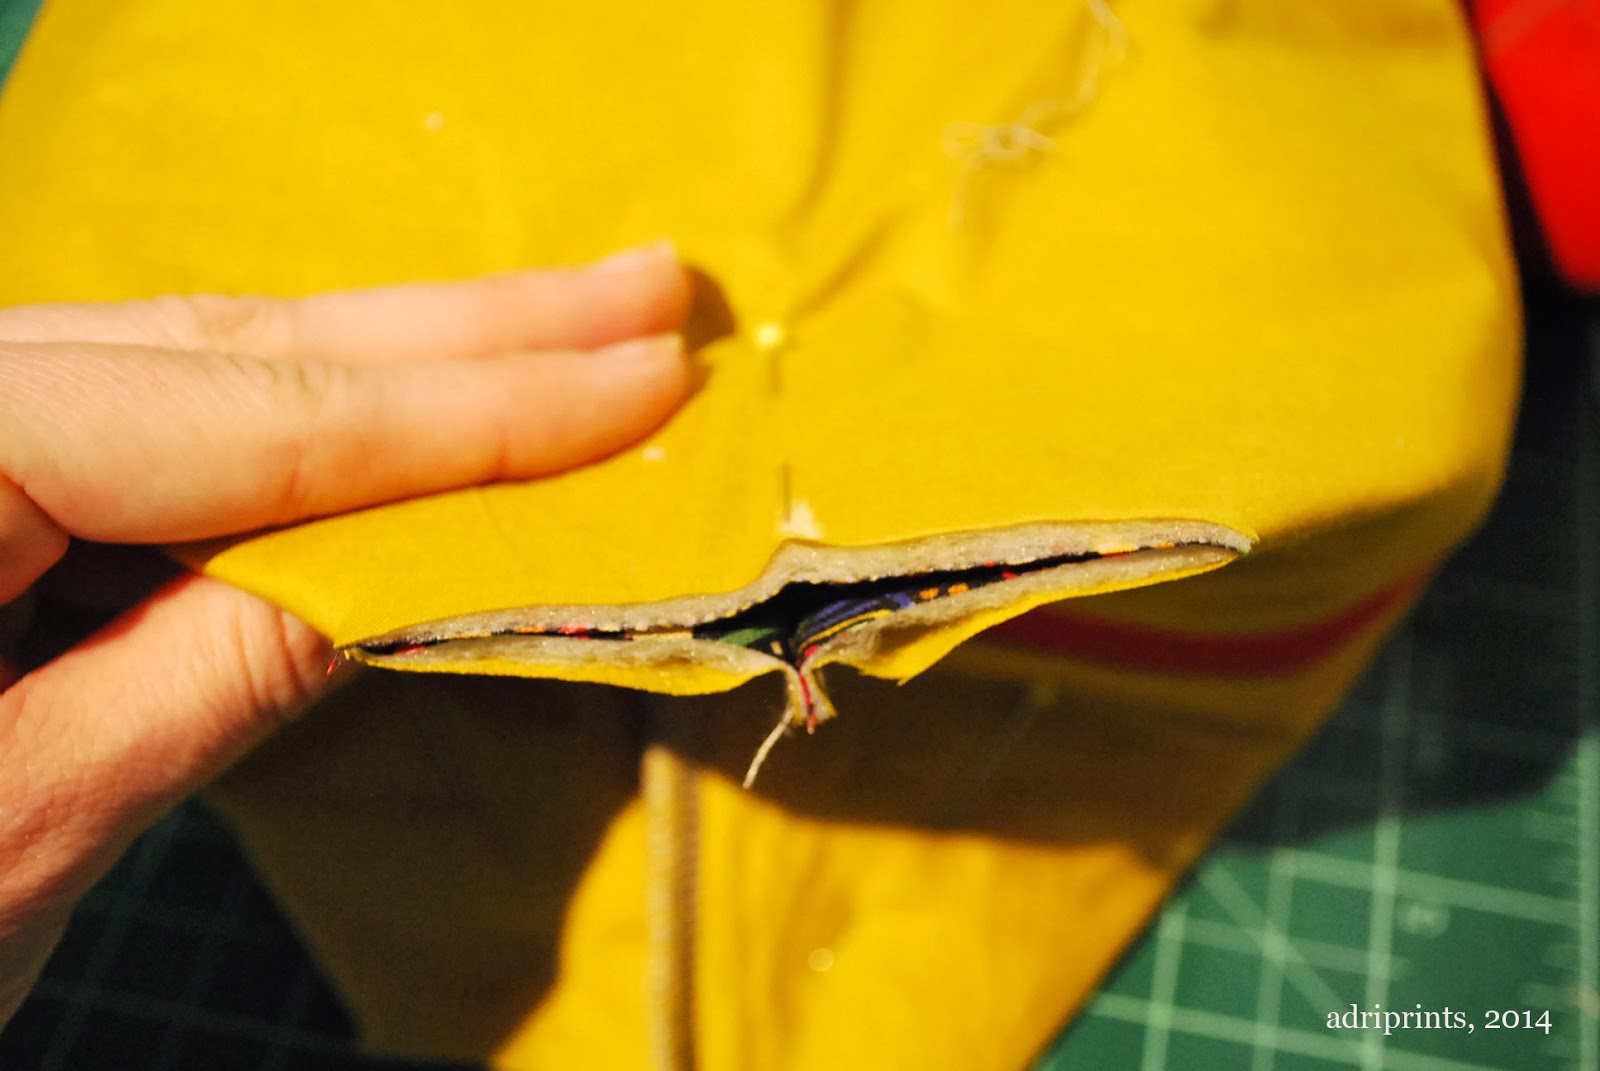
Use a pin to help secure the layers of fabric at the corner and mark the future center of the seam.  Pinch the fabric...


...and now you can line up your mark and pin with the center of the seam that goes across the zip.


Then, secure all the layers with pins, but remove that first pin that was marking the center so you don't run over it with your serger blade.  That would be chaos.  Those secondary pins should be far enough away that you avoid the blade of your serger, too.


Run the pinned seams through the serger and voila! Two boxed corners that are parallel, perpendicular, and totally symmetrical.


Whooo hooo!  A non-wonky zip pouch for your eyes to feast upon!

Getting Too Ambitious

It’s almost March.  March means St. Patrick’s Day.  It means my wedding anniversary.  It means it’s almost spring.

We’ve already started digging out our books about Irish folklore for school, and searching out just the right shade of green polish for our toenails.  My iTunes playlist has been updated with plenty of Irish artists (John Cunningham is a favorite).

We’re starting to think about watching Darby O’Gill And The Little People.

We’re craving the look of green grass and the sound of new lambs bleating and sproinging around in the fields.

But we’re getting ahead of ourselves.

March is a month of contradiction.  It heralds the vernal equinox but it also usually is the month of our biggest snows. Actual spring is still a ways off.  Even though my spring seed list is complete it is too early to start them just yet.

For now we must content ourselves with mostly indoor projects and finish those things we can before we move on to the outdoor ones.  And in doing so, it’s been difficult not to be overly ambitious.  After all, I have had some wonderful things lined up for quite awhile awaiting my time.

02.27.14a

These two fabrics just scream “early spring” for me.  They’ve been sitting on a shelf for several years now, patiently waiting to become a quilt.  I’m hoping I can start some cutting on it today.

02.27.14b

And then there’s this incredible llama-themed fabric Susan bought me last year for my birthday.  I am just as smitten with it today as I was when I first saw it (look at the llamas!  And the knitting needles with balls of yarn!!!), and I can’t wait for the perfect quilt project for it.

02.27.14c

Let’s not forget this adorable British-themed fabric I have been collecting in small bits here and there over the last year.  Just looking at it makes me want to go pour myself a cup of tea and look through one of my British Country Living magazines.

See?  Fairly overwhelmed with sewing possibilities!

But what about knitting?  I have about a million and one projects lined up to go on the needles, but for now I am thrilled to be moving along nicely with my Shepherd Sweater:

02.27.14d

I’ve reached that magical point in knitting it where I can begin to split out for the sleeves and the front.

02.27.14e

The most miraculous part? I am not even remotely bored with this yet.  I don’t know if it’s the yarn, the pattern or the combination of both, but this is still thoroughly enjoyable knitting.  I can see myself casting on another one as soon as this one is complete.  No, I am not even kidding. Maybe I can use some of my cream-colored Aran weight yarn?  Or the teal blue one?

Either way I need more hours in my day.  And more months before spring, apparently.


Tagged: Homeschooling, Seasons, Sewing

WIP: What’s in progress?

What's in progress?  Let me show you!  Here's what I've been working on...
In Hand Knits:
On my double pointed needles, there's currently a second mitten!


This is the second mitten of red/white pair using my Rosita Mittens pattern from Knitscene Accessories, 2013.  I think I managed to make a larger size by mistake.  Oh well.

In Machine Knits:
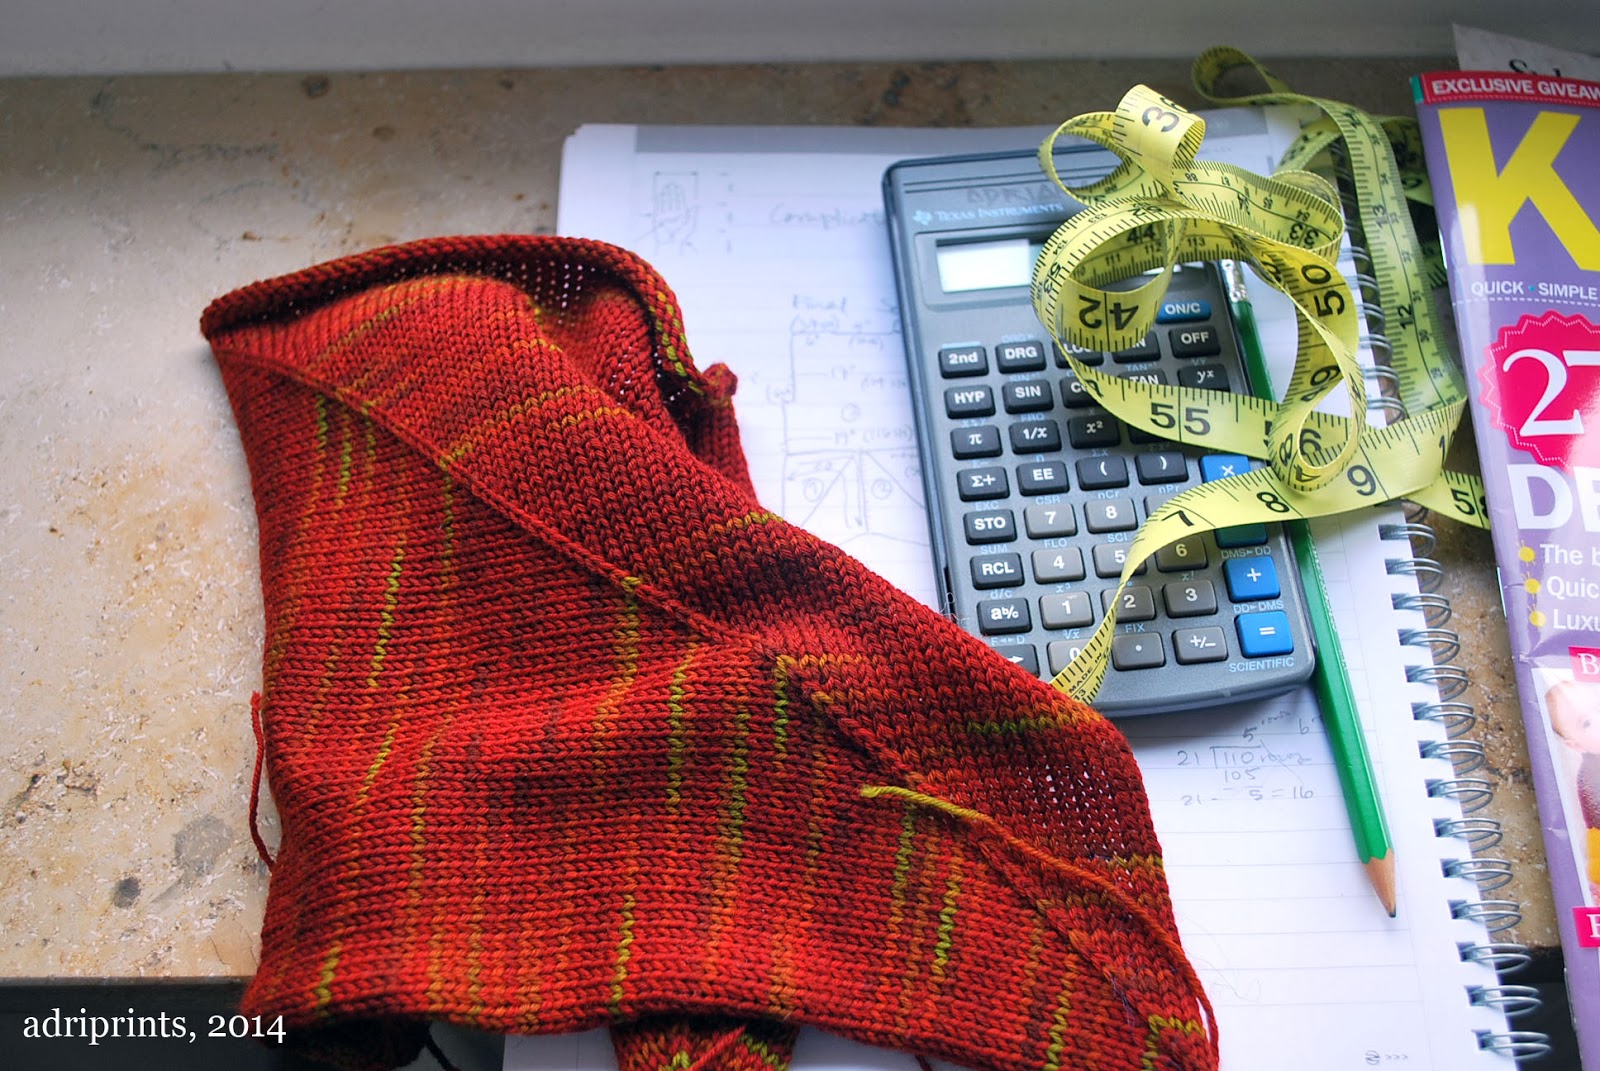
I'm working on a cardigan design I'm temporarily calling "Mitered Detail Cardigan".  I was doing all the calculations using the old-school methods you see below (tape measure, calculator, and pencil).


Here's the first mitered square done on the machine.  It took a LOT of hand manipulation using a garter bar to move each row of stitches toward the center to create the centered double decrease, but it looks good.


Here's the completed back piece of the cardigan.

In Sewing:
I made my first overlocked zip-pouch.  This is one of three that's in progress.  It's my test piece, and it will likely be the subject of a giveaway very soon.  Who knew that boxed corners had to be so accurate?!


I used the Liberty Lifestyle fabric I wrote about earlier along with some other quilting cottons, fusible fleece, and a zipper from my zippers-on-a-roll.  Can't wait to master the boxing of corners.  What are you working on?

Sleeping on Sheep

During a photo shoot up north last year, Susie stayed at our terrific friend Julie’s house. When I was complaining to Julie about having difficulty sleeping and waking up congested, she recommended that I try a wool pillow as wool is hypoallergenic. In fact, she had made some and gave me one to take home with me! When Susie saw that I received a wool pillow, she was a bit jealous. While at Julie’s she’d slept on one of the pillows and really liked it. So when it came time to think of the perfect Christmas gift for her, a handmade wool pillow came to mind.

Because we didn’t have any fleeces available, I contacted Spinderella’s Fiber Mill to see if they had any wool that they could process for me. Fortunately they had some wool and alpaca batts ready to go and promptly shipped them out to me. I paid for 2lbs of batts which was enough to make one pillow; Lynn didn’t want to break up a batt and the batts were a little heavy, so she sent me overweight batts for free. It was very kind of her!

Then I want to Julie’s house so that she could show me how to make a pillow from the batts. She had made a tutorial for Spinderella’s that they posted on facebook, so I knew that I would be in good hands. The quality of cotton is very important in making sure that the stray fibers don’t escape from the pillow. I went with Kona Cotton, which has a tight weave.

041

This batt was both wool and alpaca and I just loved the different colors that were combined:

038

The finished pillow is soft and full and stuffed to the gills!

047

It will flatten and felt a bit over time. I flip my pillow regularly to help prevent it from getting too flat. I definitely enjoy sleeping on a wool pillow; it’s a small bit of luxury. Every once in awhile, I get a glimpse of the printed cotton that Julie choose for my pillow and it makes me smile every time and think of Julie and that she cares enough about me that she wanted to give me a piece of herself in a handmade package. I hope that I passed that love onto Susan with her own pillow!

Snapshots of Busy Saturday

muslin blanket set
baby blankets are finished

foodcoloringdevastation
food coloring I used to dye a lot of wool–after the cat jumped up on the table and got it all over her paws

handmade ring sling rings
a finished baby carrier

food coloring dye day
dye and washed yarn ready on the drying rack

new books
new books to read

Correspondence

I think the guy at the corner post office knows my name now-- which is great!  That means I've finally finished and mailed all the stuff that should have been sent out ages ago.

You already saw the finished baby blankets in the previous post, but I also finished a few other things!  A friend and I are doing a hand-lettered mail exchange.  Here's my letter to her:


Sorry, I know her address is covered, but underneath it's lettered really nicely. I wanted to respect her privacy, you know?

I also did this hand-made facebook exchange thing and I finally got around to making the items!

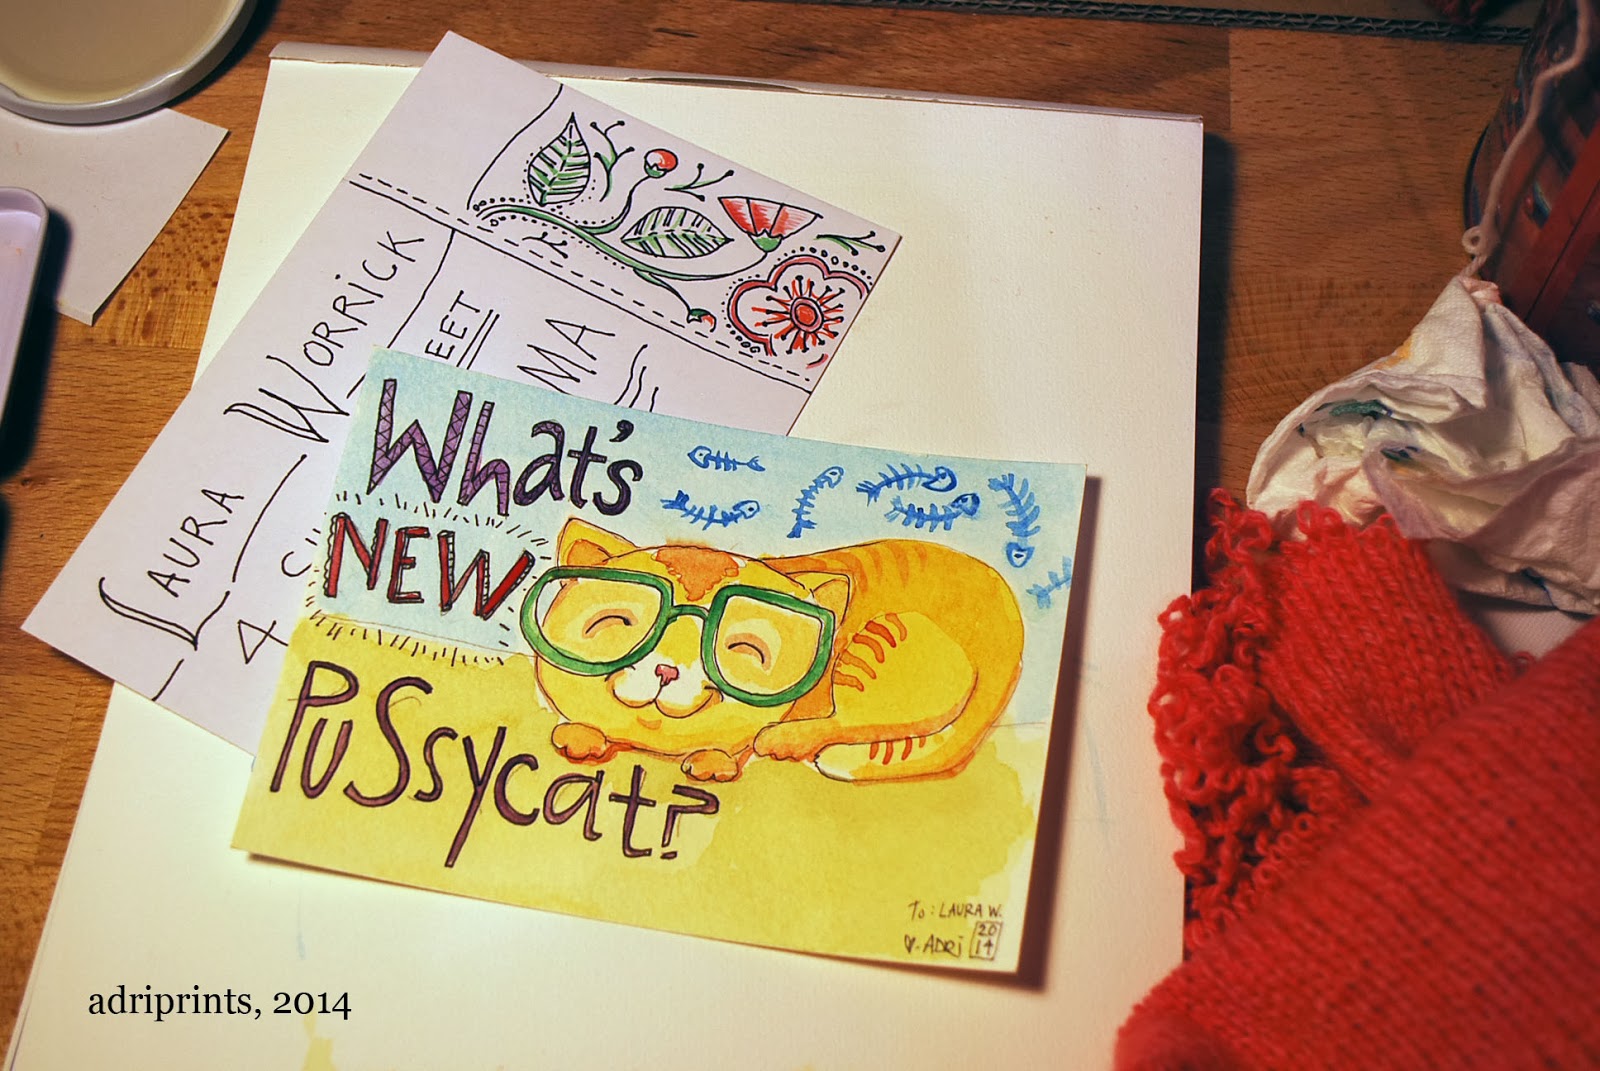
First, there's a hand illustrated postcard to a friend of mine.  It's an inside joke, but for the life of me, I can't remember the punchline.  All I remember is that many moons ago, I made my friend, VJ, a silkscreen t-shirt with the word "beefmaster" on it and a piece of toast.  Here's the concept revisited:


Then, there are the eye-glass cases I made from quilting scraps for two friends of mine who live in sunnier locations:


They were made using a simple cardboard template that measured 9" x 5" and then quilted and sewn together.  Is anyone interested in a tutorial?  Let me know in the comments if you are.

And finally, in the mail I got my contributor's copy of KnitNow's Issue #30 with my pattern on the cover! 


What a crazy awesome issue!  It has so many lovely extras like charts for colorwork lettering and magnet strips to keep track of charts.  Very handy!  And a lovely insert with cute winter accessories.  This issue has lots of quick knits at various skill levels, and it's chock full of knitted lovelies in general.  I feel so lucky to have been a part of the gang for Issue #30!

FO: Twinsies Baby Blankets


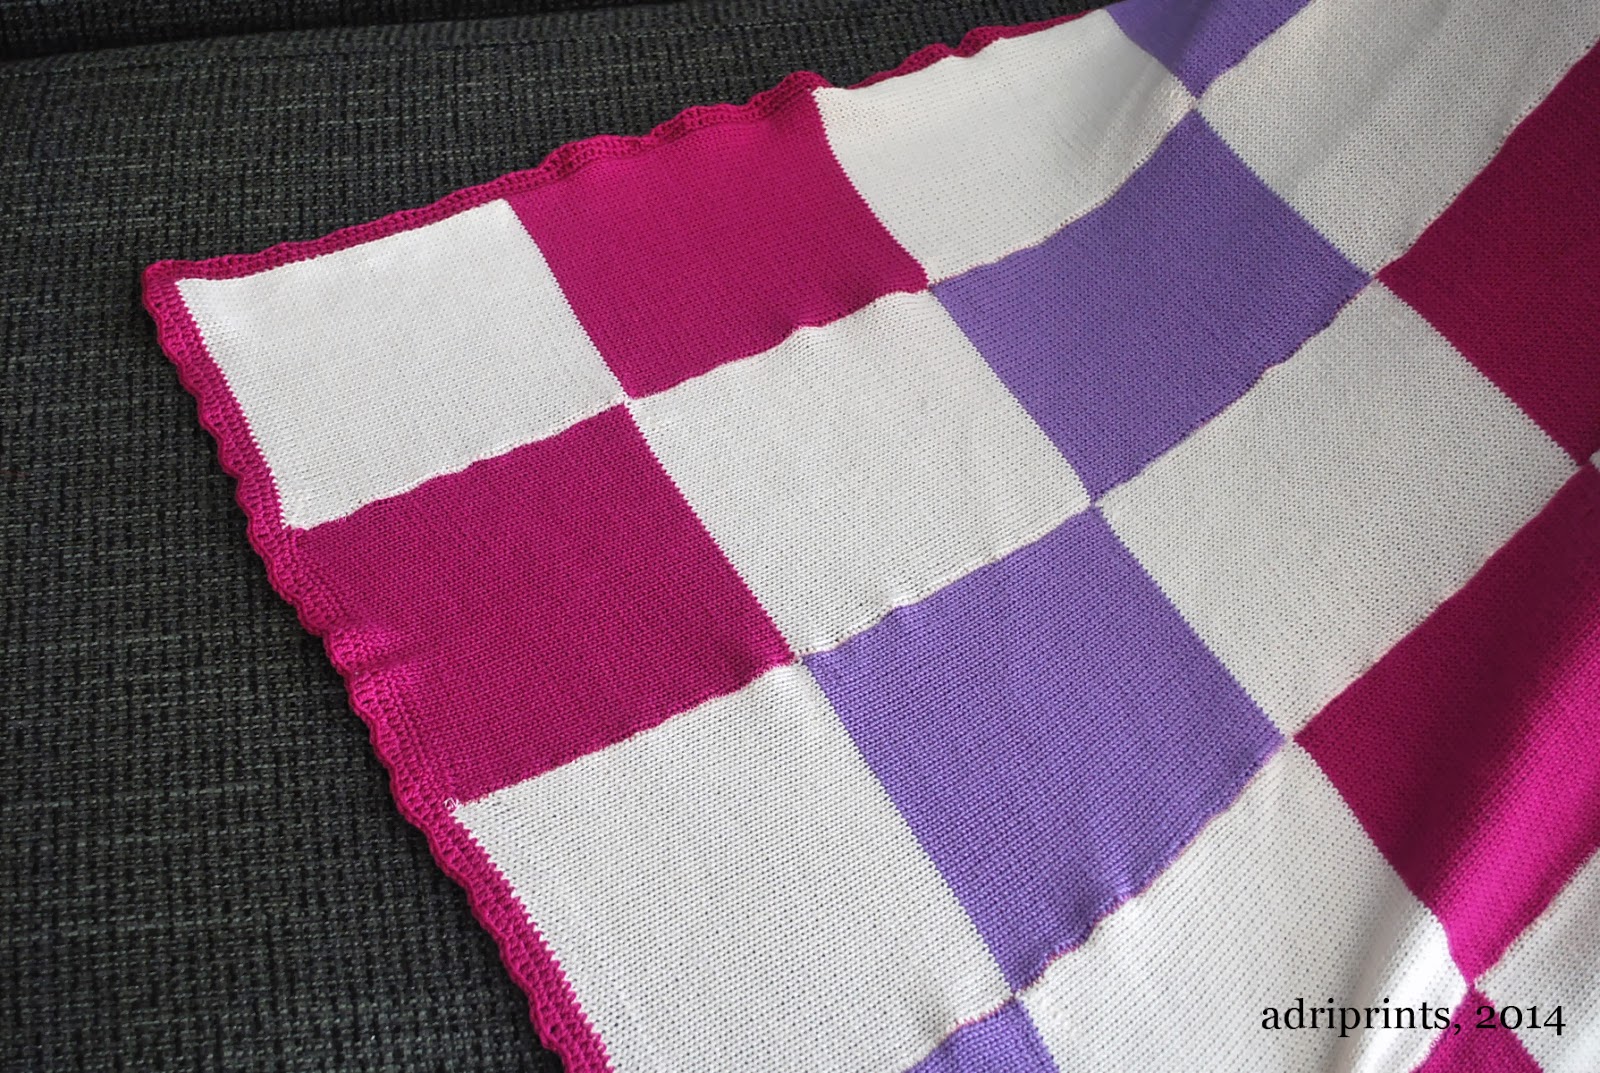
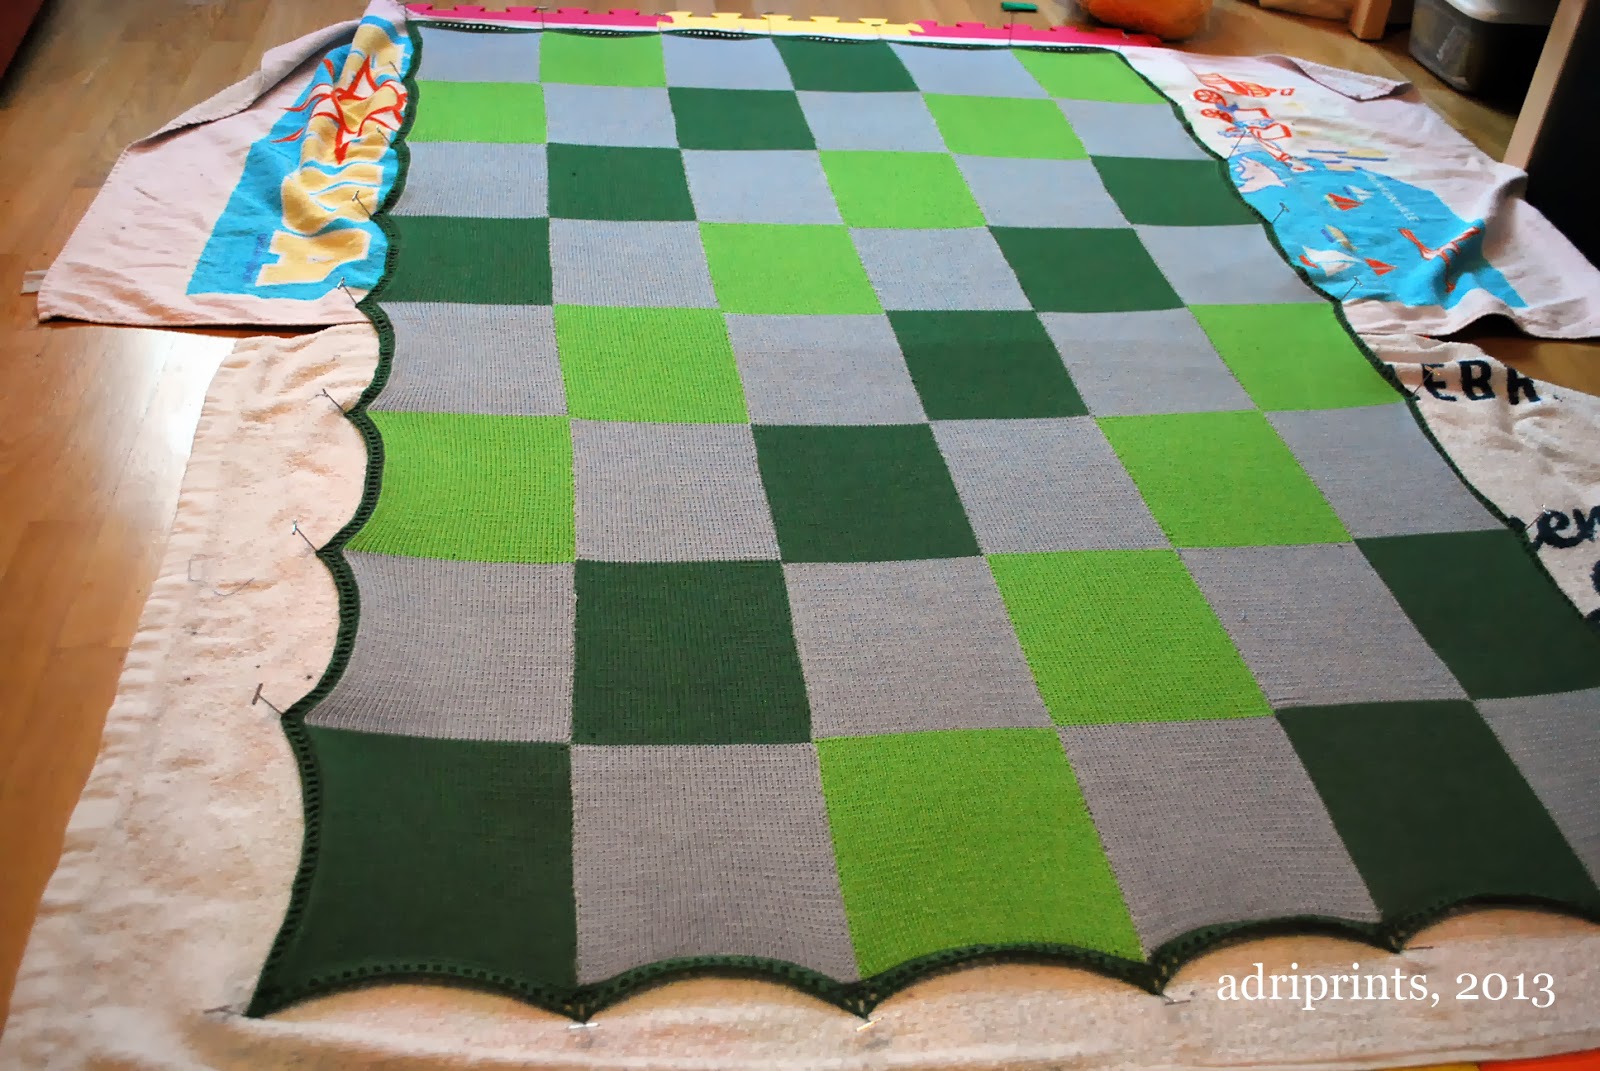
I finally finished my first big machine knitting project/commission!  The blanket was machine knit in strips, sewn together, and finished by using simple crochet borders.  The green blanket used a single-crochet border followed by a triple-crochet plus single chain stitch to create the dashed-dot look.  The pink/purple blanket used a series of increasing crochet stitches to get a subtle scalloped look.  Both were then steam pressed from the opposite side with a damp press cloth to stop them from curling... but they still kind of curl.


Both blankets are done!  I've already packed them and prepped them for shipping. :)

blocking

close-up
It's the first time I've done a dedication/title block/ blanket info square.  Hopefully the end-user will know not to shove these in the drier.  These are 75% superwash wool 25% nylon, but even then, I'd still avoid the drier.

dedication square
 Yay! Now, I can focus on knitting stuff for my baby!

Previous posts about these blankets:
Boy Twin Blanket Complete
The Concept

Snow Day No. 2

We got 13 inches of snow yesterday. I didn’t take a picture, but you can’t even see our car, let alone where the drive way is. The street in front of our house, just a guess at where you should actually drive….

So we’re home again today! I’m not going to lie, this is exactly what I have been needing–a couple of extra days off work that aren’t full of weekend chores and errands and where I am not sick. Thank you, Snow.

I worked on my Snow Day Shawl all afternoon, and a good portion of the evening.

snowdayshawl

I got about 18 inches into it, so while it isn’t a shawl yet, it very well could be in a few days time. Aren’t the colors fantastic? I’m glad I decided to stripe it to make the handspun last longer. It really underplays the yarn nicely.

Speaking of stripes, I had so much fun printing stripes on to the baby blanket yesterday, that I got the paint back out today and did stripes on the fabric that’s going to become my ring sling.
stripey baby wrap fabric

The fabric took quite a bit longer than the blanket, as it’s about twice as big and I used 5 colors instead of 3, but I think it turned out fantastic, and I somehow managed to include all of my favorite colors.

fabric printing stations

Here’s some perspective on how large the fabric is. It’s set out on my six foot table I use for craft shows and the farmer’s market. The blanket is behind on the ironing board.I can’t wait until the fabric is dried and fixed so I can sew my ring sling with it. That will feel like such a grand accomplishment, even if it does turn out unusable.

But I better get busy, I am certain we won’t have a snow day tomorrow, and I have a shawl to finish.