
soon it will be good bye to another beautiful October :(


soon it will be good bye to another beautiful October :(
Comments Off on October Leaves …
Tagged autumn, foliage, leaves, Photographs, trees

A couple of years ago, I did a blog post about some really cool DIY sheep ornaments I made for my Christmas tree. I cut realistic sheep shapes out of wood and wrapped them in scrap yarn from my stash. The results were so lovely and rustic that I ended up making a who bunch more to use as gift tags for my handmade gifts. It was one of our most popular, most Pinned post of all time.
I also get tons of emails every week from people who don’t have the tools or the skills to cut their own own sheep out of wood, and are looking for a source for realistic wooden sheep cutouts.

I found a few sources for good wooden sheep but no matter how often I updated the post, the emails still come when the suppliers I linked to sold out.
So my amazing, adorable husband volunteered to become my sheep supplier. He can do just about anything and he always exceeds my expectations. For example, I gave him the outline of one sheep to use as a template; he came up with the other two on his own.


Our adult ewe sheep has been joined by a yearling and a tiny lamb! Aren’t they the cutest?


And for the alpaca lovers…

He even hand stamped the muslin bags to ship them in.

You can use any kind of yarn to wrap your sheep and alpacas.

I wrapped this one using a self-striping yarn. You just have to pay attention to the color changes if you want to make stripes. (A dab of glue from a glue gun can help keep everything in place if you’re anxious but it’s definitely not necessary.)

Here’s another example of variegated yarn. I didn’t try to keep the stripes together on this one.
Here’s the best part:
This year, we will be donating a portion of the profits from the sale of Sheep Stash to Heifer International, to continue or long tradition of donating livestock to help lift families out of hunger and poverty. In previous years, we have raised enough money to purchase 6 sheep, 2 goats, 2 pigs, 2 hives of honey bees and several flocks of geese, ducks and chickens. It’s one of the most rewarding things we do here at JMF and it’s a tradition I hope to keep up for years to come.
To purchase your very own set of Sheep Stash Sheep, visit our Facebook shop. I’ll post the total of our donation to Heifer International when all is said and done.
Oh, one more thing– I would love to see your Sheep Stash once you wrap them! Please post them to our Facebook page so we can all be inspired.
Comments Off on DIY Sheep, Revised
Tagged do-gooding
Sunday we drove out to our friends’ house to celebrate their son’s 7th birthday. Thankfully the weather held, and we were able to mingle outside and enjoy grilled bratwurst and fresh oysters.


And did I mention it’s beautiful out at their house in the fall?

Kirby, the welcoming committee.


Paul and Emily missed out on the fun, due to a bad cold that is making its rounds. Paul is actually still down with it, and home from work today. I’m trying to power through today, and make some garlic chicken soup to aid in recovery.

Neve helped with the marshmallow roasting.


Oysters! I actually got Neve to try one; she wasn’t thrilled with it, to say the least!
Lisa and Will always throw one heck of a party, and being out among the changing leaves on a mild October day with a great group of people……well, how can you go wrong?

Comments Off on Autumn Birthday
Tagged Uncategorized
Martha’s Vineyard
 New York harbor

Comments Off on October Sunsets …
Tagged autumn, clouds, Martha's Vineyard, Massachusetts, New York, Photographs, sky, sunset

This is not a post about how to build your brand. If you are looking for a quick guide to branding, look elsewhere. There are professionals out there who can help you do this a whole lot more effectively than me. But be warned, if you are new to selling, there are no quick fixes. Branding is a journey. When I work with artists, this is the part I pray they have done already, because it makes my job loads easier, and I literally cannot do it for them. I can interpret their brand for my store, but I can’t give them their identity. If you have a clear idea of who you are and what your company does, it makes it a million times easier to sell your work.
This is why you need things like the following:

An example of branding: instantly recognizable and consistent photography
Full disclosure, to me, this is the scariest part of starting a business. This is the step that takes a lot of reflection and introspection. It takes work. Real work. It is the opposite of doing all that fun creating, but deciding how you represent what you create is just as important as creating it. And yet, this interpretation is also the part that is most often skipped or half-assed. My best guess at why artists-as-entrepreneurs, myself included, have difficulty with this step is because it can be really, really scary.
If building your business were a story, this would be the part where the hero has to confront his demons before he can go on to be victorious. That is how scary I find it. It is like Harry Potter going into the Forbidden Forest to give himself over to Voldemort scary.

Why do I find this so scary? Because I’ve read a ton of those business branding guides. I’ve got notebooks full of notes on who I think I am and what Tiny Dino Studios could be. What I have never once seen is someone deal with the emotional side of what these guides ask you to do. They ask you to knock down all of your protective barriers. They want you to demolish the walls you’ve built around yourself, take a step back, and examine your true self. They might ask you in ways that don’t feel so navel-gazey, but for each exercise they give, they are looking for an authentic answer. No perfunctory words will do.
You are not going to be good at branding unless you are 100% honest with yourself about what you want your business to be. And if you don’t like yourself, if you are afraid of what you’ll find if you lower defenses, confronting that can be the scariest thing in the world.

It takes guts to fill out one of those brand building guides and mean every word of it. It most likely won’t be quick, and a lot of it probably won’t be fun. Don’t let fear hold you back from tackling this. Just like any business, if you put in the hard work now, it makes your life easier in the long run. Developing your brand is like a good workout, getting up the motivation might be difficult, and the work is hard while you’re in it, but the way you feel stronger afterward is worth it.
It’s OK to wrestle with yourself. It’s OK to not like yourself very much or feel inadequate or scared. It’s OK to ask for help. What’s not OK is giving up before you’ve even started. No one can do this for you. They can guide you. They can coach you, but in the end, it’s just you and Voldemort.
If it feels like too much, check out my blog and business tips pinterest board. It’s full of people who break marketing and business planning down step-by-step. I’ve also found that just because the advice is for writers or bloggers or etsy sellers, doesn’t mean it won’t be compatible with your business.
Have fun. Grow. Sell!
Comments Off on Selling Without Fear: Your Branding Journey
Tagged branding, building your brand, Business Savvy, know your brand, marketing, selling without fear, your brand journey
It’s Monday morning, and boy am I feeling it. I packed a lot into the last few days, and I fear that the cold Paul and the kids have been dealing with may have finally reached me.
For most of Saturday I worked on baking and spinning. That luscious Blue-Faced Leicester roving was calling to me and I couldn’t tear myself away from the wheel! I’ve got almost two spindles full; when I’ve got three I’ll ply them together. I can’t wait to see how it all blends together!


I mean, those colors!!!! When Neve and I were wandering around Rhinebeck, I realized we kept grabbing the same colors. The colors of fall! I had to make a conscious effort to look at other colors as well. There’s just something so homey and comforting about the golds, oranges, and reds of this time of year, though.
To match that coziness, I tried a recipe from King Arthur that I’d been eyeing for awhile: Cranberry-Pumpkin rolls.

I left out the cranberries this time; Paul isn’t crazy about them, and I wanted to see how they’d do as plain pumpkin rolls.

The result? Absolute deliciousness! I crammed them all into a 9×13 pan as suggested by the recipe, but I actually had dough leftover as it wouldn’t all fit. Cranberries would have been delightful in them, but in all honesty they do well enough without them as well.
That evening I met my sister out for my birthday gift from her: The Avett Brothers in Charlottesville.
It. Was. WONDERFUL.
They are so good live, I can’t even tell you. Maddie and I had such a good time; I have the best sister!


Comments Off on The Best Weekends Are Fall Weekends
Tagged food, Spinning, Uncategorized


Comments Off on October Windows …
Tagged architecture, autumn, foliage, glass, houses, Massachusetts, New England, New Jersey, Photographs, posterize, windows
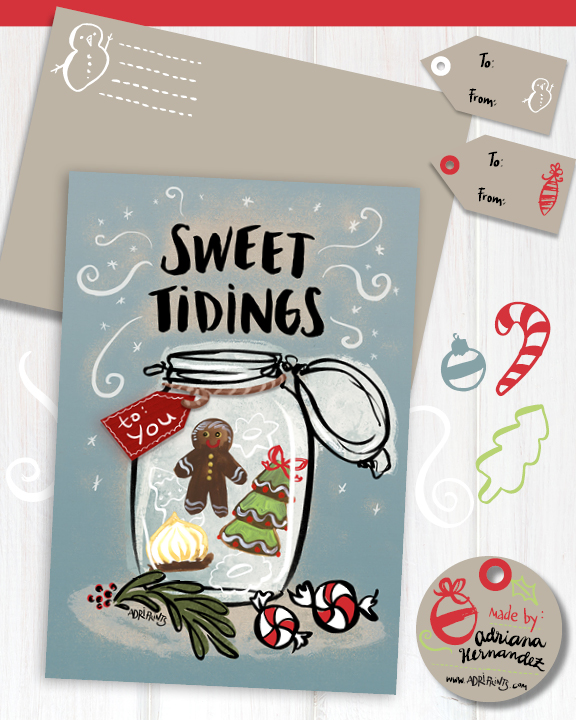


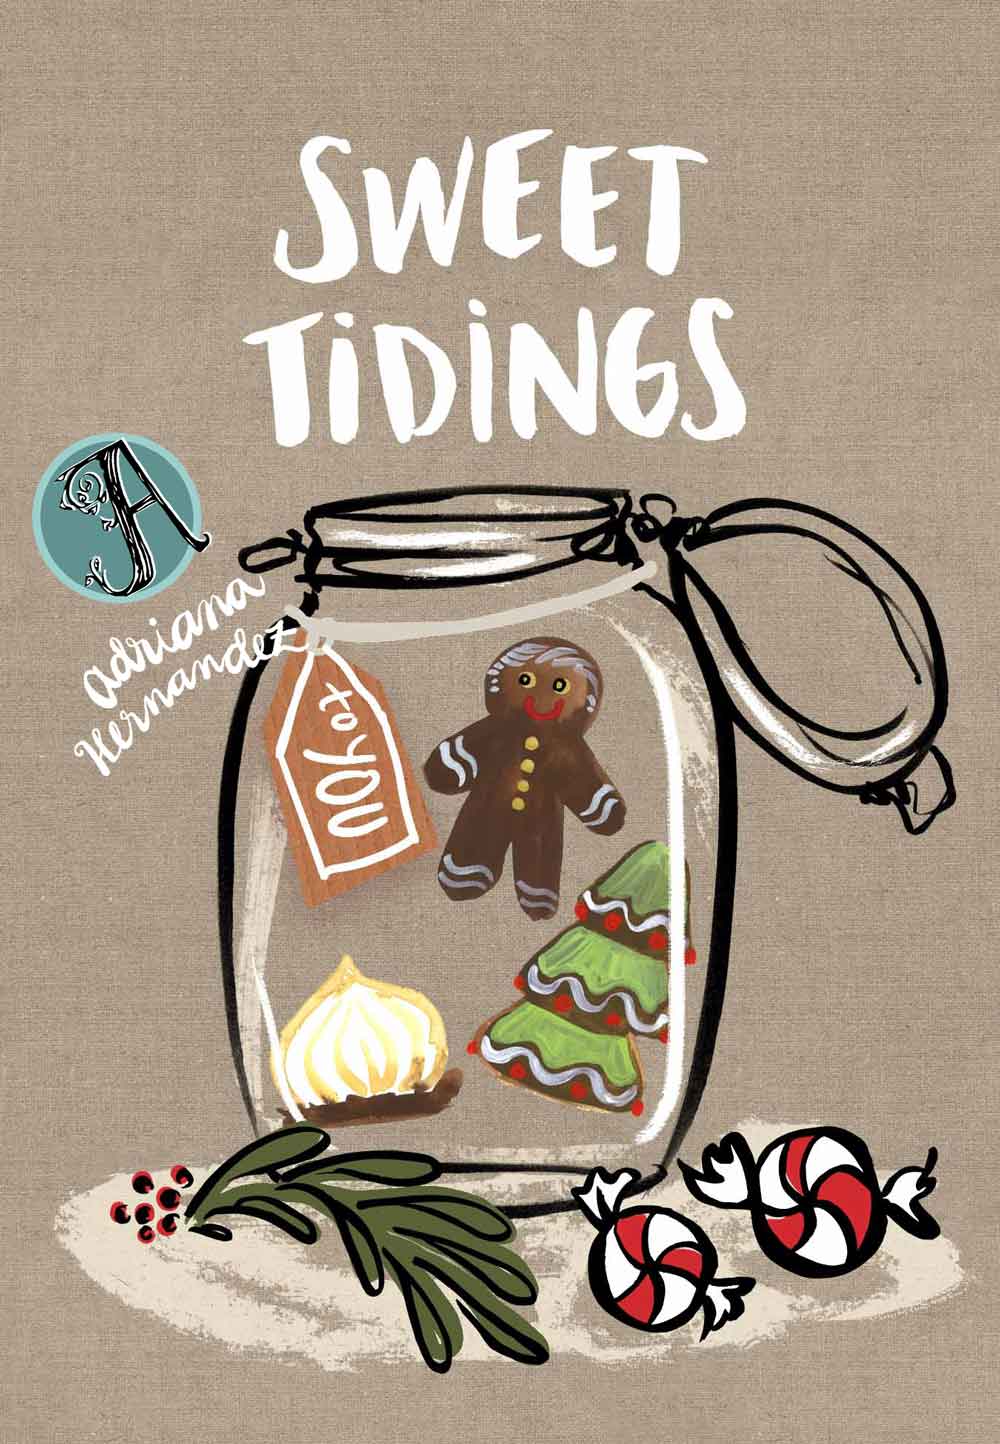
Comments Off on Sweet Tidings to You!
Tagged greeting card, holiday, MATS, process, stationery
The prompt this week is to show something careful… I’d certainly be careful about parking beyond this sign :)


https://dailypost.wordpress.com/photo-challenges/careful/

Comments Off on Weekly Challenge: Careful …
Tagged beaches, Massachusetts, New England, Photographs, postaweek, postaweek/postaday, water, weekly prompt, words
Everyone in my house is sick with a nasty cold. Mike is miserable. Scout is miserable-r. And I may be the miserable-ist, although exactly who is the sickest is always a hotly debated topic around here.
Today, I grew tired of wallowing in my stuffy nose misery and decided to take matters into my own hands by making Garlic Soup. I don’t know that actually believe in the healing powers of garlic but I figure I don’t have to believe for it to work, right? And since Halloween is just around the corner, I’m sharing the recipe with all of you lucky healthy people.

You’ll need four or five heads of garlic for this soup. When buying garlic, look for heads that are firm and tight.

Separate the heads of garlic into cloves, but there’s no need to peel them Plonk them into a baking dish with a couple springs of thyme and a teaspoon of olive oil. Cover the dish tightly with aluminum foil and pop it in the oven at 350 degrees Fahrenheit (around 180 Celsius) for one hour or until soft, but not brown.

Carefully remove the foil and allow the garlic to cool for about 20 minutes.

When the garlic is cool to the touch, squeeze the pulp into a medium pot, discarding the paper peels. This is the fiddliest part of this recipe and also the messiest. You will surely have roasted garlic all over your hands before your done! Just keep telling yourself how amazing this soup is going to taste.

Once you’ve finished squishing and washed your hands, use a potato masher or the back of a wooden spoon to mash all the garlic cloves into a smooth paste.

Now throw a bit of flour onto the garlic paste- about 2 teaspoons- and stir thoroughly to incorporate the flour into the garlic. It’s really important to get all the flour into the garlic before proceeding to the next step.


Now for the liquid. You’ll need four cups of stock, either chicken or vegetable, preferably homemade but good quality store bought will do just fine if it’s all you have. If you do use boxed, adding a heaping teaspoon of Better than Bouillon will perk it up.
Using a whisk, slowly incorporate the stock into the garlic-flour paste, then set over a medium-high burner. Allow the soup to simmer and thicken for 10-12 minutes, stirring occasionally. Remove the pot from heat and stir in a good squeeze of fresh lemon. The lemon with brighten the soup immensely.
