Monthly Archives: February 2014

How I Made My Own Custom Ring Sling

a handmade ring sling

With my first son, I had a Maya Wrap baby carrier that I simply adored. Between him turning about six months old and now, I have no idea what happened to it. When I found out I was pregnant last August, one of the first things I did was browse through the Maya Wrap website to see which fabrics I liked best. Slowly, over the last several months, I convinced myself that surely I could sew one myself. One of the reasons I wouldn’t let myself do that much sewing when we were living in the apartment, was because I was already getting the hankering to decorate fabrics myself, and I knew that if I was going to sew anything, I knew I was going to have print my own design onto it first. There just wasn’t room for any more stuff in that apartment. No more fiber crafts could fit, so I just focused on woolly things. But in the new house, I have a whole room to cover in wool and fabric and dye and paint…and I have done a pretty thorough job of filling it up in just two months.

osnaburg
I started out with 2.5 yards of natural osnaburg from fabric.com. I washed and dried it as soon as it came in. The edges frayed a bit in the wash, just a warning.

stripey baby wrap fabric
Then I ironed and pressed and spent a long, long time re-flattening my fabric so the paint would go on as evenly as possible. (For the record, the not-straight stripes and sometimes thin paint was on purpose.) I used acrylic paint and a fabric medium fixer (link below) and a tiny paint roller I bought at Joann for $.99 to apply the stripes.

I allowed the fabric to dry for at least 48 hours and then ironed it front and back (on the front with a piece of scrap fabric over the paint) to set the color and then threw it in the wash with a load of laundry. I made sure I took it out of the dryer as soon as it was done so I wouldn’t have to spend an hour ironing it again, and then I spent a few minutes cuddling it.

Next I trimmed all of the big unraveled pieces from the edges, and then zigzag stitched around the perimeter of the piece so that it wouldn’t fray anymore. (Warning: you will likely have to refill your bobbin at least once during this project.)

Then I hemmed three sides: the two long sides, and only one of the short sides. Leave the top of your sling, the part where the rings are attached, unhemmed unless you have a really powerful sewing machine. You’ll have quite a bit of fabric to sew through at the end.

I followed the sewing tutorial on the Maya Wrap website from here about where to sew and how much–which at this point is really just three or four quick seams, but over a serious amount of fabric. Make sure you watch the videos about how to properly thread and use your wrap.

handmade ring sling rings

What you’ll need to make this project:
Sling Materials
-2.5 yards of a 45 inch fabric
-A set of Sling Rings
-Coordinating Thread

Printing Materials
-3 to 5 colors of acrylic paint (I used Americana)
-1 bottle Fabric Painting Medium (follow instructions on the bottle)
-Paper plates and disposable spoons for mixing paint with fabric medium
-1 inch foam paint roller

My total cost for the project:
fabric $9.95
sling rings $3.79
thread $2.99
paint $5.94
roller $.99
Total: $23.66
(Even rounding up for tax and shipping, the project comes in at under $30)
That’s a fraction of the cost of an name brand wrap, and I was able to completely customize it to my tastes. My colors, a wider shoulder and smaller rings, than the original. Now I just need a baby to put in it!

Wild West!

You know how I mentioned that I have a project I’ve been working on forever?  It’s finally close enough that I feel I can start blogging and talking about it.

(Psst…if you’re going to Madrona next week, you’ll get to see some of these projects in person!)

Like CRK, the collection has a theme. The patterns are inspired by the landscapes, geology, flora, fauna and history of the ‘Wild West’ of Arizona.

I lived in Phoenix (sorry, not my favorite part of Arizona, though!) from 5th grade through high school. Although I’m absolutely a California beach girl, I did develop a love for the natural history of the area, especially of the Sonora Desert, south of Phoenix, and of the Sedona and Oak Creek area, north of Phoenix.

The patterns are unified by the desert palette: dusky sage and cactus greens, turquoise skies, rich browns and creams of earth and sand, and the deep violets of the desert twilight.

Techniques run the gamut from cabling to stranded to lace to textures.  No surprise there, right?

I’ll be releasing these patterns initially as eBooks, based on techniques.  I know not all of you love stranding as much as lace or vice versa — this way you get only the types of patterns you’d like.  (If you’re like me & love everything?  don’t worry, there will be a discount if you want all of them!)

First up will be Lace 1, including a knitted blouse, a camisole, a pair of adorable socks, and two different cowls, one in three different weights.

I’ll be setting up preorders soon!

combo pic lace 1

Saguaro©Rennett Stowe

McDowell Mountains©Harald Nagel

Spring flower©John Fowler

all other photos©Stephannie Tallent

Unwinding

Sometimes you unsew, sometimes you unknit.  This weekend it was time to unknit and unwind... literally.


The project:
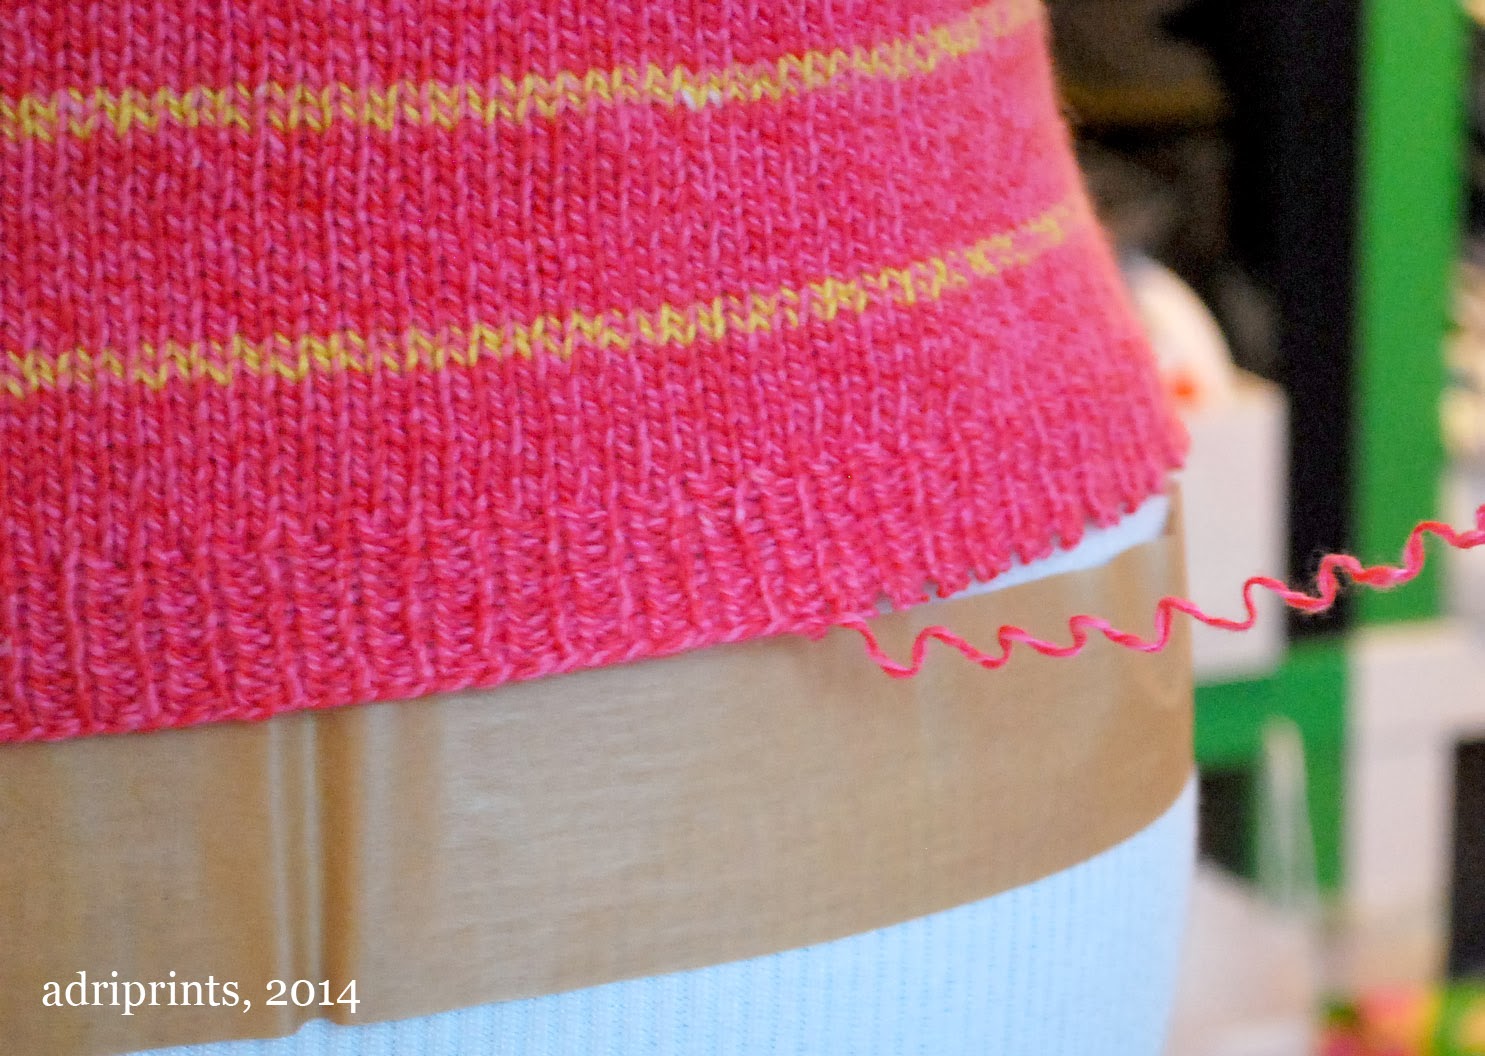
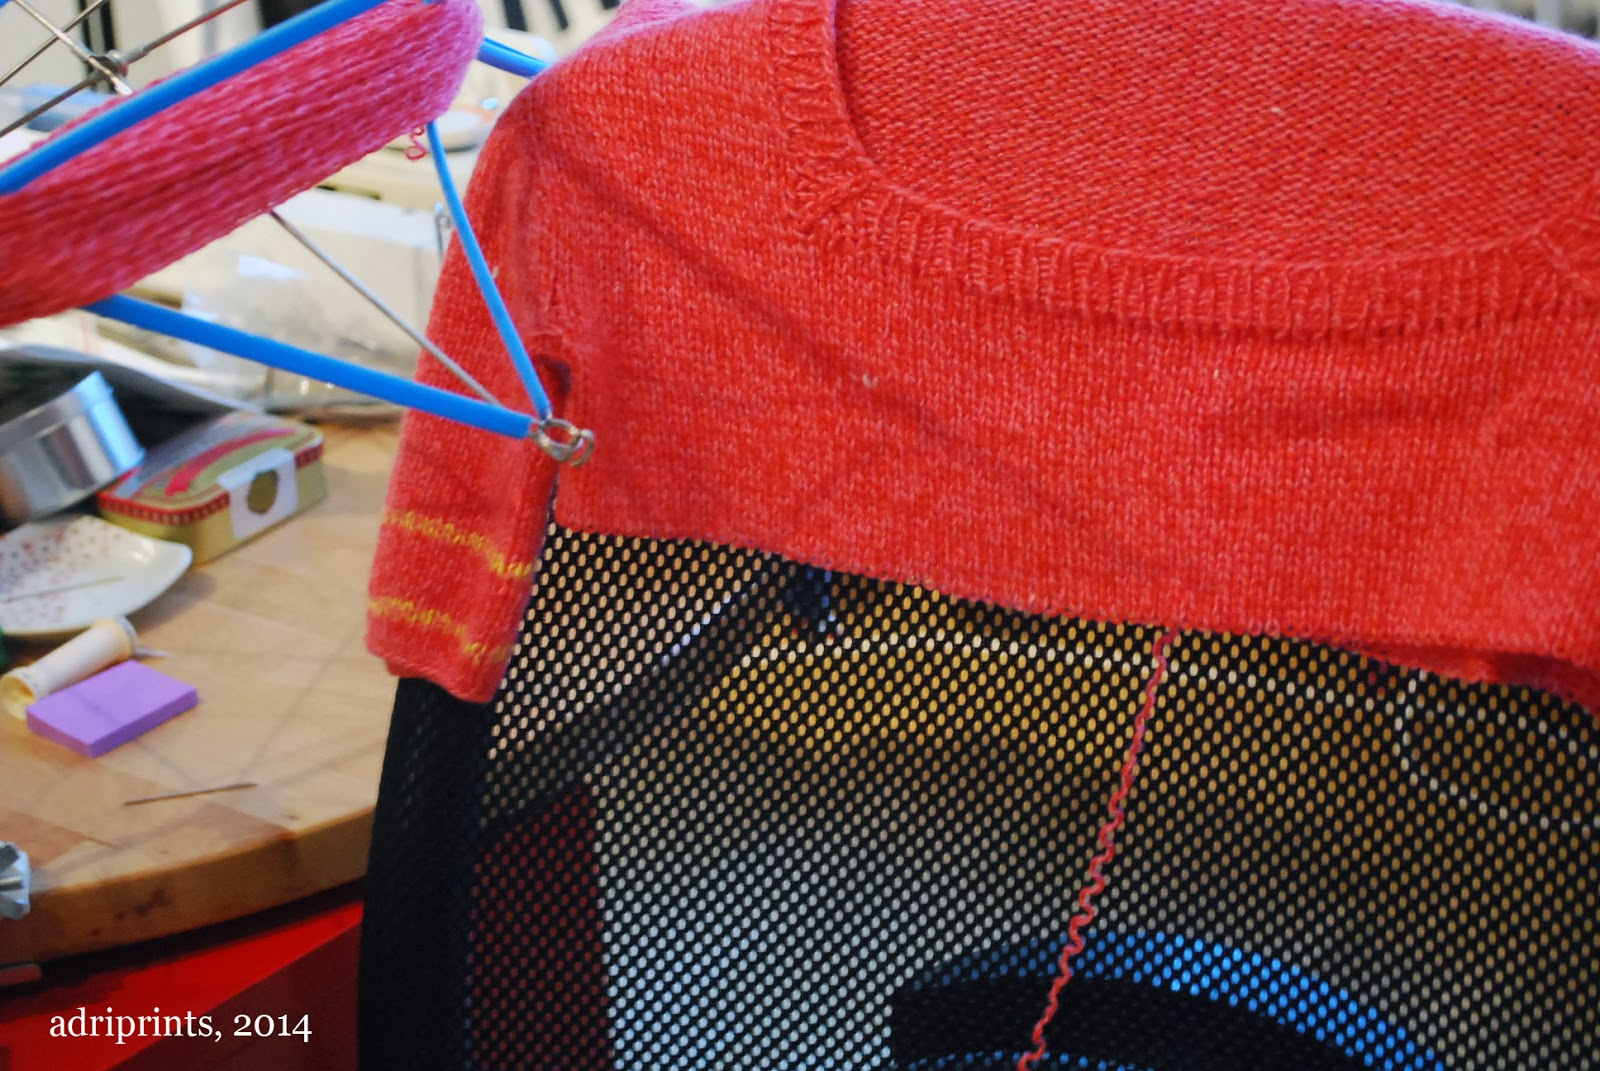
Avril in April was a contiguous method hand-knit top completed last year, but worn only once.  The sleeves and neckline were a bit too unflattering for me.  The neckline came down too low, and the sleeves were weird and poofy. Cool contiguous technique though!  The yarn used is a beautiful, bubble-gum/pepto/play-doh pink cashmere blend yarn.  So, I didn't want to just trash or donate it.  Despite the slightly pop-princess color, I truly love the yarn.  I also have some in play-doh yellow which I used for the stripes. I think it could be something else that I'd wear more often.  Yes.  Time to unwind!


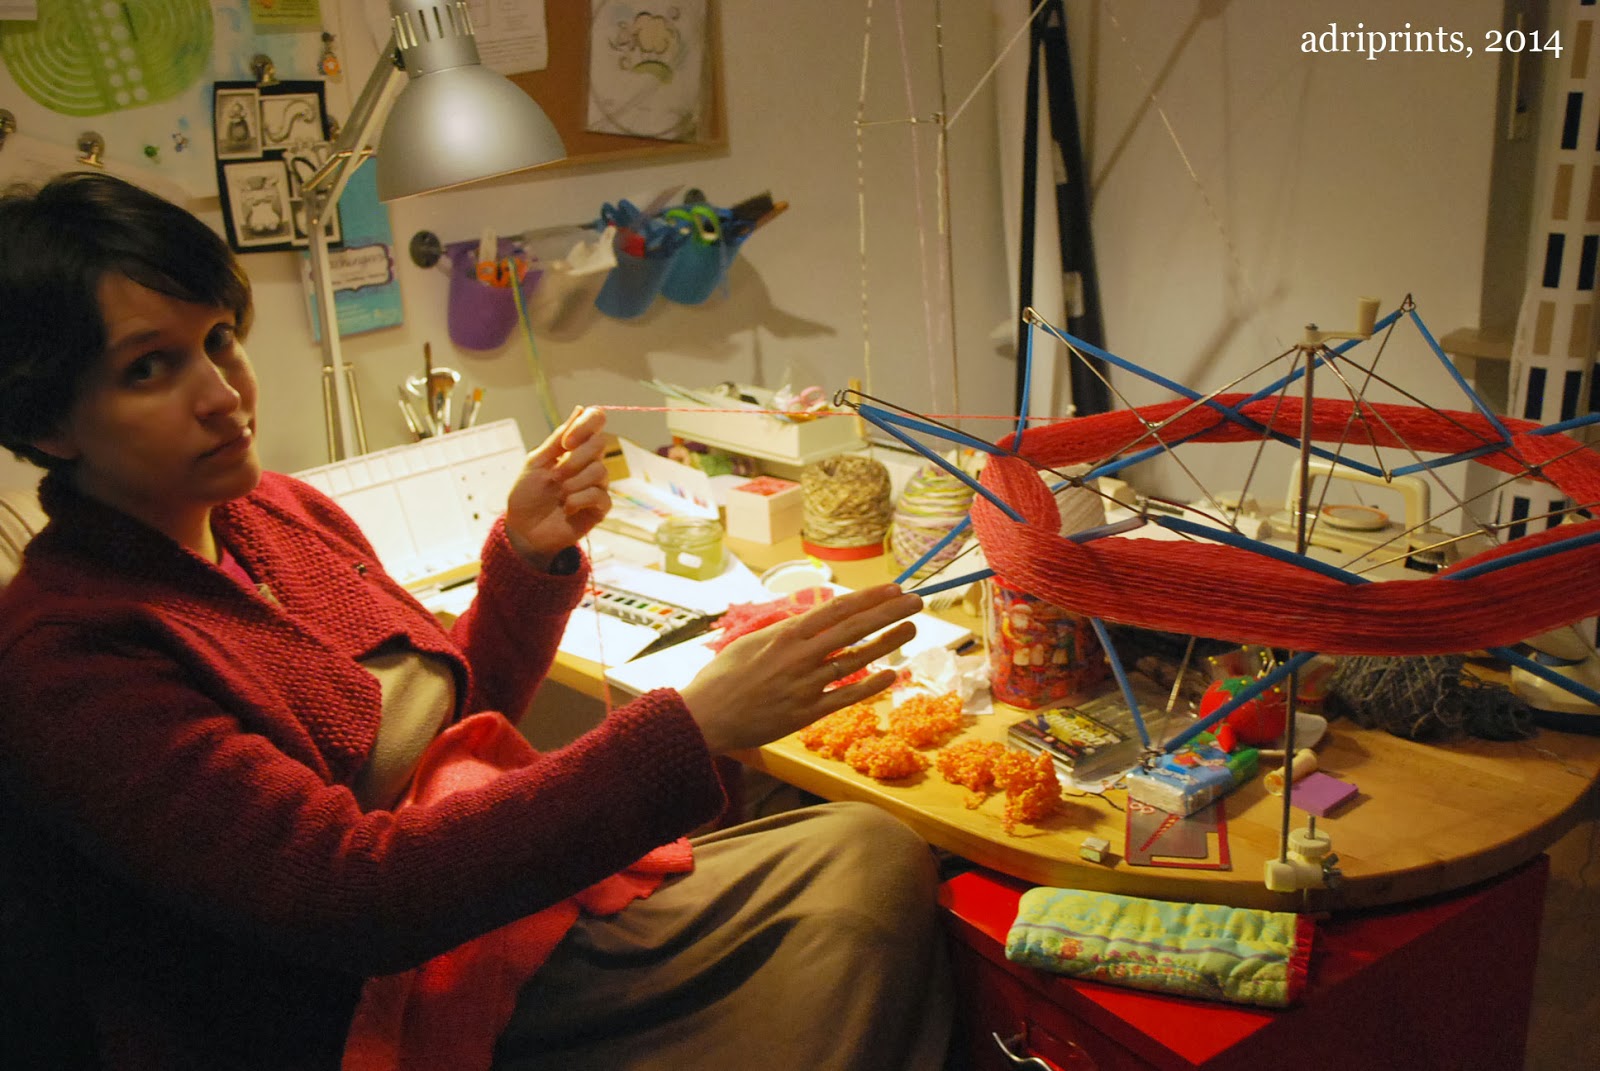
Unwinding takes time!!


Every knitted stitch that was picked up needed to be unwound by hand with a hook or tapestry needle.  That took some patience, but in the end there's this!


 A bunch of little pink balls and one big hank.  So, how do you re-use the yarn once it's all kinked up from knitting?  Well, next, I'll secure the yarn off the winder.  Then, I'll soak it and hang it to dry with a knitting machine weight on one end.  When it's dry, I'll re-wind it into a yarn cake and knit it up!

Back Lit Flower …

image_1

image_1

- by Joan -


Snapshots of Busy Saturday

muslin blanket set
baby blankets are finished

foodcoloringdevastation
food coloring I used to dye a lot of wool–after the cat jumped up on the table and got it all over her paws

handmade ring sling rings
a finished baby carrier

food coloring dye day
dye and washed yarn ready on the drying rack

new books
new books to read

February Hitch KAL: Ambrose Chapel Capelet

The Hitch KAL for this month is Luise’s gorgeous Ambrose Chapel Capelet.  Check out the thread here, and join in!

ambrosechapel2

Correspondence

I think the guy at the corner post office knows my name now-- which is great!  That means I've finally finished and mailed all the stuff that should have been sent out ages ago.

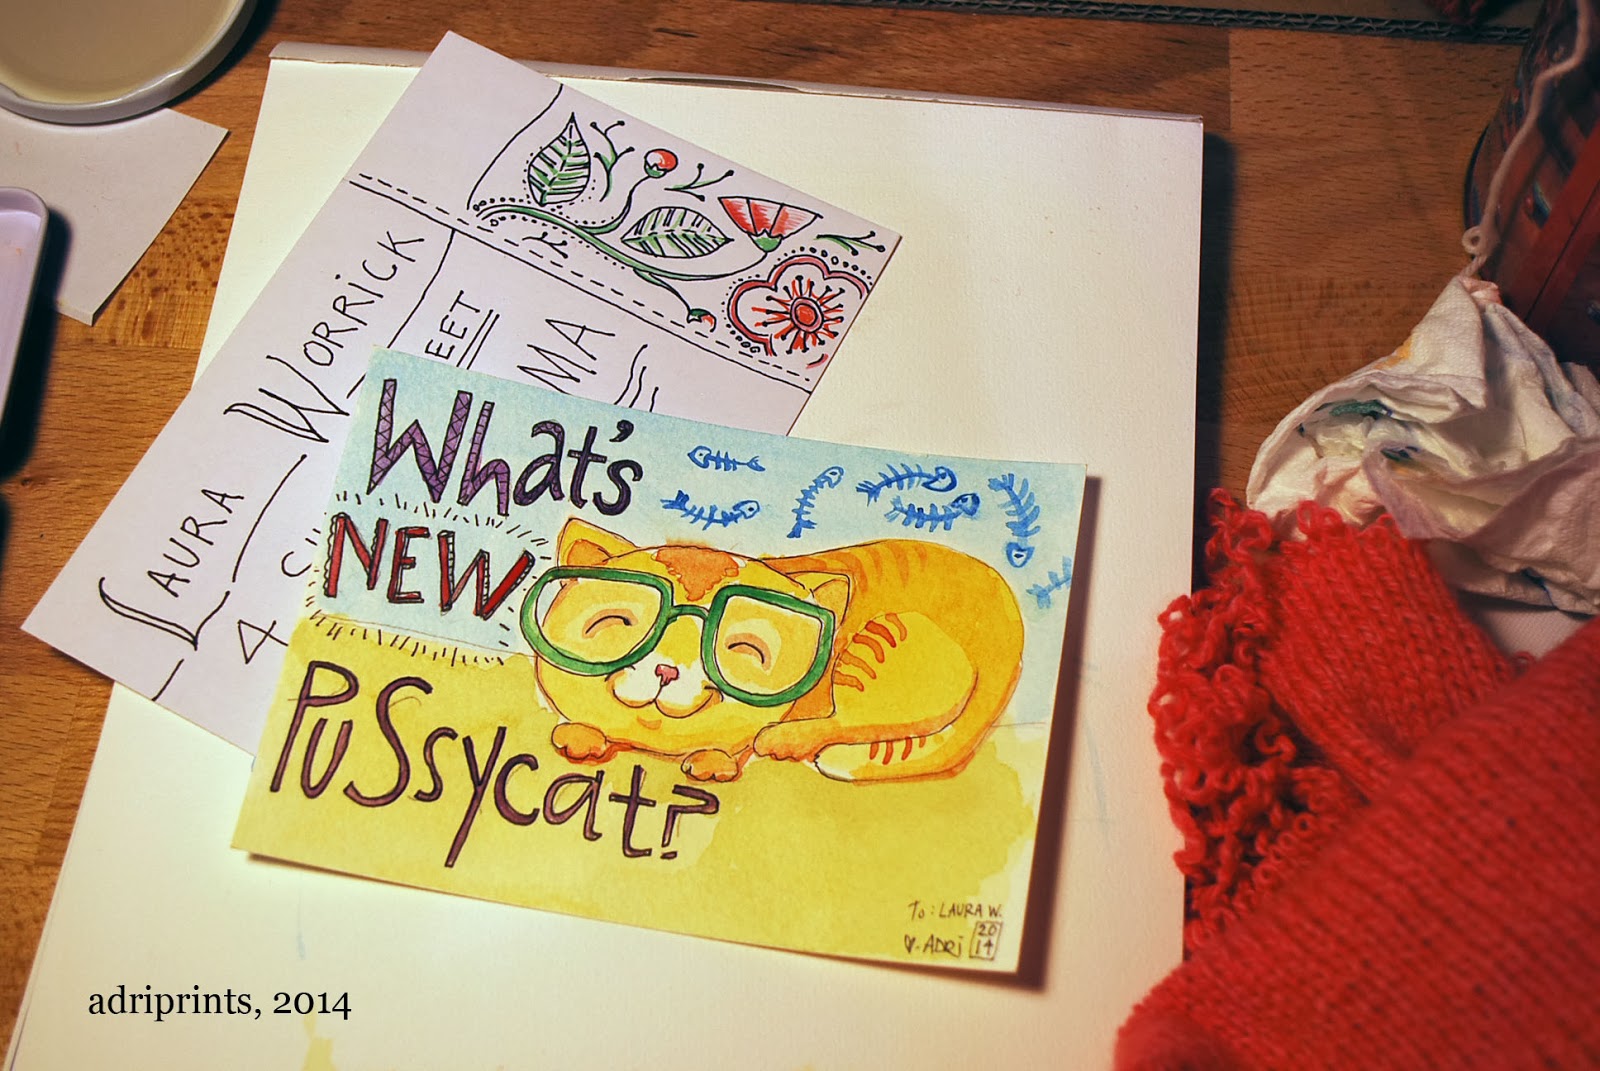
You already saw the finished baby blankets in the previous post, but I also finished a few other things!  A friend and I are doing a hand-lettered mail exchange.  Here's my letter to her:


Sorry, I know her address is covered, but underneath it's lettered really nicely. I wanted to respect her privacy, you know?

I also did this hand-made facebook exchange thing and I finally got around to making the items!

First, there's a hand illustrated postcard to a friend of mine.  It's an inside joke, but for the life of me, I can't remember the punchline.  All I remember is that many moons ago, I made my friend, VJ, a silkscreen t-shirt with the word "beefmaster" on it and a piece of toast.  Here's the concept revisited:


Then, there are the eye-glass cases I made from quilting scraps for two friends of mine who live in sunnier locations:


They were made using a simple cardboard template that measured 9" x 5" and then quilted and sewn together.  Is anyone interested in a tutorial?  Let me know in the comments if you are.

And finally, in the mail I got my contributor's copy of KnitNow's Issue #30 with my pattern on the cover! 


What a crazy awesome issue!  It has so many lovely extras like charts for colorwork lettering and magnet strips to keep track of charts.  Very handy!  And a lovely insert with cute winter accessories.  This issue has lots of quick knits at various skill levels, and it's chock full of knitted lovelies in general.  I feel so lucky to have been a part of the gang for Issue #30!

Icy Branches …

Original

DSC_0415

Photoshop

DSC_0415

Close-up

DSC_0415

- by Joan -


Behind the Yarn: The Photo Shoot in Pictures

I flew down to Virginia on Monday with one goal in mind. To make the photo shoot that we’re doing for our Sixth and Spring book a complete success. So this week, I’ve styled clothes, hair, make up, fitted, poked, and prodded models, wrangled sheep, kept Susie’s wallet and phone with her (although not the house key. oops.), held reflectors, smoothed garments, purchased props, and generally run around like a crazy person, all while attempting to keep up with email.

Here’s one of the props I bought:

2014-02-05 12.30.08

I didn’t make much time to take iphone photos, but fortunately Susie did between taking real photos.

The weather was not looking cooperative for Wednesday’s shoot:

Photo Shoot Weather

But it turned out to be lovely. Below, Susie’s favorite garment on a great new model that we’re using:

Shay

Susie said that I looked like The 500 Hats of Bartholomew Cubbins. I thought I looked like Caps for Sale

_DSC6928

Every detail must be just so, even though I must also help deal with the reflector to light up or shade shots as needed, so often times I was holding a reflector in one hand, and fixing a garment with the other.

_DSC7047

Yesterday felt a little bit chiller, especially in the morning. Below I’m keeping a model warm while I fix a detail between shots.

Model Cold

Susie’s been shooting at this building since she first moved here. One day it’s just going to fall to the ground, but until then, we’ll keep shooting in the ruins!

Royal Crown Cola

We went to another farm to use some lambs for a cover shot. This bottle-fed baby was a sweetie:

_DSC7913

_DSC7918

This is the face I make when I see something horrifying. Apparently, the lamb also makes the same face:

_DSC7920

Model Crystal wrangling a sheep while I deal with the reflector and details for another shot.

Crystal Sheep

When figuring out how to hold a lamb without blocking the garment, sometimes you find that lambs are made of legs!

_DSC8206

_DSC8211

They mostly had Suffolk and they had a whole passel of them!

Sheep in Field

Also on property is this gorgeous lake with a lovely bridge! Isn’t it idyllic?

2014-02-06 17.27.18

The models were changing in the car most of the day and there wasn’t any time to straighten clothes or keep things tidy. When we got home we dumped everything from the car into a heap:

2014-02-06 19.21.39

Today we have 6 more garments to shoot:

2014-02-06 21.52.15

and then it’s time to pack it all up and head home. I hear that there’s a lot of snow awaiting me in Massachusetts which I’m not looking forward to. I am looking forward to seeing my husband and cat and rewarding myself with a weekend off before I get back to work on Monday.

What I’ve Been Doing (Instead of Blogging)

Oh, my poor neglected blog.  I’ve been lazy with you.

I’ve no real excuse except that it’s winter and I’d really just like to burrow for a bit.

It’s getting to be mid-winter here, though, and we’ve been checking the chicken coops and replenishing bedding and doing minor cleaning in them.  We’ll do a total clean out come spring, but we want them to have enough clean space to get through until then.

With Francis out hopefully breeding all our ewes I’ve also been spending some of this time taking stock of our farm supplies, organizing them,  and making lists of what we’ll need for lambing in May.  The ladies will need a good de-worming before then and hooves will have to be in proper order.

I’ve also been looking at seed catalogs and dreaming up planting schedules and new ideas for the next growing season (which hopefully will be much kinder than last year’s monsoon-a-palooza).

Other than that I’ve made some orange marmalade using THIS recipe:02.06.14a

And I’ve been making and eating a lot of this:

02.06.14b

Cinnamon Bread.

School is being done at a leisurely pace these days (all day, sometimes by the fire), and knitting is getting accomplished along side of it.

It’s winter. It’s a good time for indoor projects and eating comfort foods.


Tagged: Farm, food, Homeschooling