Each year, I start by looking back at the previous year and making goals for the year ahead. This year is no different in that sense. I started by reviewing the work I had made, etc. but, I feel like I am in such a different head-space than I was a year ago. Everything has changed. My eyes have a razor-sharp focus on the prize, and the stakes feel so much higher now that I have a baby.
Last January, when I made my list for 2014 I was well into my pregnancy, but I could only imagine my future as a mom in a really vague way. Here were last year's goals:
1) make some art: get back into pen and ink, finish digital illustration commissions
2) make some things with yarn: finish hand-knit projects, use machine to stash bust
3) make some things with fabric: continue on the quilting and sewing goodness track
4) blog more efficiently and step away from the internet traps (facebook and cheesy news sites)
With that nesting energy, I made things like there was no tomorrow. I hit all of my goals - made some art, knit by hand and by machine, quilted baby F's zig-zag quilt, and blogged more efficiently. I think I was kind of scared that there wouldn't be time after the baby came. My fear of having no time to do anything was somewhat justified. Luckily, I think F is very healthy and pretty independent, so that affords me snippets of time to work here and there when he's playing or napping.
 |
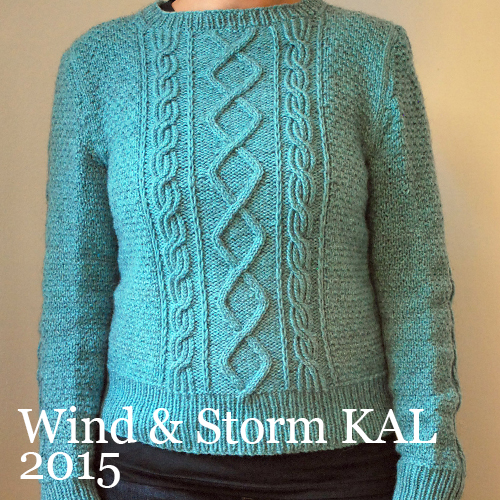
Clockwise from top left: Mitered Detail Cardigan, Ottobre Nursing Top,
Wind & Storm Pullover (now lost at sea!!), Ottobre Kids, Laren Mitts, and the cover of Knit Now |
 |
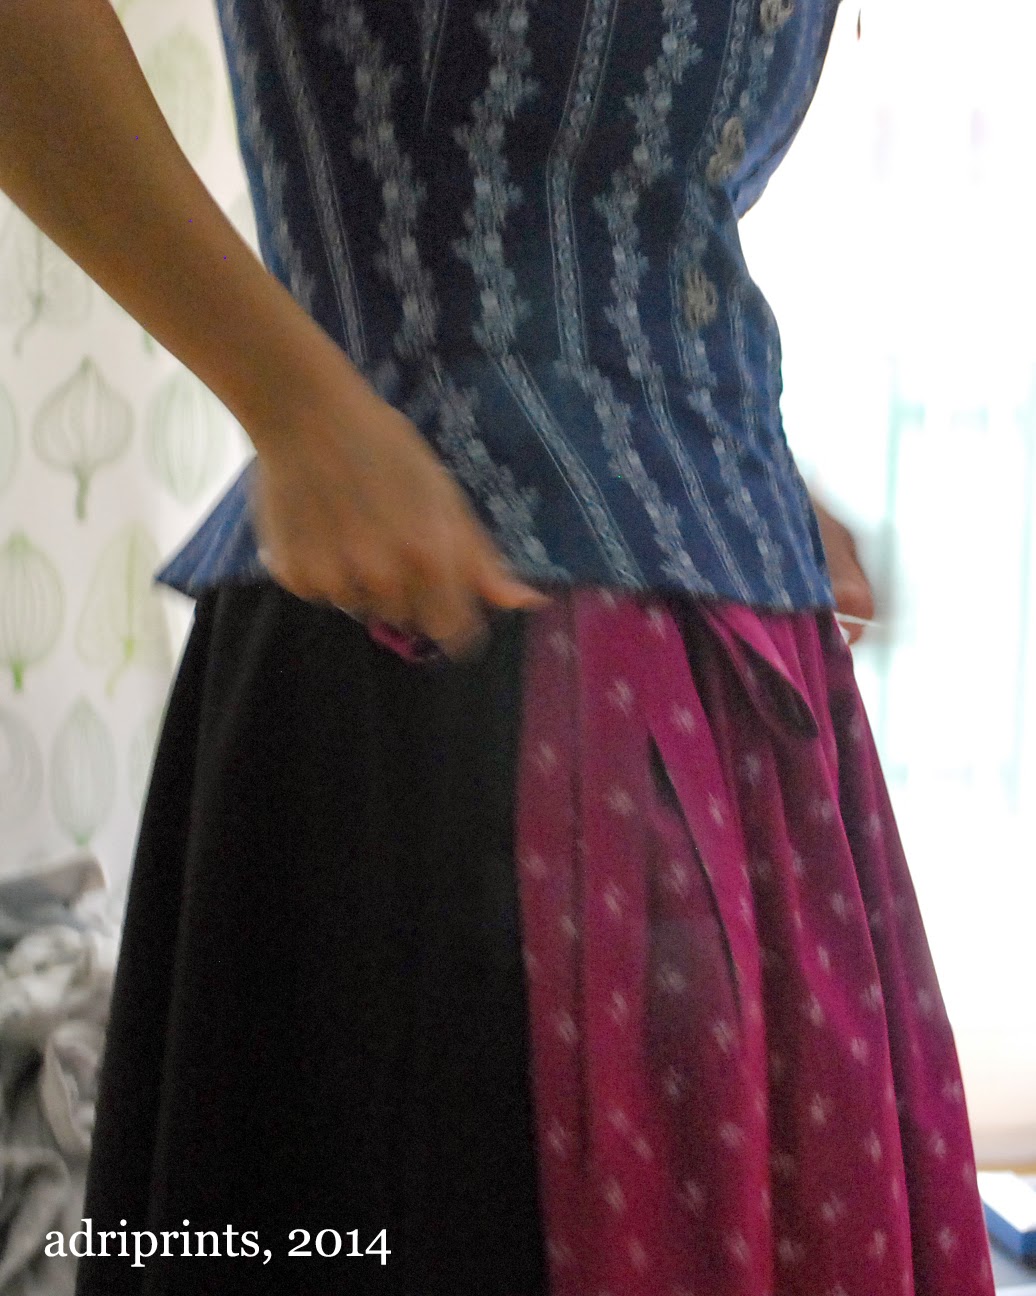
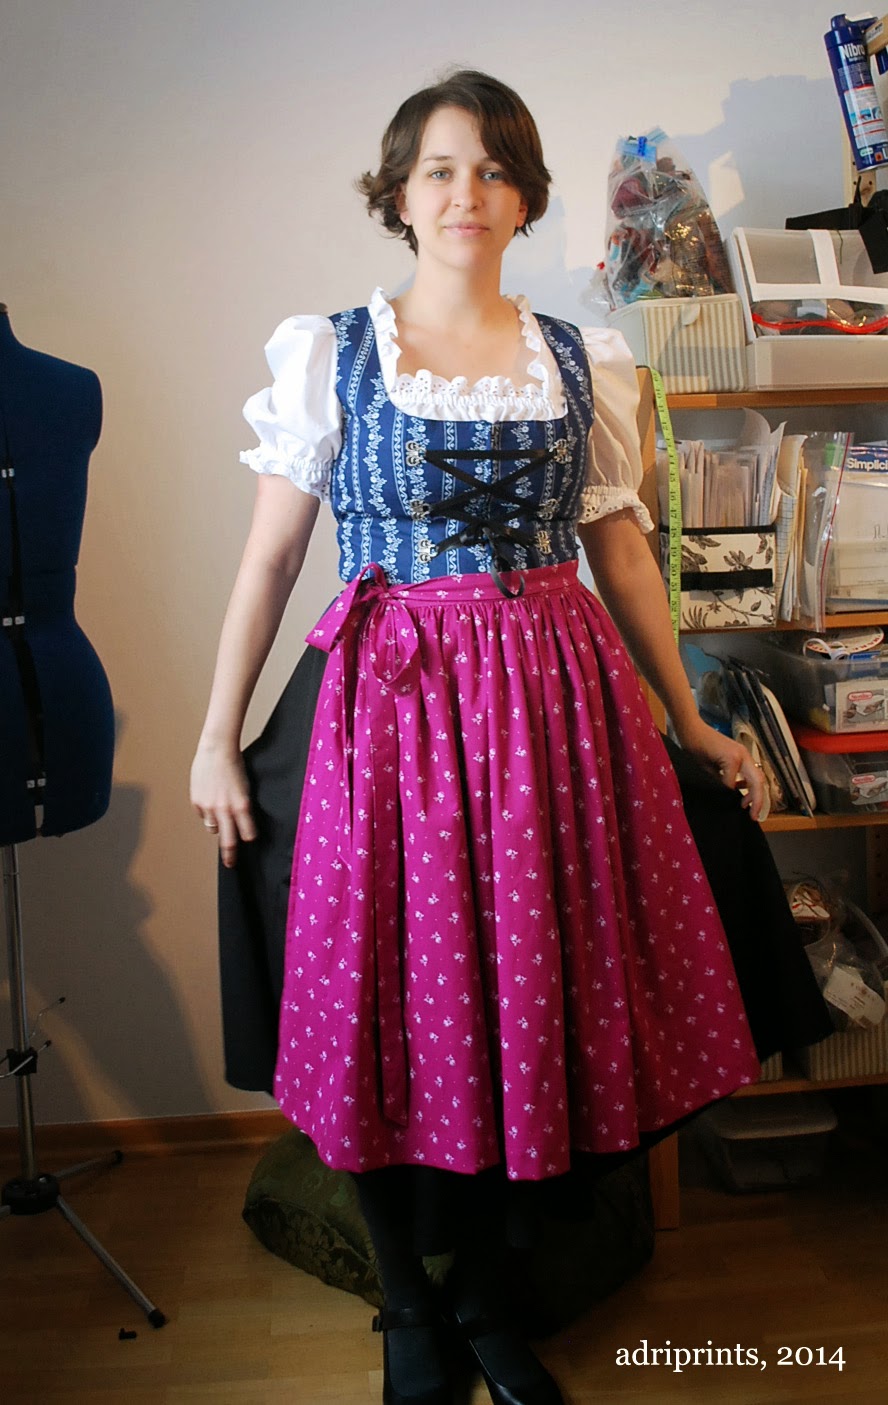
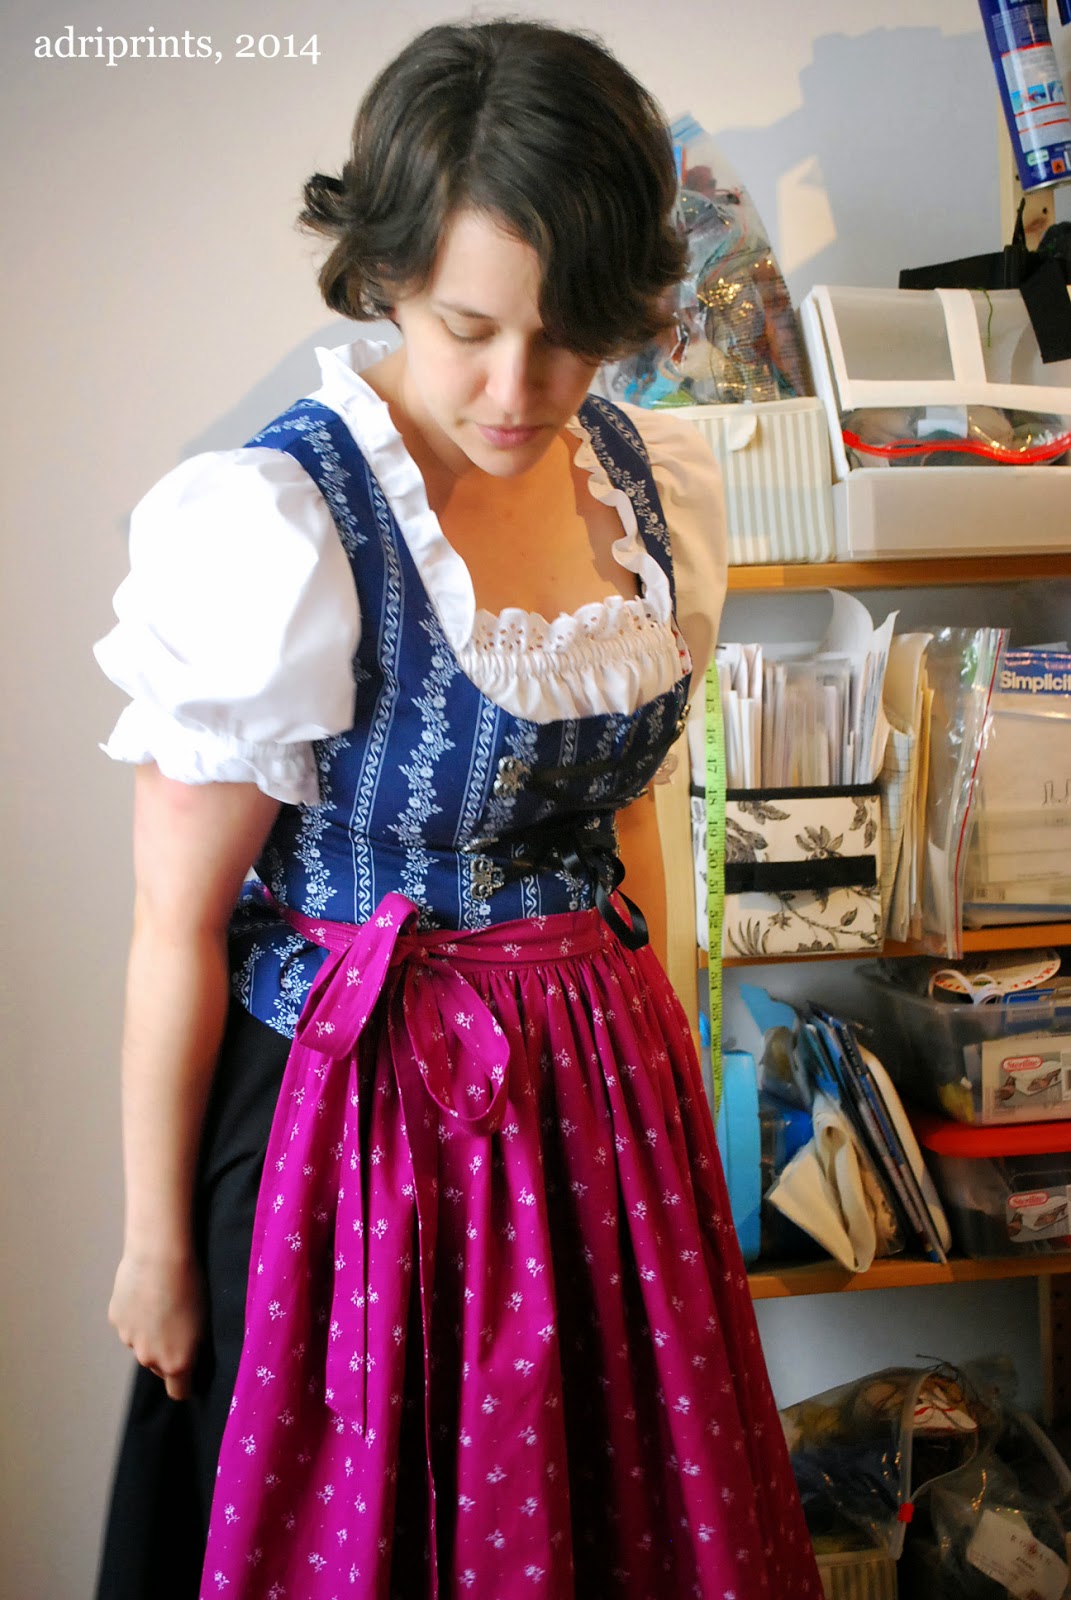
| Clockwise from top left: my entry for an artist's book collaboration, Ottobre kids, "playful" hand lettering, quilted zip bags, steeked fairisle vest, knit baby romper from Deramores, and Oktoberfest dirndl skirt & apron |
Now I'm looking forward to 2015, and that same innate sense of urgency that came with pregnancy remains in my system. Maybe it's the hormones? Whatever it is, I feel like I must create right now -- now or never!! Yes, it's that dramatic a feeling.
Anyway, without further ado... my goals for the coming year:
- Find my personal illustrative style, and figure out how/where to sell my art work.
- Sew a few new non-maternity knit tops for myself.
- Make another quilt.
- Create another font.
- Knit a bit.
- Be a good mom. (!!!)
Kind of a mixed bag of goals, right?
That last goal is so huge, it threatens to take over my brain. So, in the spirit of getting things done, I break down each goal into action-oriented tasks. In terms of motherhood, what that means for me, is that I just take it one day at a time.
Happy 2015, everyone! May it be a great year.